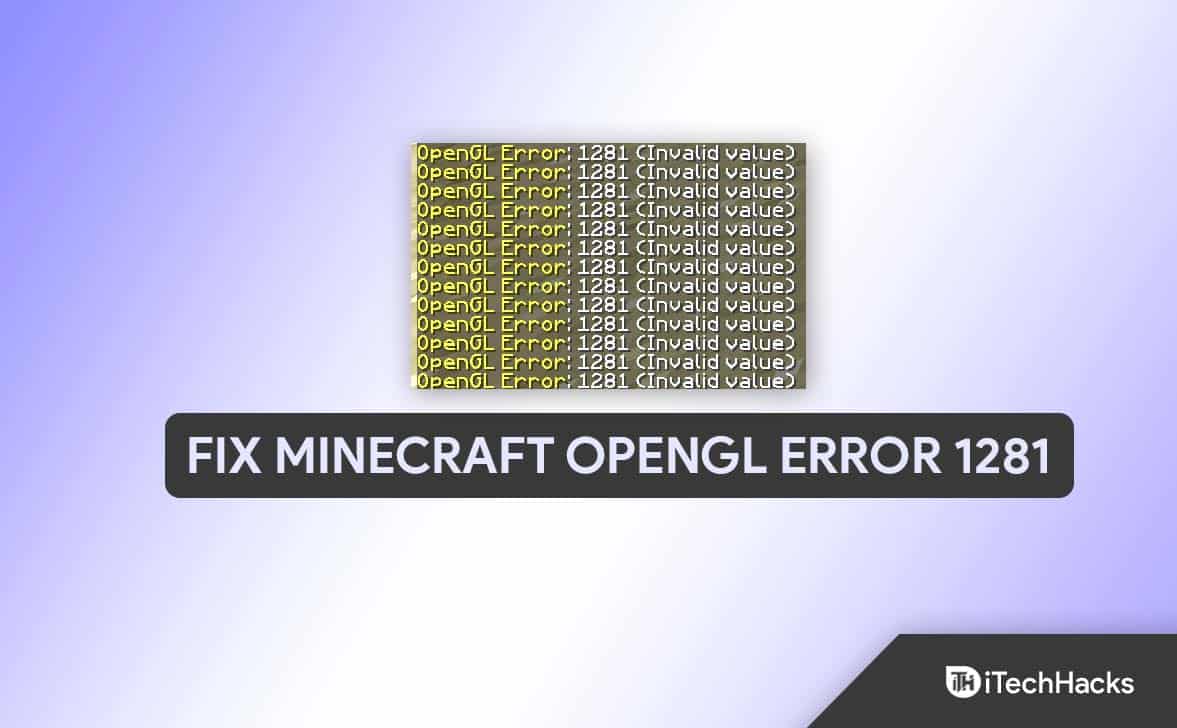
- Minecraft OpenGL Error 1281 is a common issue affecting users playing the game, caused by factors like JAVA or mods.
- Solutions include removing shaders, disabling mods, updating graphics drivers, disabling GL error display, reinstalling JAVA, and updating OptiFine.
- Each solution is explained with easy-to-follow steps to help users troubleshoot and fix the error effectively.
Minecraft is one of the most popular games worldwide, having all the elements to make it attractive and addictive. If you have been playing the game for a while, then you should know all its features.
But, many users face errors while running the game on their computers, and OpenGL Error 1281 is the most common one. If you also face the same issue in your Minecraft account, this post is for you as here I’ll discuss the possible ways to fix it easily.
How to Fix Minecraft OpenGL Error 1281
JAVA or mods generally cause Minecraft OpenGL errors, but there can be other reasons behind them. So, you need to identify the main culprit first, but that won’t be obvious.
So, I have shared six fixes to eliminate the error from your Minecraft, and you can try each one out and check which method works for you.
All these methods contain simple steps and are demonstrated too in simple words so that you won’t face any problems performing that.
Remove All Shaders
Shaders are the graphics mod or mini-mod for Minecraft that helps you change the game’s overall look. You can add beautiful lighting, pragmatic shadows, gorgeous sky, and oceans, and make all other elements of the game enthralling.
But this may cause the OpenGL Error 1281 in your Minecraft account, so it’ll be better to remove all the shaders and try running the game. If you don’t see any issue, then the shaders were the culprit, and if the error still exists, you may check other fixes.
The steps to remove all the shaders from Minecraft are as follows:
- When you open Minecraft, you’ll see Options there; select that.
- Now, click on Video Settings.
- Then another list of various options will open; click on Shaders.
- Now, select OFF on the top of your screen and then click on Done.
You can also do this directly from your computer without opening Minecraft.
- First, open Run by pressing the Windows+R button together.
- Then, enter %APPDATA% in the box given there and press OK.
- There, find the Minecraft folder.
- Now, you’ll see all the files inside the file; select ‘resourcepacks’ from there.
- Then, move into the ‘shaderpacks’ folder.
- Now, select any mod that might cause the problem, or you can select all the shaders there and delete them at once.
Disable Mods
Mods help the users to modify the gameplay and play the game as they want. But, sometimes, these mods cause trouble and prevent users from playing the game without errors.
So, it’s always better to disable or delete the mods to eliminate the errors. You can follow the steps below to delete mods:
- First, press the Windows Key and R together to open the Run menu.
- Then, enter %AppData% then in the box and hit OK.
- You’ll see all the files of all installed apps on your computer; select Minecraft from there.
- Then, locate the Mods folder inside it and click on the name twice to open it; it’ll show you all the mods you installed on your computer.
- If you know the exact mod causing the issue, delete the particular one; otherwise, you can select all the mods there and Right-click>Delete all.
Update Graphics Drivers
Graphics Drivers help the software connect to the operating system and generate output images on your computer monitor.
If the drivers are outdated, that may prevent Minecraft from working properly by causing various errors. So, you should check for driver updates and update the latest available version.
From Device Manager:
- First, Right-click on the Windows icon.
- It’ll open various options; select Device Manager from there.
- Then, double-click on Display Adapters to expand it.
- Now, right-click on your graphics driver name.
- Select Update Driver.
- Click on the first option, “Search automatically for updated driver software.”
- If there’s any new update available, it’ll automatically install it on your computer.
From Graphics Card Manufacturer’s Website:
If the above method doesn’t work, you can manually update the drivers from your Graphics Card Manufacturer’s website.
For this, you must navigate to the official website, check for the latest version that suits your device’s operating system and processor, and download it on your device.
Disable Show GL Errors
Minecraft has the option to disable showing the GL Errors, and you can do that easily by following the steps below:
- First, open Minecraft.
- Then, click Options.
- Now, click on Video Settings.
- Then, click on Others.
- Select the Show GL Errors option and turn off that.
- Finally, Save the changes and re-launch Minecraft.
Reinstall JAVA
JAVA is an important pillar in running the Minecraft game on your PC; if anything is wrong, you’ll surely face problems playing it.
So, uninstalling and reinstalling JAVA on your computer may help you eliminate the error.
- Open the search bar on your windows and search for Control Panel; alternatively, you can open the Run tab by pressing the Windows key + R together and entering the control panel in the box.
- In the control panel, select Programs.
- Then, click on Programs and Features.
- It’ll show you all the installed programs on your computer; locate Java there.
- Click on its name, expand the menu, and click the Uninstall button; It may require your confirmation to do the task.
- You need to download the latest version of Java from the official website.
- So, go to https://www.java.com/download/ie_manual.jsp and find the version for your computer and install it on your device.
Note: To know the system type of your computer, Right-click on This PC on the desktop and then select properties; under the System type menu, you’ll see either 64-bit or 32-bit.
Update OptiFine for Minecraft
OptiFine for Minecraft helps you enhance the FPS and overall gaming experience, and if you’re using an old version of it, you should update to the latest one.
But you should always ensure that the OptiFine and Minecraft versions are similar. So, before you update the OptiFine, check for Minecraft updates first.
- First, go to the official website of OptiFine. https://optifine.net/downloads
- Download the latest version and run and install it on your computer.
- Now, open Minecraft and move to your profile section.
- You’ll see both the previous and current versions; select the present version, and you’re good to go with the latest version of OptiFine.
Conclusion
So, these were the solutions to fix Minecraft OpenGL error. I hope you have fixed it successfully and can run the game smoothly. If you still face any issues, the comment box is always open to receive your questions and feedback.
READ NEXT:
- Fix “Exit Code: 1” Crash Error on Minecraft Java Edition
- How to Fix ‘Failed to Download File, the File contents Differ’ in Minecraft
- Top 25 Best Minecraft House Ideas Survival Designs
- Fix Minecraft Aka.ms/remoteconnect Error Code
- How To Get Minecraft Bedrock Edition On Windows 11
- How To Fix Minecraft Launcher Won’t Load

")


")