- Temporary files in Windows 11 are created by the operating system to store data temporarily, and deleting them won't harm any original files.
- Clearing temporary files in Windows 11 can be done through Settings, enabling Storage Sense, deleting files manually, using Disk Cleanup, or using Command Prompt.
- By following the steps in Settings, users can easily select and remove unwanted temporary files from their Windows 11 PC to free up storage space.
Windows 11 does have enough tools to dump temporary files in the bin and let me show you all ways to clear temporary files in the latest edition. I will not include third-party tools to clear the temp files in the machine because Windows is good at managing it. Nonetheless, why install third-party tools, when you have inbuilt features to do the same task, and let us dive into it.
What are Temporary Files in Windows 11 PC
Almost every operating system creates temp or temporary files in the machine, so it’s a common process. A temp file is created, whenever a program or file is created, and it will store it somewhere in the OS installed drive. The temp file has nothing to do with the original file, and deleting it won’t do any harm to the source. In case, if you find the original file corrupted or lost, then the temp file offers a recovery option, and you instantly recover the document
Ways To Clear Temporary Files in Windows 11
You faced a power cut while working on the DOCX document and you didn’t even save it. The unsaved office document will have content intact, the next time when you open it.
Clear Temp Files in Settings
Microsoft is pushing Settings and dumping the Control Panel in every major update. I like the slow evolution, which encourages the users to switch to the latest panel and adapt to it.
- Press Windows Key + I to open the Settings.
- Select “System”.

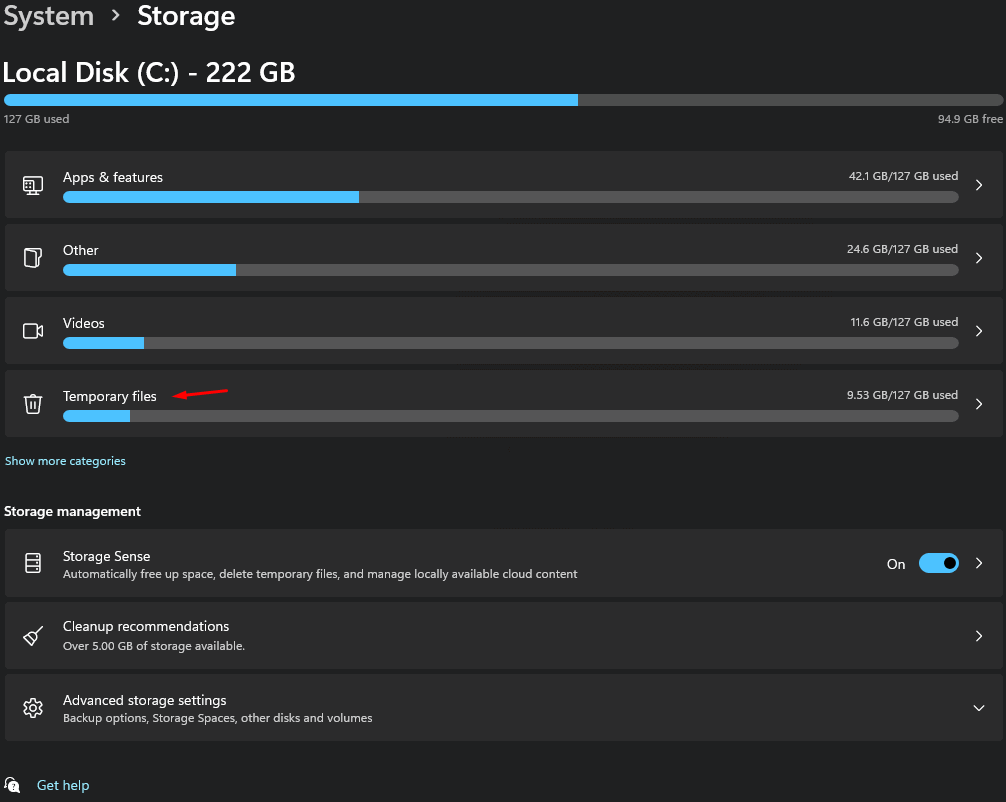
- Click on “Storage” from the options.

- Let the system load current storage information.

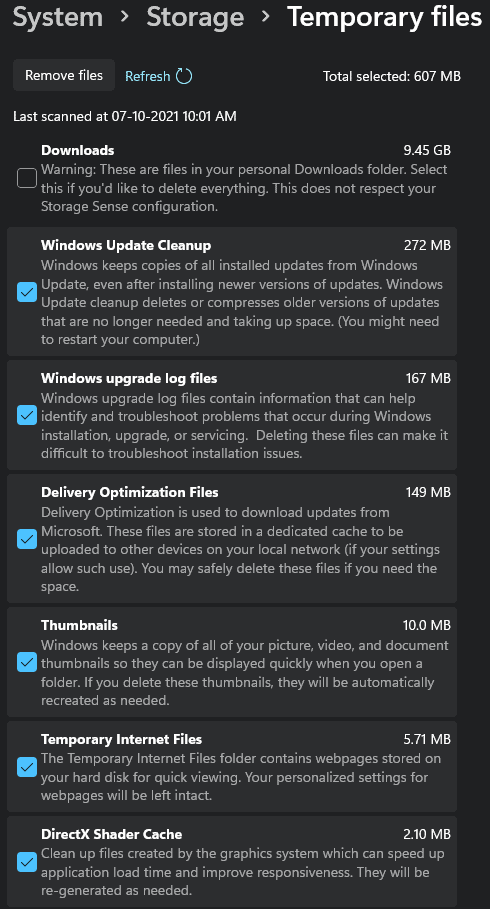
- There is 9.53 GB of temporary files in the machine, and click for detailed information.
- Downloads folder has over 9.45 GB of data in it.
- Choose temp files that you no longer need and then click on the “Remove files” button.
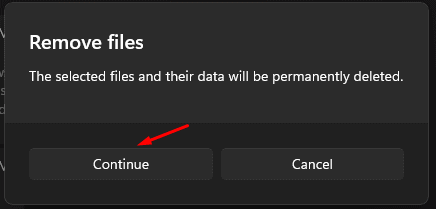
- Click on “Continue” to confirm the action.
- Let Windows 11 clear all temp files.
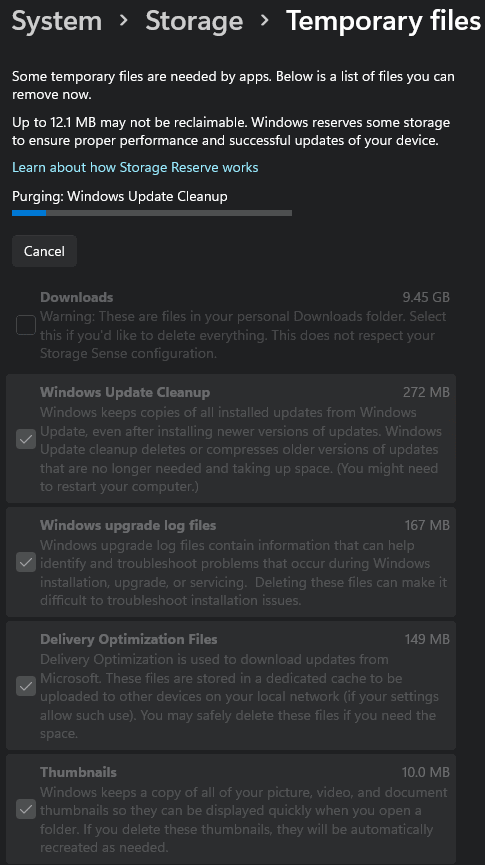
- Windows cleared temp files in the selected areas.
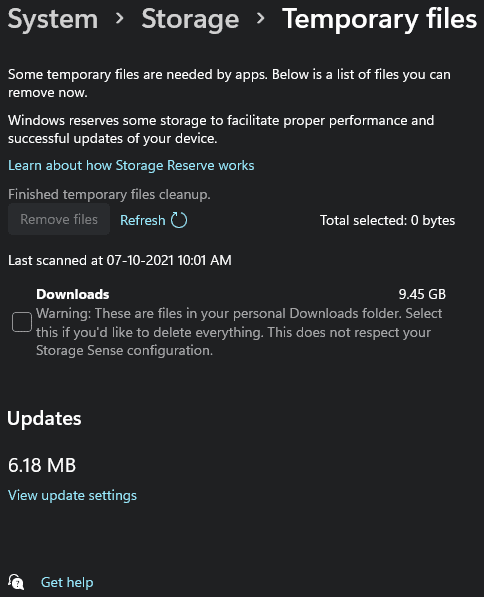
I left the downloads folder as it may contain important data in it, and I will manually remove unwanted content in it. I deselected “Downloads” to preserve data, meanwhile, the rest of the options were selected.
ALSO READ: How To Fix Process Not Ending In Task Manager
Enable Storage Sense in Windows 11
Yes, Microsoft continued the Storage Sense feature in the latest version, and you can let Windows decide what to keep and when to remove the temp files. Let me show you how to enable Storage Sense in Win 11.
- Press Windows Key + I to open the Settings.
- Select “System”.
- Click on “Storage” from the options.
- Click on “Storage Sense” under Storage Management.
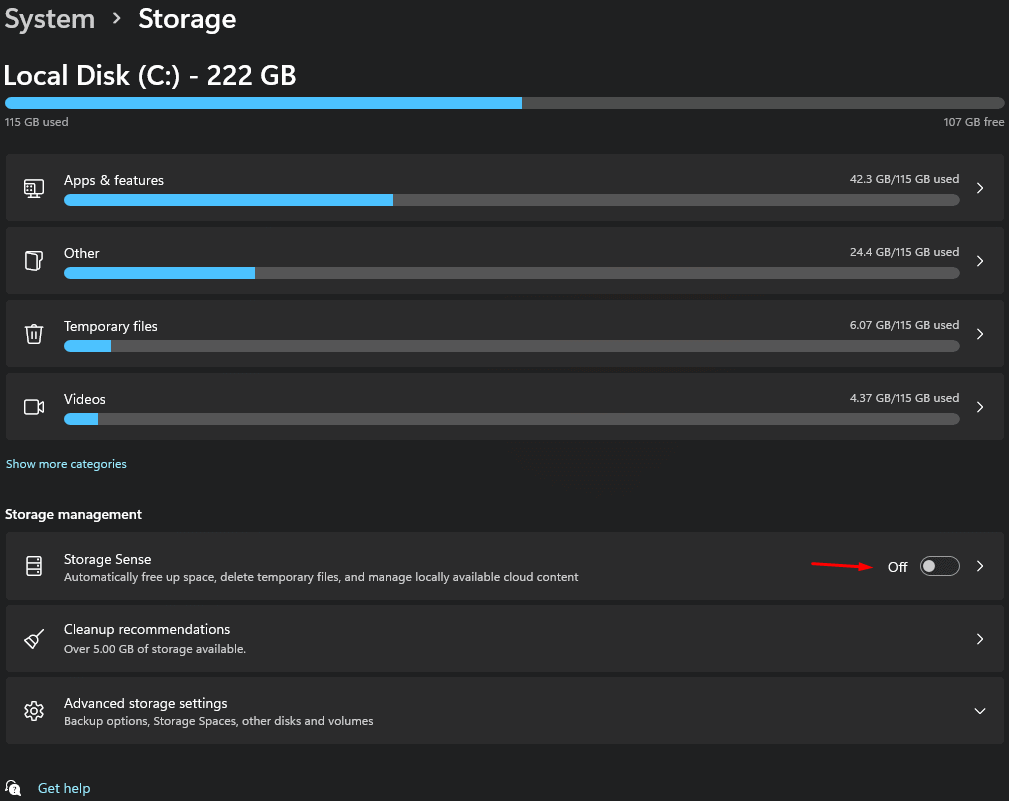
- Storage Sense is turned on.

From now on, Windows 11 will automatically manage the temp files in the machine, and you never have to bother with it again.
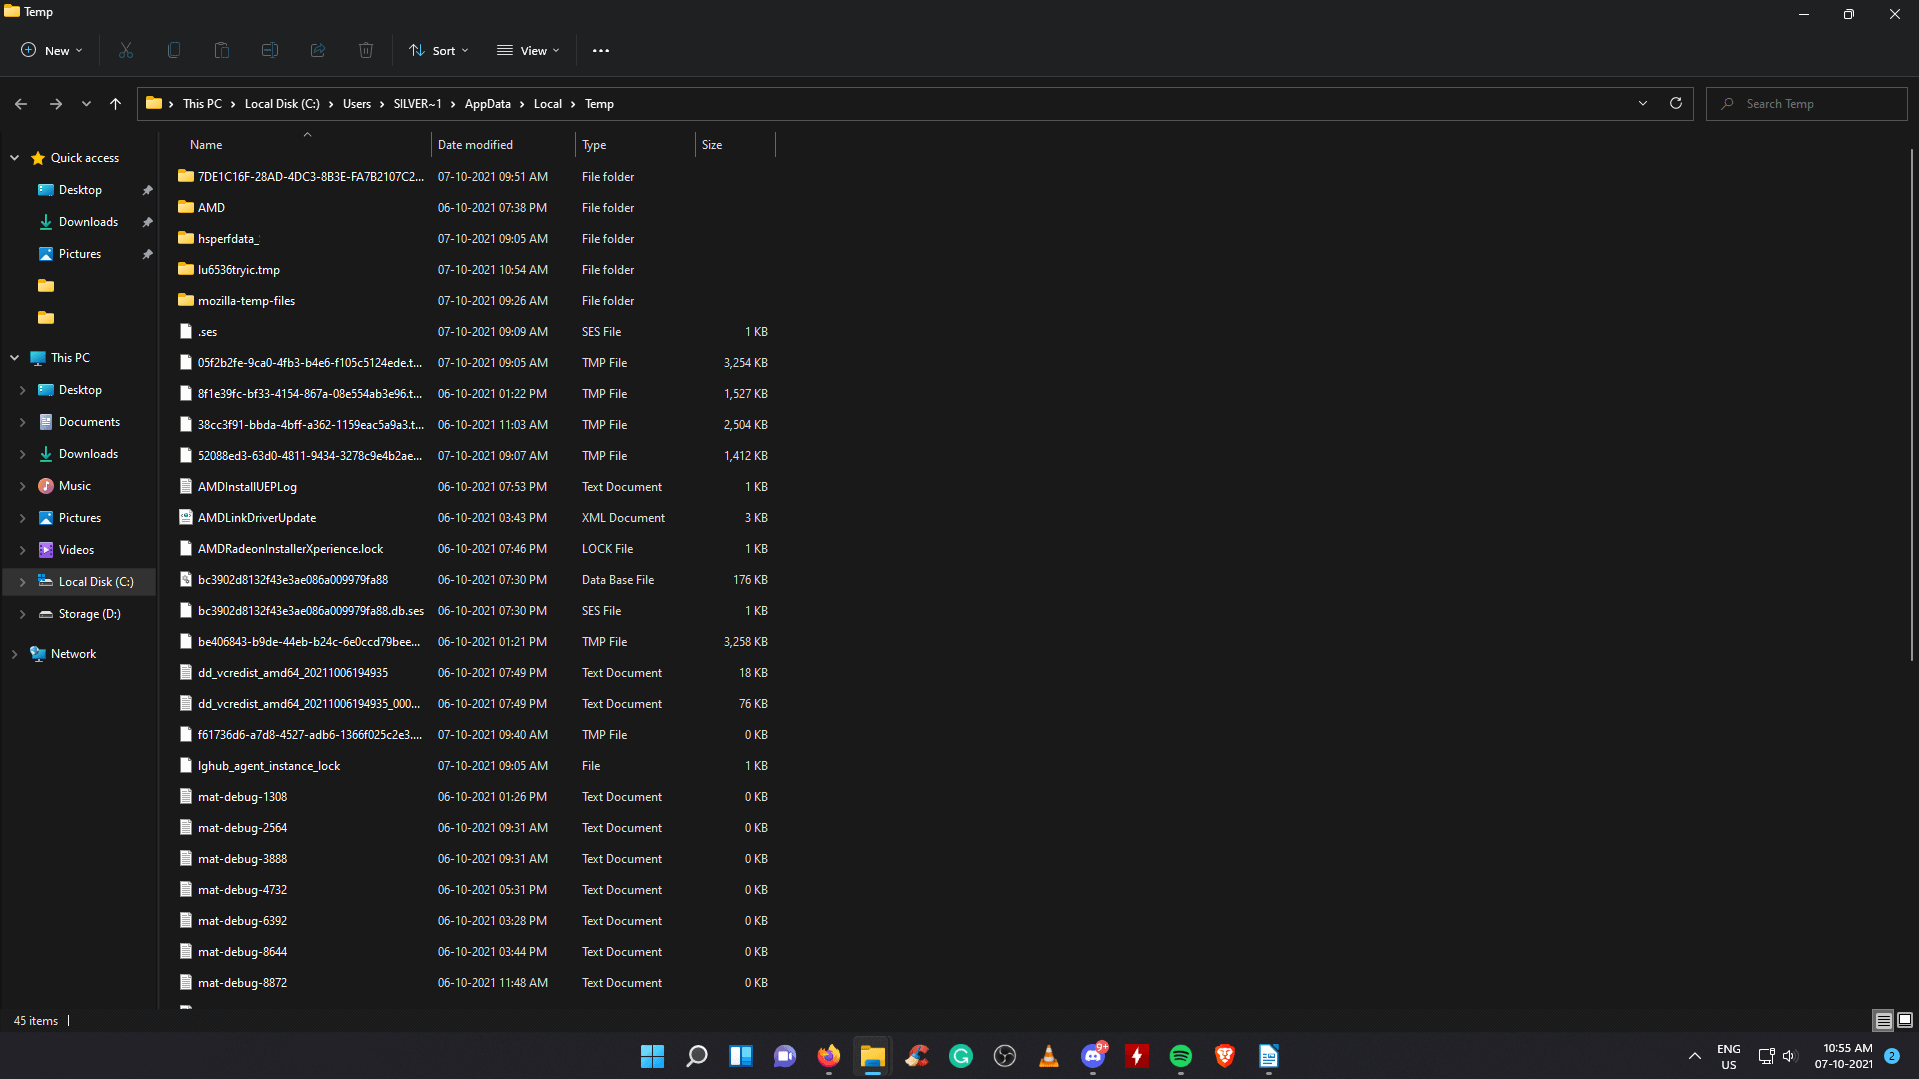
Delete Temp Files Manually
There is a popular saying “old is gold”, and if you are coming from a previous era, then you will love the manual work. Temp files are saved in OS installed partition/drive, and you can locate the folder to delete them. You can move the temp files to another location and keep them as a backup.
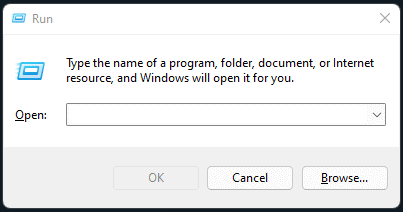
Step 1: Press Windows Key + R keys together to open the RUN application.
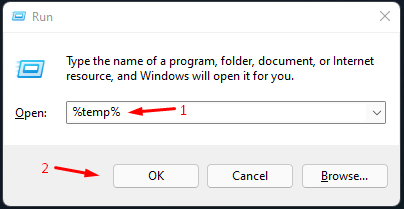
Step 2: Copy & paste “%temp%” and click on “OK” to open it.
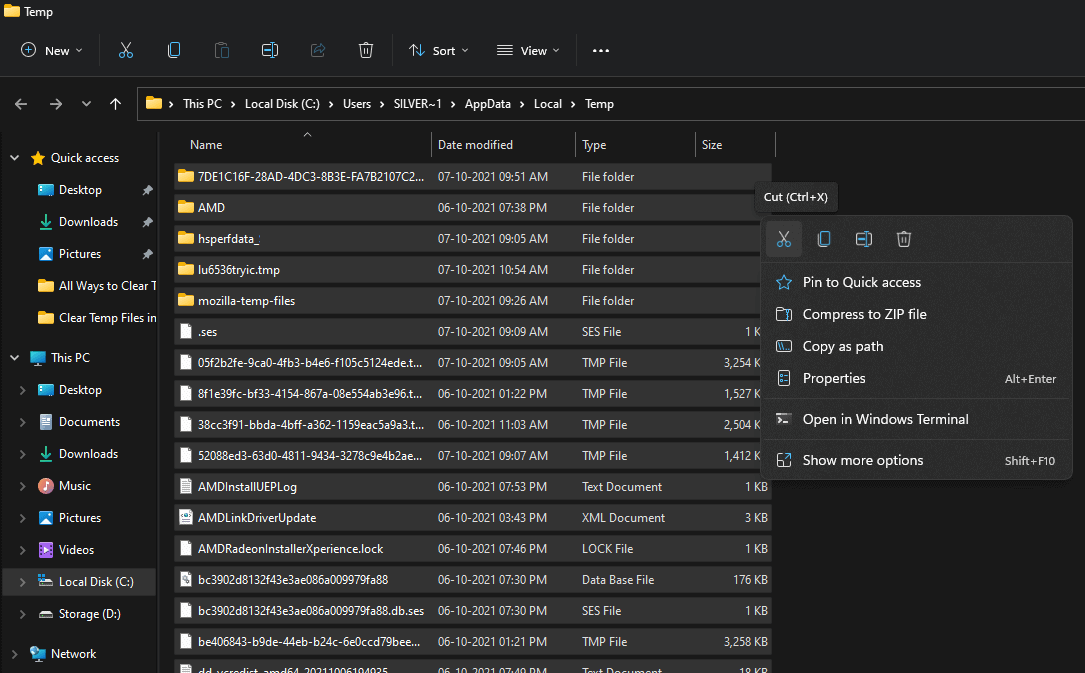
Step 3: Now, press CTRL + A and then right-click on the mouse to view more options.
Step 4: Click on the trash icon to delete them all.
Step 5: Clear the removed files in Recycle Bin.
You have deleted all temp files in the Windows machine, and alternatively, you can backup the temp files in another location. However, Windows won’t use the backup files in another location because Microsoft didn’t design it to do so. In case, if you ever need the temp file to restore documents or programs, then the backup may come in handy.
ALSO READ: Windows 11 Installation Stuck? Here’s How to Fix
Disk Cleanup
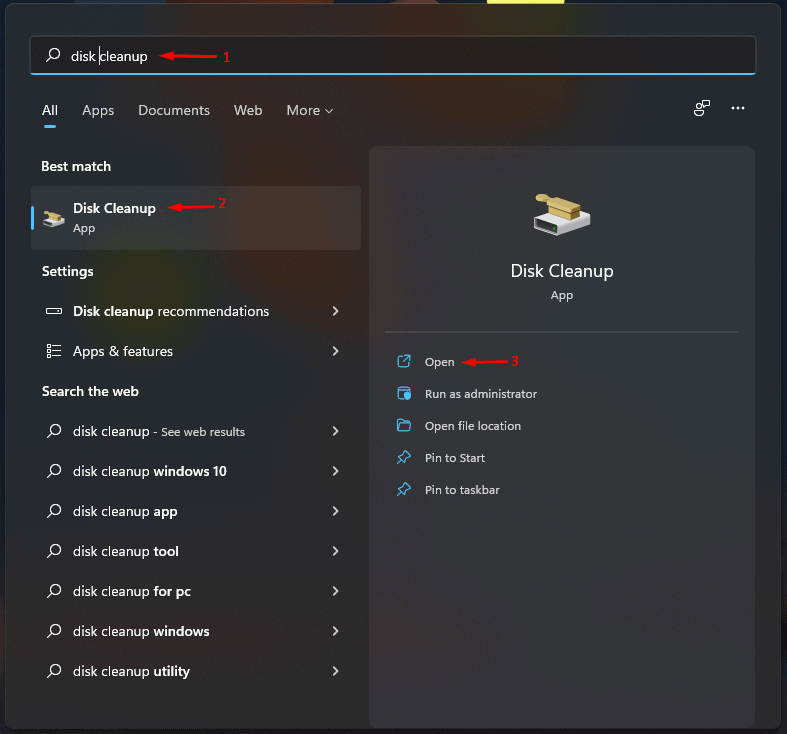
Disk Cleanup is an inbuilt tool introduced a decade ago in the earlier version, and it’s a straightforward program.
Step 1: Press the “Start” key to search for “Disks Cleanup” and then open it.
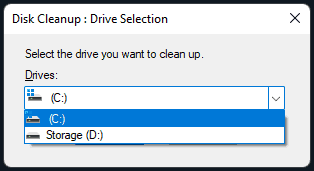
Step 2: You can choose the partition or drive if you have added multiple storage devices.
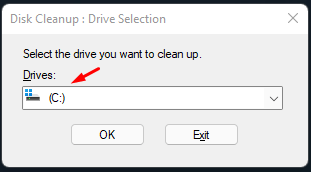
Step 3: Choose the storage drive, and the tool will automatically select Windows installed partition or drive.
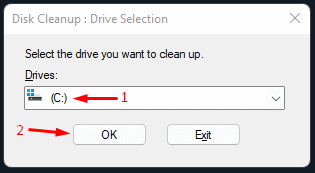
Step 4: Select the Windows installed drive or partition and then click on “OK” to access it.
Step 5: Select all options or necessary options under “Files to delete” and then click on “OK”.
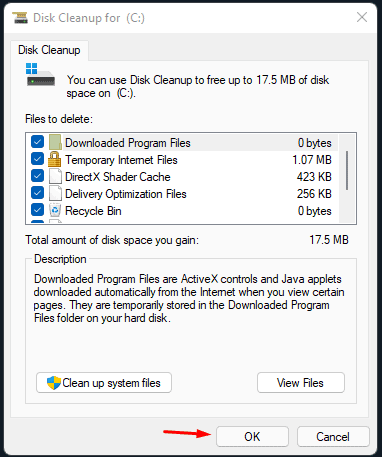
Note: I selected all of them because I don’t need any temp files.
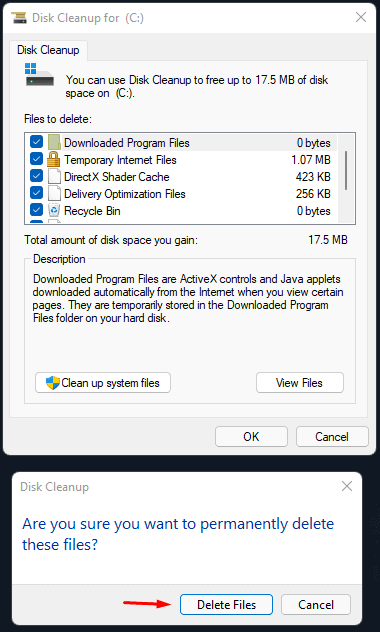
Step 6: Confirm the action by clicking on the “Delete Files” option.
Step 7: Let Disk Cleanup clean the folder.
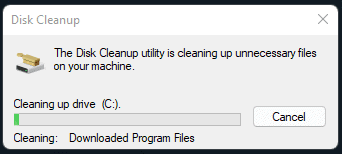
Step 8: Disk Cleanup will disappear automatically.
You have removed or deleted temp files from Windows 11 PC, and Disk Cleanup doesn’t inform or notify the users if the operation was successful or unsuccessful. Nonetheless, you can run the program again and find out from the file size under the “Files to delete” section.
ALSO READ: Set Gmail As Default Email Client In Windows 11
Delete Temp Files using Command Prompt
CMD or Command Prompt is an advanced tool to control, manage and purge anything in the Windows machine. You can clean the temporary files in the folder using CMD advanced tool, and that’s exactly what we are going to do.
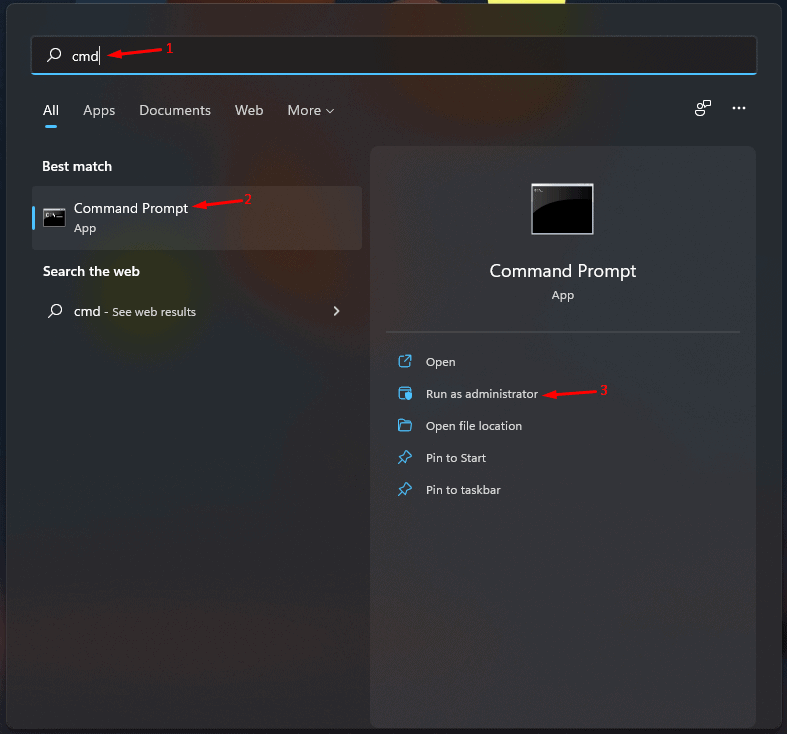
Step 1: Press the “Start” key to search for “CMD” and then run as administrator.
Step 2: Copy and paste the command (del /q/f/s %TEMP%\*) in the Command Prompt and then press enter key.
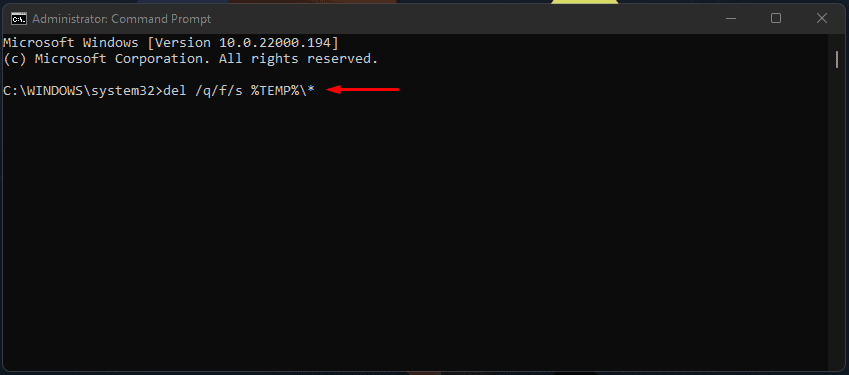
Step 3: CMD will remove it or you will end up having an error.
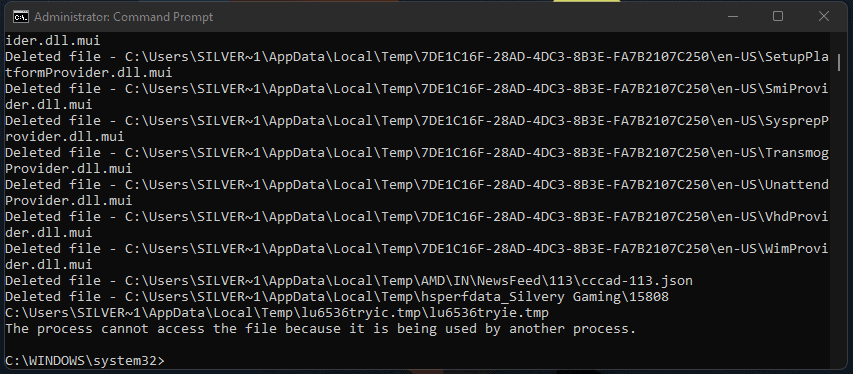
I have let Windows 11 manage the temp files on its own, which is “Storage Sense” in this case. So, Storage Sense is preventing any other program from interfering with the function.
ALSO READ: Windows 11 Won’t Boot? Ways To to Get PC Boot Again
Conclusion
Windows 11 is a prominent upgrade for the newer hardware, but I suggest the Windows 10 users stick to what they have. I have shown you all ways to delete temporary files in Windows 11, and it is 100% applicable in the 10th edition as well. The visual instructions may seem off, but it is relevant and works effectively. Let us know which method you chose to remove temp files in the comment section below.


")


")
")