- Windows 11 users can capture the screen using Win + Shift + S, but it may sometimes not work due to conflicts with other tools or processes.
- To resolve the issue, users can turn on Clipboard History, change the OneNote hotkey, reset Snip & Sketch, use PrntScrn as an alternative, update Windows, change the system date, run SFC and DISM scans, repair or reset the app, or reinstall the Snipping Tool.
- Following these steps can help fix the "Snipping Tool Not Working" error in Windows 11 and ensure efficient screen capturing.
Windows 11 users can capture a part of the entire screen by pressing Win + Shift + S. It will be copied on the clipboard. The feature is generally effective. Sometimes, however, it fails to work. In this guide, we will explain about How to fix when Windows + Shift + S is not working in Windows 11.
Fix Windows + Shift + S is not Working in Windows 11
When Snipping Tool, Snip, and Sketch Tool are in conflict, this issue can arise. It can also occur when OneNote keyboard shortcuts conflict. This can be resolved in several ways. Third-party processes can also interfere with its operation.
By pressing ‘Win+Shift+S,’ you will see a white/gray overlay appear on your computer screen. You will see a plus (+) symbol appear in place of your mouse cursor. This indicates that the capture mode is active. Select an area, then release the mouse. An automatic copy of the screen area is made. In case this doesn’t happen, here are the steps you must take in order to make Win+Shift+S work:
Switch on Clipboard History | This App Can’t Open.
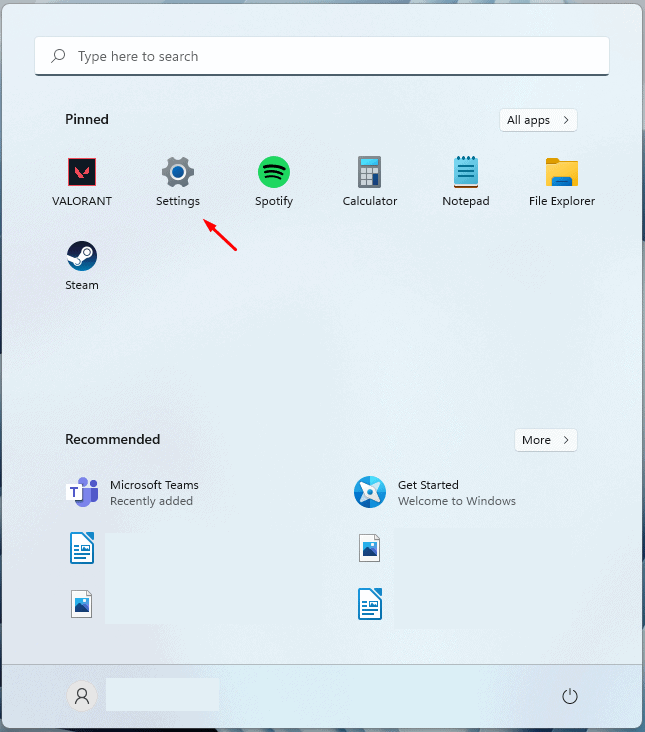
- Click on the Start button. Choose Settings.
- Select the ‘System‘ tile. Scroll down to Sound. Select ‘Clipboard‘.

- You can click it. Check the ‘Clipboard History’ switch in the right-pane.
- Turn the switch to “On” if it is not already on.
Changing the OneNote hotkey
Windows + Shift + S shortcut can be changed to another shortcut by using a registry hack.
- Start by pressing the Windows key. Type “regedit“.
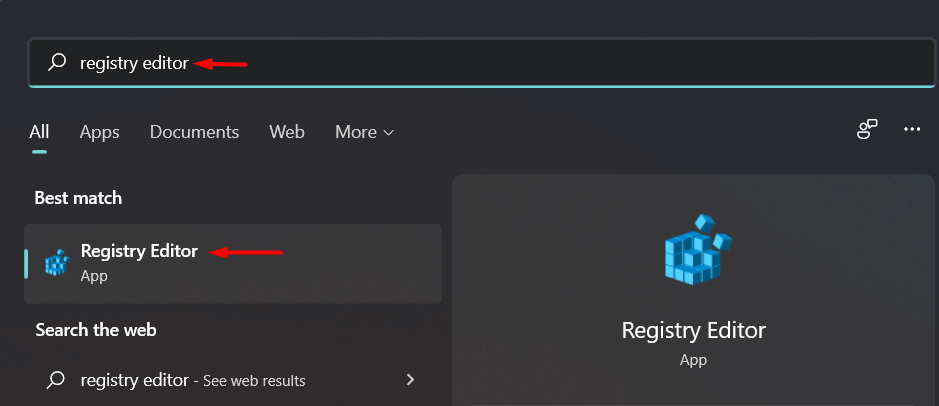
- From the search results, tap “Registry editor“.
Using the Registry Editor on your computer is confidential. We ask that you back up your computer’s registry before creating or modifying a new key.
- Click “Proceeding” after opening the Registry Editor. Select “Export“. To back up your existing registry key.
- On your computer, go to the following location:
HKEY_CURRENT_USERSoftwareMicrosoftOffice16.0OneNoteOptionsOther
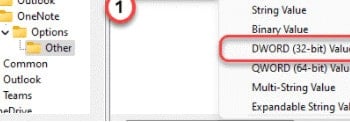
- Select the right panel by right-clicking. Click the New button. Select Value DWORD (32 bits).

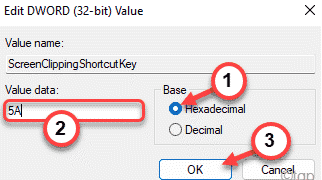
- Locate the ScreenClipping Shortcut key”.
- Double-click the key.
- Select “Hexadecimal” as the base.
- Set 5A as well. Select “OK” to save the changes.
 In this case, the Windows key + Shift + S will be the new shortcut key. Finish by closing the Registry Editor and restarting your computer.
Take a screenshot by pressing the Windows key + Shift + S keys after restarting the system.
Snip & Sketch Reset
In case the above methods do not work, try Resetting Snip & Sketch. Follow these steps.
Navigate to Settings. Click Apps. Scroll down to Apps & Features. Click Snip & Sketch.
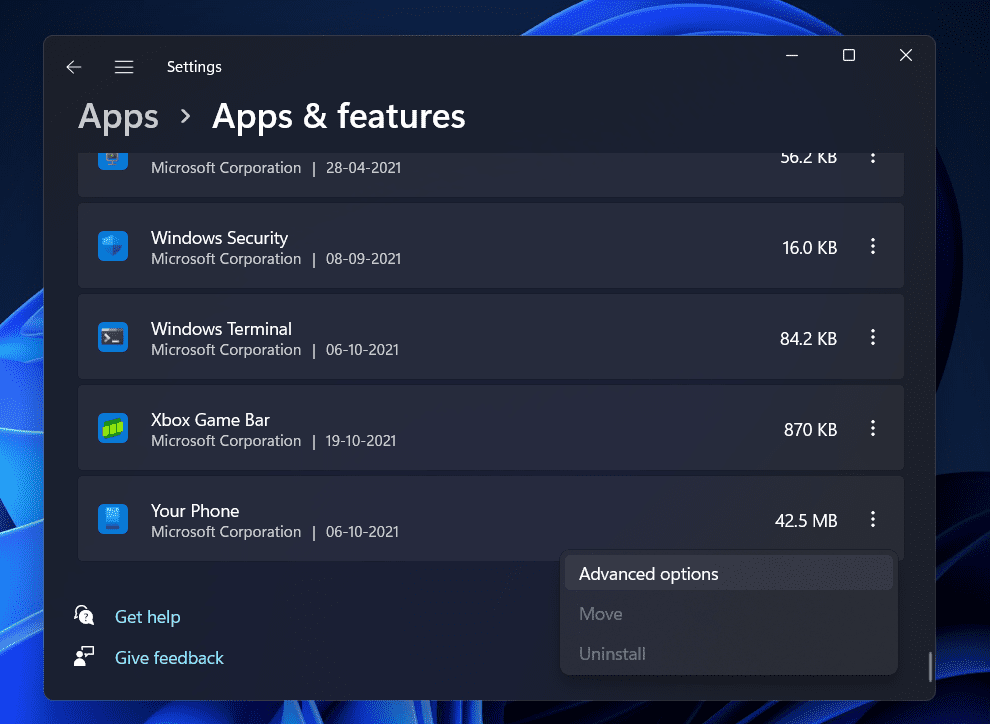
If you click on an option, a link titled ‘Advanced options‘ should appear. Select it. On the following screen, select ‘Reset‘.
From the Microsoft Store, you may also uninstall and reinstall the application. Click on ‘Settings’. Select ‘Apps’. Click on ‘Apps & features. Snip & Sketch will have an Uninstall button. You can uninstall it now. Later, you can reinstall it from the Microsoft Store.
Instead of Win+Shift+S, use PrntScrn
Alternatively, you can press PrntScrn instead of Win+Shift+S.
- Open Settings by pressing Win+I.
- Select Ease of Access. Select Keyboard. Y
- ou can open snipping by clicking the PrtScrn button. Make sure it is enabled.

Make sure the keys are clean
Ensure that none of the Win, Shift or S keys are stuck. Remove the keys from the keyboard and clean them.
Update Windows 11
This issue was faced by many users using Windows 11, and if you are facing this, then you are not alone. If you are unable to use the Snipping Tool on your PC, then you should try updating your PC to the latest version. To update your PC, follow the steps given below-
- Open the Settings app on your PC. You can search for the Settings app in the Start menu and then open it, or you can press the Windows + I key combo to open the Settings app on your PC.
- In the Settings app, head to the Windows Update section from the left sidebar.
- Now on the right side of the Windows Update section, click on the Check for updates.

- Download and install the updates that your PC finds and then restart your PC to make the changes.
- After installing the updates, try running the Snipping tool again and then check is opening or not in Windows 11.
Change To Some Other Date And The Revert Back
You should try changing the current date and time to some random date and time, and then revert to the original one. Many users have claimed that this has worked for them. Given below are the steps to change your date and time settings.
- Press the Windows + I key combo to open the Settings app on your PC.
- In the left sidebar, head to the Time & language
- Now on the right side, click on Date & Time and then disable the toggle for Set time automatically and also for the Set time zone automatically.
- Now click on the Change button right next to the Set the date and time manually Set to some random date and time.
- After you have changed the date and time, try running the snipping tool or press the Windows + Shift + S key combo. The snipping tool should work now on your PC.
- Now, head back to the Date & Time section in the Settings and turn on the toggle for Set time automatically and Set time zone automatically.
Run SFC And DISM Scan
SFC and DISM scans can be helpful if you want to scan your PC for any issues. SFC and DISM scan your PC for errors and fix them.
To run SFC Scan, follow the steps given below-
- Run the Command Prompt as the administrator. To do so, search for CMD in the Start Menu. Right-click on the Command Prompt, and then click on Run as administrator.
- Now in the Command Prompt, type sfc /scannow to run the SFC scan.

- Wait for the scan to complete, and then restart your PC.
- After doing so try using the Snipping Tool again and check if it works or not.
If the SFC scan didn’t help you, then you should run DISM on your PC. For that, you will have to run Command Prompt as administrator. We have already discussed how you can do so in the steps above, so you can follow them to run the Command Prompt with administrative.
- In the command prompt, type the following command to run the DISM-
- exe /Online /Cleanup-image /Restorehealth
- Wait for the process to complete and then restart your PC. Try running the Snipping Tool on your PC again, and this time you should be able to use it without any issue.
Repair And Reset The App
If you are facing a problem with the Snipping Tool, then you can try repairing or resetting. These are the two most common fixes to try if you have been facing problems with any app on your PC. To repair or reset the app, follow the steps given below-
- Open the Settings app by pressing the Windows + I key combo.
- Click on the Apps section on the left sidebar, and then on the right side click on Apps & features.
- Here, search for the Snipping Tool and then click on the three ellipses (dots) right next to the Snipping Tool. From the menu that opens up, click on Advanced Options.
- Scroll down to the Reset Here, click on the Repair button. This will fix any issues with the app. Wait for the process to complete and then try running the Snipping tool again.
- If repairing doesn’t work, then click on the Reset button to reset the Snipping tool
Reinstall Snipping Tool
If any of the above fixes didn’t help you solve the issue, then the last resort will be to reinstall the Snipping tool. To reinstall Snipping Tool, follow the steps given below-
- Press the Windows + X key combo on your keyboard.

- From the menu that opens up, select Windows Terminal (Admin). This will open Windows PowerShell with administrative privileges.
- You will have to use Windows PowerShell to reinstall the snipping tool. To uninstall the snipping tool, enter the following code in the terminal-
- get-appxpackage *Microsoft.ScreenSketch* | remove-appxpackage
- This will uninstall the Snipping tool from your PC.
- To reinstall the Snipping tool, type the following command in the Windows Terminal-
- Get-AppXPackage *Microsoft.ScreenSketch* -AllUsers | Foreach {Add-AppxPackage -DisableDevelopmentMode -Register “$($_.InstallLocation)\AppXManifest.xml”}
This should fix the issue for you, and you should now be able to use the Snipping tool without any problem.
RELATED GUIDES:
- How To Fix Copy and Paste Not Working in Windows 11
- How To Take a Screenshot On Windows 11
- Top 10 Best Screen Recording Software for Windows 11
- How To Clear DirectX Shader Cache in Windows 11
- Best Screen Dimmer & Brightness Apps for Windows 11
Conclusion – ‘This Snipping Tool App Can’t Open’ Fixed
This was all about How Windows + Shift + S is not working in Windows 11. We hope that after reading this article, you will be able to solve the issue. The above-mentioned steps are enough to solve this error. You can try them one and one and check which one works for you. If you still face some issues then you can comment below and we will try to help you out. You can also comment if you know of any other working method other than the methods mentioned in this article.
")


")