- Windows 11 lets you switch between multiple user accounts using methods like the Start Menu and Ctrl + Alt + Delete.
- Locking your PC (Windows + L) is a quick way to let another user sign in without logging out.
- Advanced options like Run command (tsdiscon.exe) and the new Task View method offer faster switching on Pro editions.
If multiple users use your PC, you may have multiple user accounts on your Windows 11 PC. When you hand over your PC to another user, you may want to switch user accounts. If you want to switch the user account, this article will help you. There’s not one but many ways to switch user accounts on Windows 11. In this article, we will be discussing how you can switch user accounts on Windows 11.
Switching Accounts Using Start Menu
The first way to switch accounts on Windows 11 is by using the Start Menu. To switch accounts using the Start Menu, follow the steps given below-
- Open the Start Menu on your PC by pressing the Windows key or clicking on the Start icon on the taskbar.
- In the Start Menu, click on your account profile.
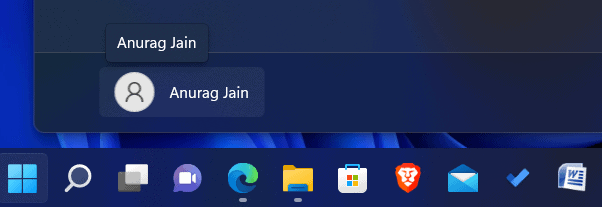
- From the menu that opens up, click on the account you want to switch to. You will be signed out from your current account and signed in to the new account.
Switching Account Using Ctrl + Alt + Delete
You can also switch your account on Windows 11 using the Ctrl + Alt + Delete key combo. To do so, follow the steps given below-
- Press the Ctrl + Alt + Delete key combo.
- Now from the next screen that opens up, click on Switch User.
- This will lead you to the login screen. From here, you can click on the account that you want to sign in to.
Switching Account Using Windows Terminal
You can still switch user accounts using Windows Terminal, but this method now has some limitations in the latest Windows 11 builds.
Important: This method only works on Windows 11 Pro, Enterprise, or Education editions. It may not work on Windows 11 Home, as Fast User Switching is often restricted or disabled by default.
To switch user accounts using Windows Terminal:
- Press the Windows + X key combo, then click on Windows Terminal (Admin) from the menu that appears.
- In the terminal window, type the following command and press Enter: tsdiscon
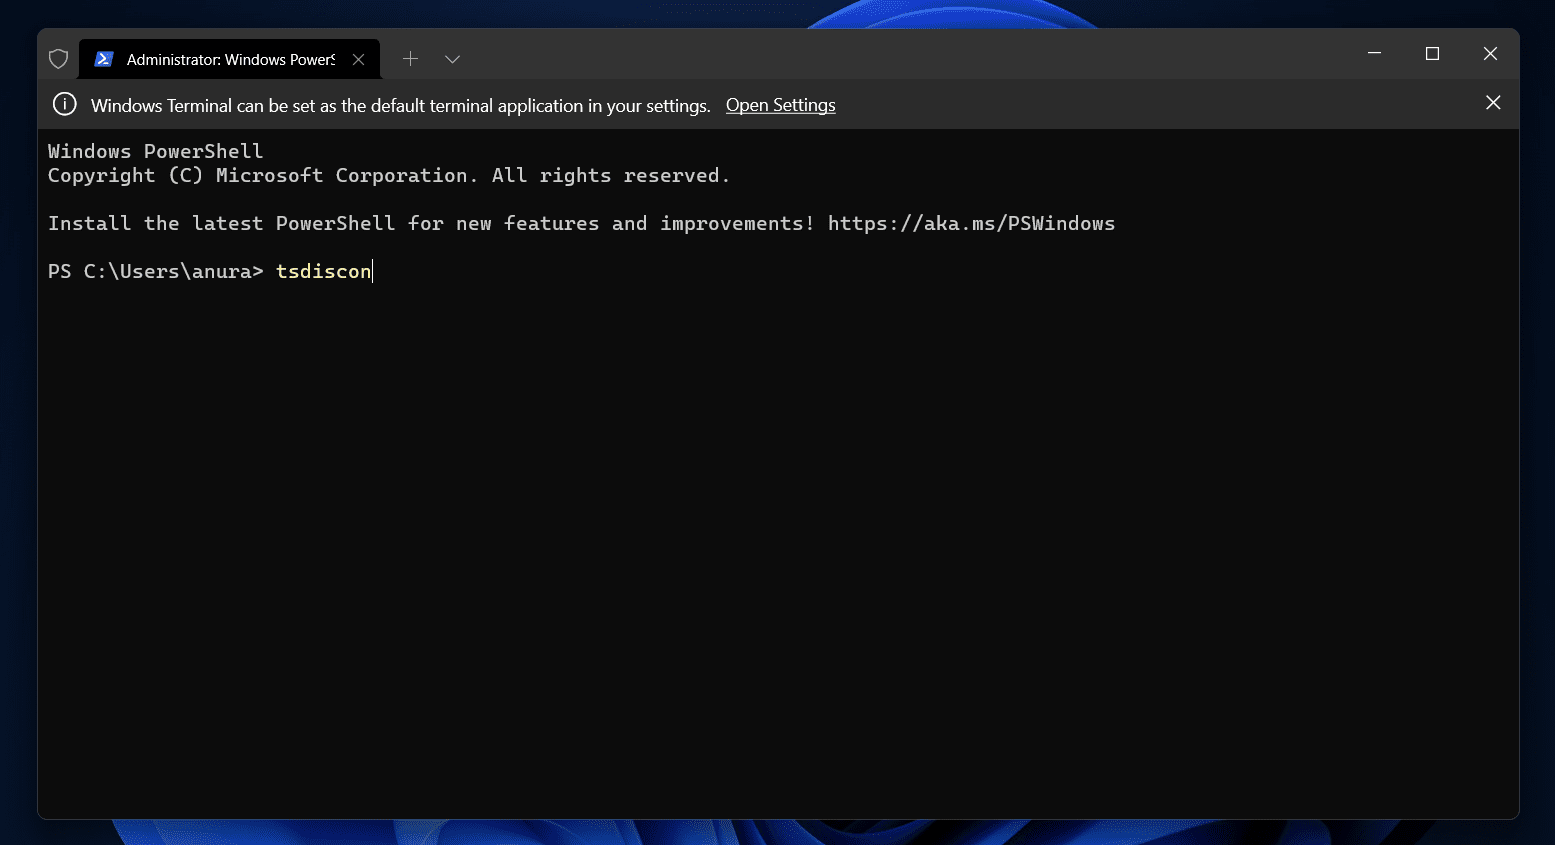
- This command disconnects your current session and brings you to the login screen. From there, you can choose another user account and log in.
🔒 Note: If the command throws an error or doesn’t work on your system, try the Run method mentioned below or use the Start Menu or Lock Screen methods instead.
Switching Account Using Run Dialog (tsdiscon.exe) — Alternative Method
If you’re more comfortable with the Run dialog instead of the Terminal, you can achieve the same result with this method:
- Press Windows + R to open the Run box.
- Type tsdiscon.exe and press Enter.
This will immediately log out your current session and take you to the login screen, allowing you to switch to a different account.
This method works the same as the Terminal command but is easier for most users.
Switching Accounts Using Task View
A new and convenient way to switch user accounts on supported versions of Windows 11 is through the Task View interface. This is especially useful on PCs where multiple users are signed in or in enterprise setups.
To switch accounts using Task View, follow the steps below:
- Press Windows + Tab to open the Task View window.
- In the top-right corner, you’ll see a User Account icon (if Fast User Switching is active and multiple sessions exist).
- Click on the icon, and select the account you want to switch to from the dropdown.
- You’ll be taken directly to the login screen for that account.
Note: This feature is currently available on Windows 11 Pro, Enterprise, and Education editions. It may not show up on Windows 11 Home unless certain Group Policies or multi-user sessions are configured.
This method is seamless and fast, especially if more than one account is signed in at the same time.
Switching Account Using Alt + F4 Key Combo
Another way to switch accounts in Windows 11 is by using the Alt + F4 key combo.
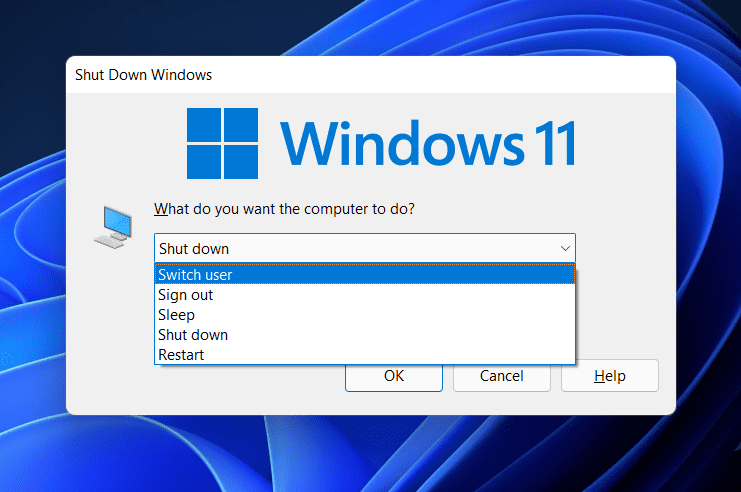
- To do so, press the Alt+ F4 button. This will open up the Shut-Down Windows dialog box.
- Click on the drop-down menu saying Shut Down and then click on Switch User. Now, hit Enter or click on OK, and you will be headed to the login screen.
- Here, select the account you want to switch, and you will be good to go.
Switching Account Using Lock Screen
Another easy way to switch user accounts on Windows 11 is by using the Lock Screen. This method is useful when you want to let someone else sign in without logging out of your session.
To do this, follow the steps below:
- Press the Windows + L key combo to lock your PC.
- On the lock screen, click anywhere or press any key to bring up the sign-in screen.
- You’ll see all user accounts listed at the bottom-left corner. Click on the account you want to switch to.
- Enter the password or PIN, and you’ll be signed in to that account.
This method keeps your current session running in the background while allowing another user to log in.
Final Words
These were the four ways to switch accounts on Windows 11. You can follow the above ways, and you will be able to log out and switch to a different user account on Windows 11. The last method mentioned in this article only works for Windows 11 Pro and higher, while the rest of the works for all the versions of Windows 11.
RELATED GUIDES:


Hi, none of these options work for me. The option simply isn’t available (e.g. using Ctrl + Alt + Delete, there is no “switch user” option. On the login screen I am only able to switch user when all other users are fully signed out. Do you have any other suggestions on how to switch users? Thanks