- Setting up Starlink involves downloading the app, checking for obstructions, and unpacking the kit, including a dish and necessary accessories.
- The installation process requires assembling and mounting the dish, connecting cables, and allowing the dish to self-align to search for satellites.
- Once connected, users can manage their Starlink system through the app, adjusting settings, checking network status, and monitoring speeds for optimal performance.
If you have got your Starlink, you have already done 50% of the setup. Because the waiting period is so tough and a lot of people lose hope, it is very intimidating. However, believe us the process is quite easy and you won’t break a sweat unless climbing the roof is a difficult task for you. In this Starlink setup and install guide, we will discuss everything you need to know in order to get your Starlink ready and working.
Starlink Setup And Installation Guide 2026
So, let’s dive into our Starlink setup and install guide without taking any more time.
Step 1: Download the Starlink App
The first step in setting up and installing Starlink is downloading the Starlink mobile app. The application is readily available for Android as well as iOS Devices.
The app is an integral part of controlling your Starlink internet connection. For the initial set up, this is a great help. After you have your Starlink set up and running, you’ll use the app to adjust various settings and fix any problems that may arise. Find Starlink by searching for it in AppStore or PlayStore.
If you don’t want to use the app, you can control your Starlink setup through a browser. If you have a computer that can access the Starlink Wifi network, all you have to do is go to this address: http://192.168.100.1/
Step 2: Check for Obstructions
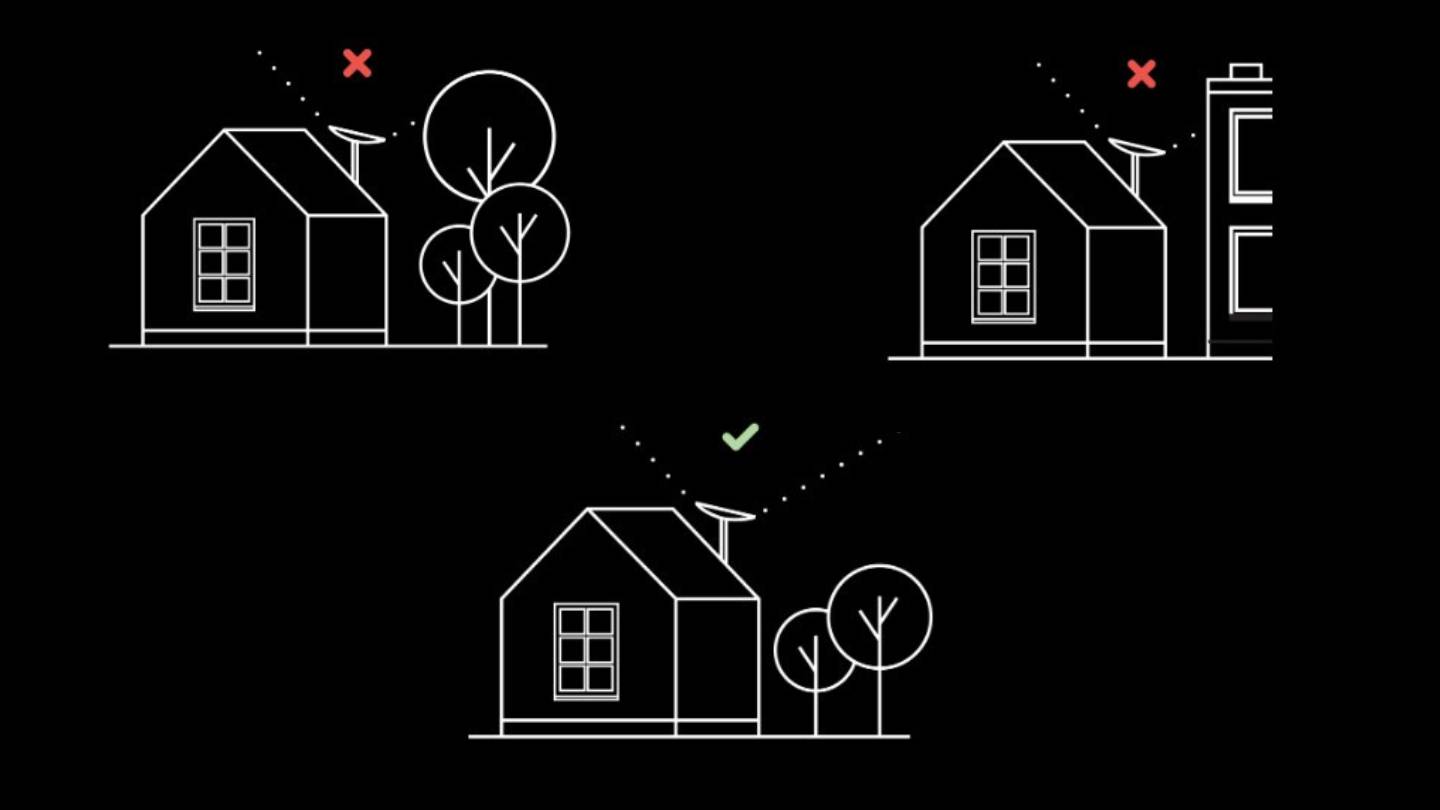
Once you have the Starlink delivered to your house, your next step is to check for obstructions, if any. Obstructions will lead to slow internet speed, and you might also encounter errors while using it.
We told you to download the app first because it has an excellent feature that can scan the area around a potential installation site for obstructions. Anything that stands in the way of a satellite’s signals is considered an obstruction (trees, buildings, etc.).
A view of the sky of at least 100 degrees is required for the Starlink dish. The dish will be angled slightly northward if you are located in the northern hemisphere. According to the app, your connection speed will decrease if there are any barriers in the way. If you want Starlink to work properly, you’ll need to find a mounting spot where there won’t be any interference.
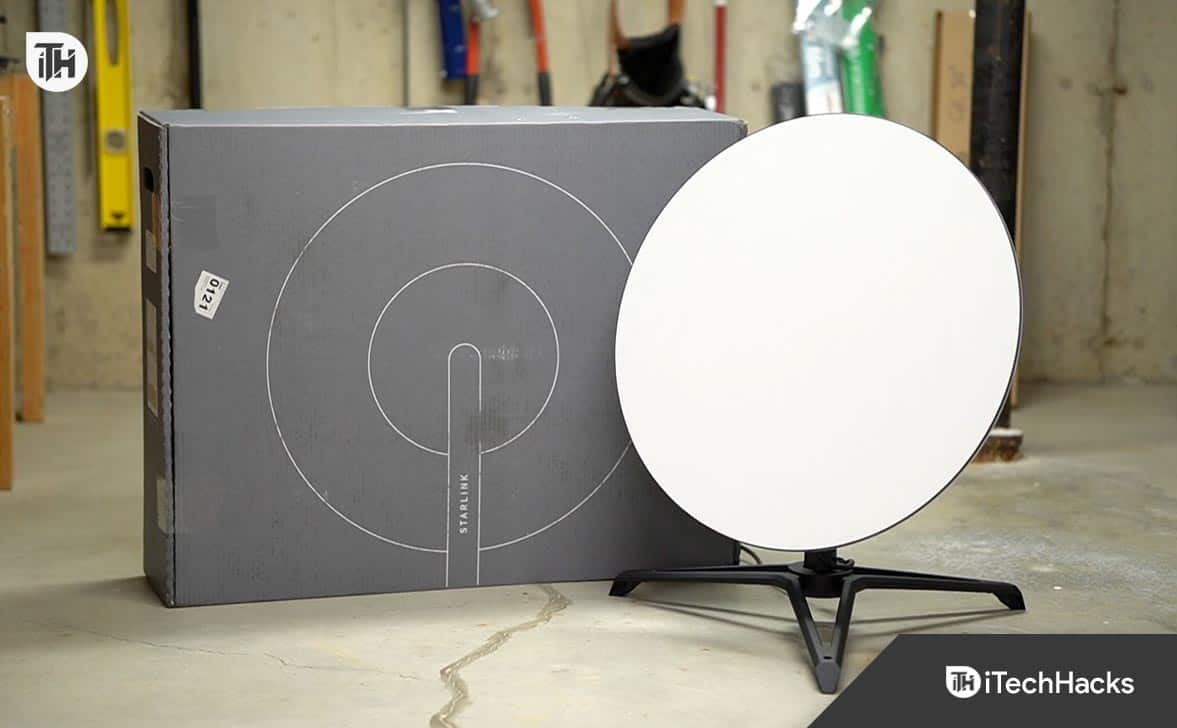
Step 3: Unpack Starlink Kit
The kit has everything you will need to set up and install Starlink at your home. You will get things that include: a mounting base, 75 feet cable, wireless router, router power cable, and dish.
Step 4: Assembling and Installing the Dish
Connect the dish to the dish using the 75-foot cable provided. The connector is located on the mast, relatively low up. You can use either of the cable’s sides. There are two connections – straight and elbow.
The straight connector will go into the dish. Insert and make sure the spring tabs are in place. Now you have to insert the mast into the mounting base and ensure that the springs tab and lock are in place.
The included mounting base is adaptable, serving as a solid foundation for fixed, temporary, or mobile setups. If you intend to install the dish on your roof permanently, you should still perform a trial run using the included base.
Once you’ve determined that there won’t be any obstructions to the dish’s signal, you can set it up there. Please keep in mind that Starlink performs optimally only when there are no obstacles in its path.
Step 5: Plugin Everything
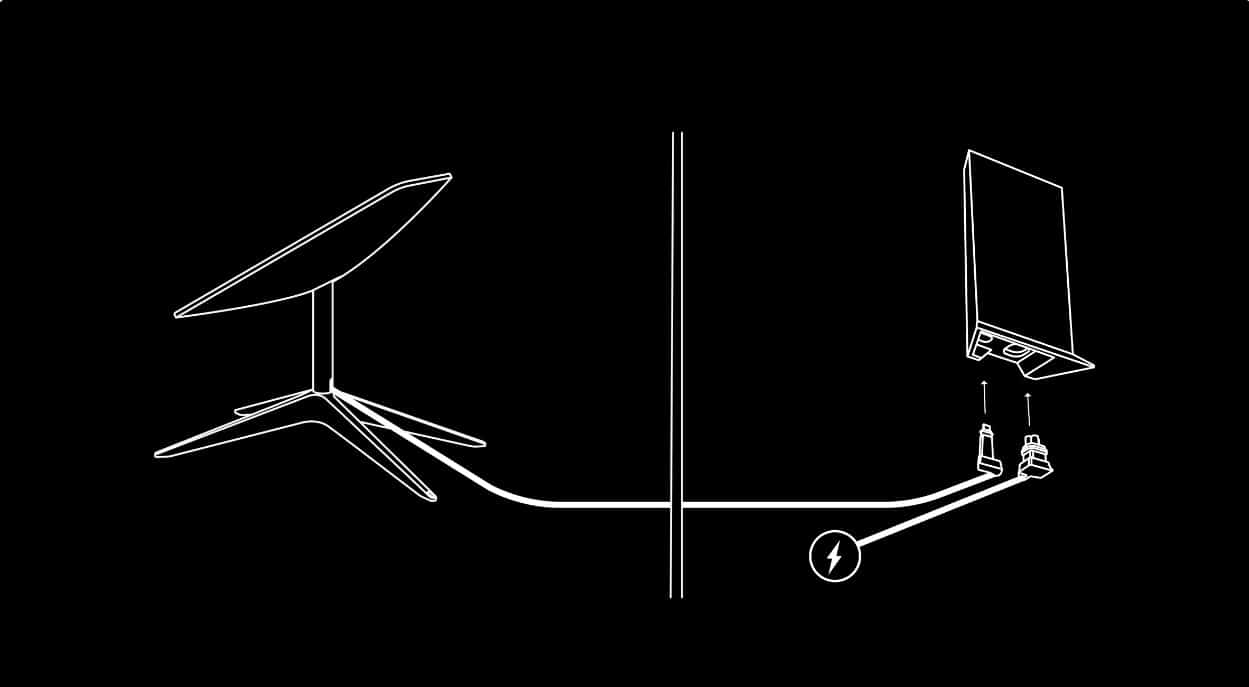
The 75-foot cable that has the elbow end will be routed inside your house and connect to the bottom of your router.
If you want this installation to be permanent, you will need to drill holes to route the cable from the outside of your home to the inside. In case you want to test it, pulling it through the window is just fine.
Final connection stats after plugging the router into your wall socket using the power cable. Make sure your dish is mounted at the right location before plugging in everything. This is because once you connect to the power, it would not be safe to move anything. Also, make sure that where you have mounted the dish, the dish is free to rotate or tilt. Once you turn on the power, the dish will start searching for satellites.
One of the best things about Starlink is that it self-aligns, so you don’t need to get on the roof and move or align it. Just make sure there are no obstructions.
Step 6: Connect to Starlink
Once all the above steps have been followed correctly, you have to turn on WiFi on your phone or PC. You will see a new WiFi device named either Stinky or Starlink. Connect to it.
Once your connection is successful, a new window will open automatically to configure the system. You can now enter a new password and a new name. Once you change the password and save it, you will be logged out of your WiFi. Now connect back using the new password.
Step 7: Use the Starlink App to Manage

This is the final step of this Starlink setup and installation guide. You have to install the Starlink app on your Android or iPhone. Log in using the credentials provided.
In the main home screen of the app, you will see the Status Dashboard, which will show you everything about Starlink. If you have turned on the dish right now, you will see it searching for satellites.
There are three options on the dashboard of the Starlink app:
- Visibility: This page will show you obstructions if any, and ask you to clear them so that your network doesn’t interfere. This is very helpful if you live in a forest area or have many buildings nearby.
- Statics: This page will show you statistics such as network strength, usage history, latency, and network bandwidth. If your Starlink is not working, you will see issues on this page. However, this page will start showing once your Starlink is on for 12 hours or more.
- Speed: Using this option, you can check your download and upload speeds right from the Starlink app. Starlink claims speeds of 50–250 Mbps for downloads.
- Settings: There are a variety of settings in the app. This ranges from the most basic to the most complex, which can be adjusted. Changing the WiFi name and password, restarting Starlink, activating the snow-melt feature, changing SSID, and so on.
STARLINK Internet Dish Installation Manual
STARLINK is a satellite internet service provided by SpaceX. To install the service, you will need to purchase a STARLINK kit, which includes a dish, modem, and router. The dish needs to be mounted on a clear line of sight to the sky and then connected to the modem and router.
How to Get Starlink Support
Start up the Starlink app (or head to the website) and head to the Support menu for official support. You can either type in your question or peruse the various help articles. If you have a question that isn’t addressed in the help articles, you can submit a ticket to Starlink for assistance. Here’s a more detailed guide on contacting Starlink support.
Can I Bury My Starlink Cable?
As of now, Starlink hasn’t provided information about the burial of the cable. So, we cannot comment on it right now. If you absolutely need to bury the cable, you can take a PVC pipe and pass the cable through that.
The Bottom Line
Well, that’s all we have here with our Starlink setup and install guide. We hope this guide has helped you setup your Starlink. If you still have any problems, you can contact support or comment below.
RELATED GUIDES:
- Starlink Internet Plans Explained 2026 | Reviews
- Median Starlink Latency And Ping Times 2026
- How To Order and Buy a Starlink Ethernet Adapter
- Starlink High-Performance Dish For In-Motion Upgrade Option
- How to Find Out If Starlink Internet Is Available In Your Area
- How to Create Starlink Account and Login

")


