- LSASS.exe is the Local Security Authority Subsystem Service responsible for enforcing security policies on Windows PCs, but high CPU usage may indicate a virus infection.
- You can check if LSASS.exe is causing high CPU usage by accessing Task Manager, scanning for viruses, updating Windows, or performing a system restore.
- To fix LSASS.exe high CPU usage in Windows 11, scan for viruses using Windows Defender, update Windows, or perform a system restore if necessary.
LSASS, well-known as the Local Security Authority Subsystem Service, is a Windows process that enforces the security policy on your PC. This process is responsible for handling all the password changes and creating the access tokens when updating the security log. Many users have reported this process to be taking high CPU usage. So why does LSASS.exe causes high CPU usage? This process can easily be affected by the virus and malware and may cause this issue.
Let’s discuss the LSASS.exe high CPU usage issue in Windows 11 and how you can fix it.
How To Check Whether LSASS.exe Is Causing The Issue Or Not?
Well, if you notice any performance lags or speed issues on your PC, then it may be possible that the LSASS.exe process is involved behind that. It is often reported that due to being infected by the virus, the LSASS.exe high CPU usage issue may occur in Windows 11. To check whether LSASS.exe is causing the issue or not, follow the steps given below-
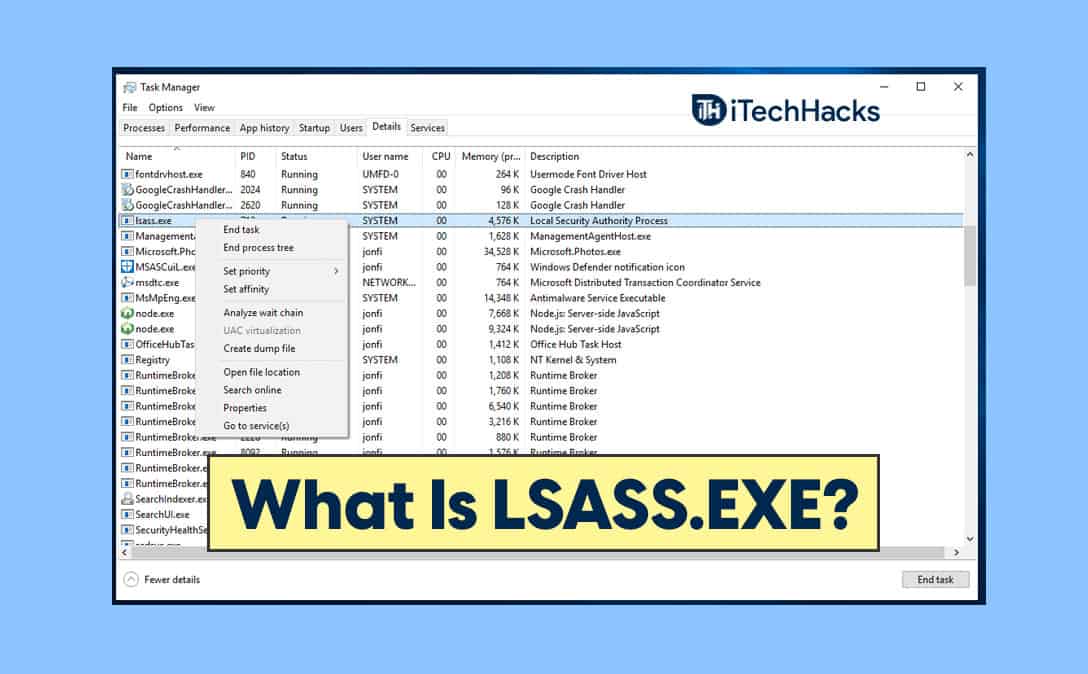
- In the start menu, search for Task Manager and open it. You can either press the Ctrl + Alt + Del key combo to open Task Manager on your PC.
- Head to the Processes tab in the Task Manager. Here, search for the LSASS.exe process.
- Check if the process is consuming a lot of CPU resources or located outside path C:/Windows/System32. If you notice any of it, it means that the LSASS.exe is infected by the virus and is causing the high CPU usage issue.
Fix Terminated LSASS.exe High CPU Usage Issue In Windows 11
If you face this issue, you should follow the steps given below to fix the issue.
Perform An Antivirus Scan
You can scan your PC with an antivirus to check for any virus infection. You can use Windows Defender, which is a built-in virus protection software from Windows. Prefer using Windows Defender to scan your PC for virus infection or malware infection.
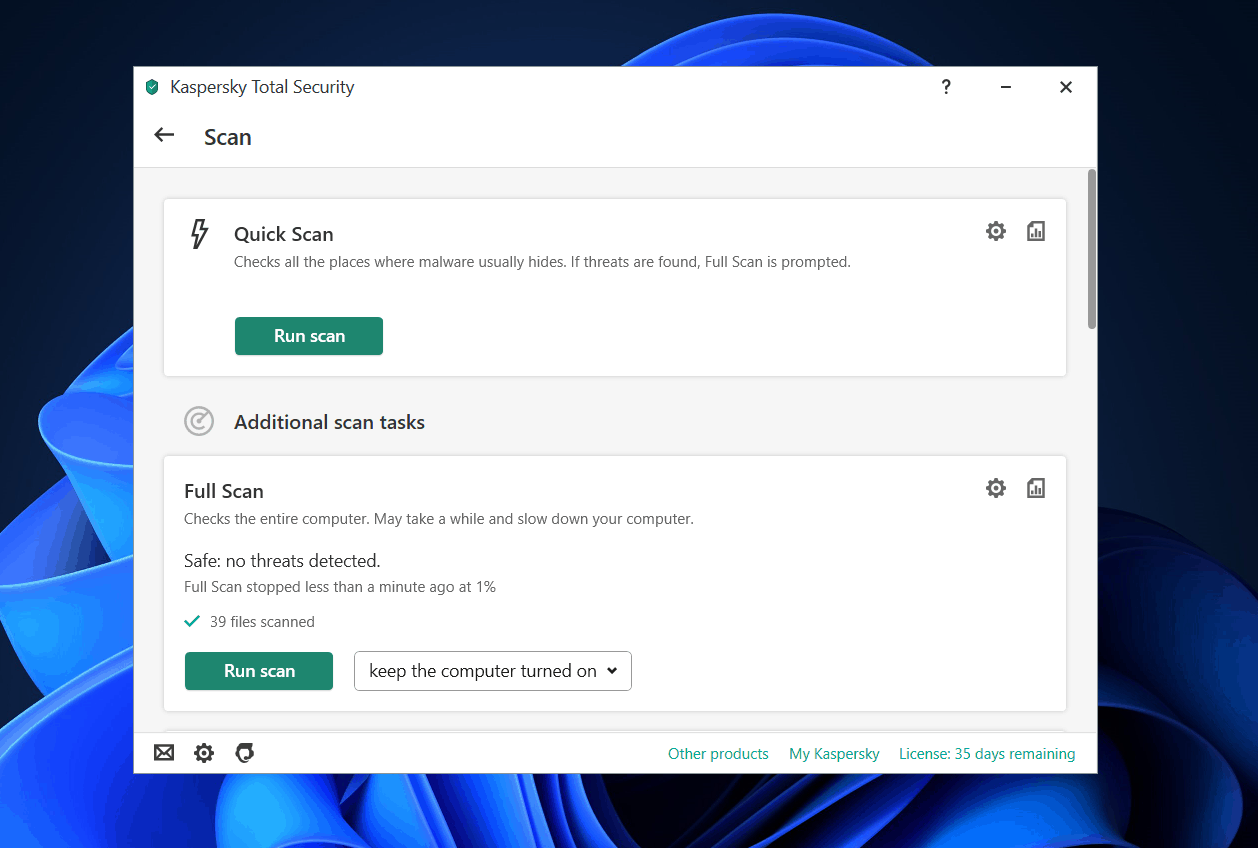
However, if you use any third-party software on your PC, you can prefer to scan your PC for viruses. Scan your PC with a virus, and fix the virus infection, and then check if you still face the issue or not.
Update Your Windows
You can try updating your Windows 11 to fix the issue. Many times this issue may occur due to bugs in the system. Such bugs can be fixed by install a Windows update on your PC. To update your Windows, follow the steps given below-
- Head to the Settings of your PC. You can do so by pressing the Windows + I key combo.
- In the settings, click on Windows Update from the left sidebar.
- Now on the right side, click on check for updates to begin checking for updates.

- Install all the updates that you find, and then restart your PC.
Now check if the LSASS.exe is still consuming a lot of CPU resources or not.
Perform A System Restore
Even after trying all the above fixes, if you still face the issue, the last option will be to perform a system restore. Do note that this method will only work if you have created a restore point before. If you didn’t create a restore point before, this method wouldn’t be of any use to you. If you have created a restore point earlier, follow the steps below to perform a system restore.
- Open the Start Menu by pressing the Windows key or by clicking on the Start icon.
- In the start menu, search for Create a restore point and open it. This will take you to the System Protection tab in the System properties app.
- Here, click on System Restore to open the System Restore window.
- Click on next in the System Restore window to move ahead.

- Now you will be asked to select the last restore point you created. Select the restore point, and then click on scan for affected programs to check what changes will be made to your system.
- This will show you what apps and data will be deleted or added to your system after revert using the system restore. Now close the scan for affected programs window by clicking on the close button.
- Click on next to continue ahead with the system restore process. Now follow the on-screen instructions to perform the system restore.
RELATED GUIDES:
- Disable Antimalware Service Executable for High CPU Fix
- Fix SmartByte Network Service Telemetry On Windows 11
- Service Host SysMain High Disk Usage In Windows 10
Final Words
If you face the LSASS.exe high CPU usage issue, then the steps mentioned in this article will help you solve it. Following the above steps, you will be able to solve the issue you are facing. We hope this article helps solve the LSASS.exe high CPU usage issue in Windows 11.

")


")


