- Reagentc.exe WindowsRE image not found error occurs when enabling reagentc using reagentc /enable command, due to deleted recovery image or formatted recovery partition
- To fix the issue, download and install 7-Zip, get Windows ISO, mount it, extract Windows Recovery Image, copy files to correct location, and run reagentc /enable command
- Follow the detailed steps to extract and paste the files at the correct location, run Command Prompt commands, and ensure Windows RE status is enabled for a successful fix
Troubled by Reagentc.exe WindowsRE image was not found error message? This issue occurs when trying to enable reagentc using the reagentc /enable command. If you are getting this error then that means either the recovery image has been deleted, or if you are having the recovery partition, then it has been formatted.
If you are stuck with this error and finding no path to go ahead then we are here to guide you with it. In this article, we will be discussing how you can fix the Reagentc.exe WindowsRE image, which was not found error.

What is the WindowsRE Image File?
WindowsRE Image file, as the name suggests, is the image file for Windows Recovery Environment. This file enables certain options on the PC like reset, system restore, system image recovery, startup repair, etc. If you have been getting the Reagentc.exe WindowsRE Image was not found message, then that means the recovery image has been deleted from the location, or the recovery partition (where the recovery file is) is formatted.
If you get this error, then that means you won’t be able to recover your PC in case of system failure. In case your system goes through some crash, and you need to restore it or perform the startup repair then those options won’t be available for you. Not only this, but even if you try to reset your PC, then you won’t be able to do that either.
Ways to Fix Reagentc.exe WindowsRE Image Was Not Found
If you have been getting Reagentc.exe WindowsRE image was not found error message, then you need to get the Windows recovery environment image file and put it back in the location. If the file has been deleted, then you will have to use the Windows Installation media to put it back. Below is the step-by-step process to help you fix this issue-
1. Install 7-Zip
The first step is to download and install 7-Zip on your PC. To do so, follow the steps given below-
- Head to the official download page of the 7-Zip.
- Here, you will see different download options; click on the Download button next to the appropriate 7-Zip version.

- Once done, open the File Explorer by pressing Windows + E key combo, and head to the Downloads folder from the left pane.

- Double-click on the 7-Zip setup to run the installer.
- Now, follow the on-screen instructions to install 7-Zip.

2. Get Windows ISO and Mount it
The next step in this process is to get the ISO of whatever Windows is installed on your PC. If it is Windows 10 then you will have to get the Windows 10 ISO, and if it is Windows 11 then you will have to get the Windows 11 ISO. After getting the ISO you will have to mount it to begin with the next step. Here are the steps to help you with it-
- Open the browser and head to the Windows 11 or Windows 10 download page. If your PC has Windows 11 then head to Windows 11 download page else visit Windows 10 download page.
- Under the Create Windows 10/11 Installation Media, click on the Download Now button. This will download the Windows ISO.

- Head to File Explorer by pressing the Windows + E key combo, and click on the Downloads folder from the left pane.
- Now, double-click on the downloaded Media Creation Tool file. When the UAC prompt appears, click on Yes.
- Click Accept for the ‘Notice and license terms.’

- Now, check the ‘Use the recommended options for this PC’ checkbox and click on the Next button.

- After this select the ISO File option and then click on Next.


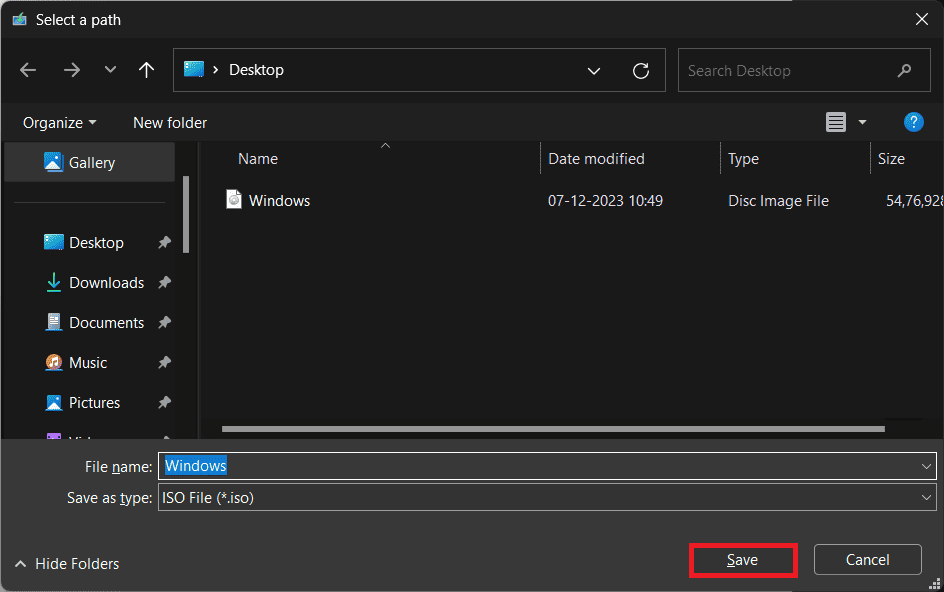
- Select the download location and set the file name; click on Save to continue.
- Wait for the process to complete and this will download the file.
- Once downloaded, head to the location where the Windows ISO is downloaded. We downloaded our ISO file to Desktop so we will be moving to Desktop.
- Right-click on the Windows ISO file and then click on Mount to mount the ISO.

3. Extract Windows Recovery Image
Now the last step is to extract the Windows Recovery image from the mounted ISO file and paste it at the correct location. To do so, follow the steps given below-
- Press the Windows key to open the Start Menu. Here, search for 7-Zip File Manager and press Enter to launch it.

- Here, double-click on Computer.

- You will see the list of all the partitions; open the mounted partition which has Windows setup files.


- Now, double-click on the Sources folder to open it.

- Double-click on install.esd file to open it. If you don’t find this file then search for install.wim and open it.

- You will now see seven folders numbered from 1-7. You will have to open the correct folder depending on the Windows version on your PC. Here’s what folder to open for different Windows versions-
- 1- Windows 10/11 Home
- 2- Windows 10/11 Home N
- 3- Windows 10/11 Home Single Language
- 4- Windows 10/11 Education
- 5- Windows 10/11 Education N
- 6- Windows 10/11 Pro
- 7- Windows 10/11 Pro N
- Open the corresponding folder as per the above list. We have Windows 11 Home installed on our PC so we will be opening the folder named 1.

- Now head to the following location-
- Windows>System32>Recovery

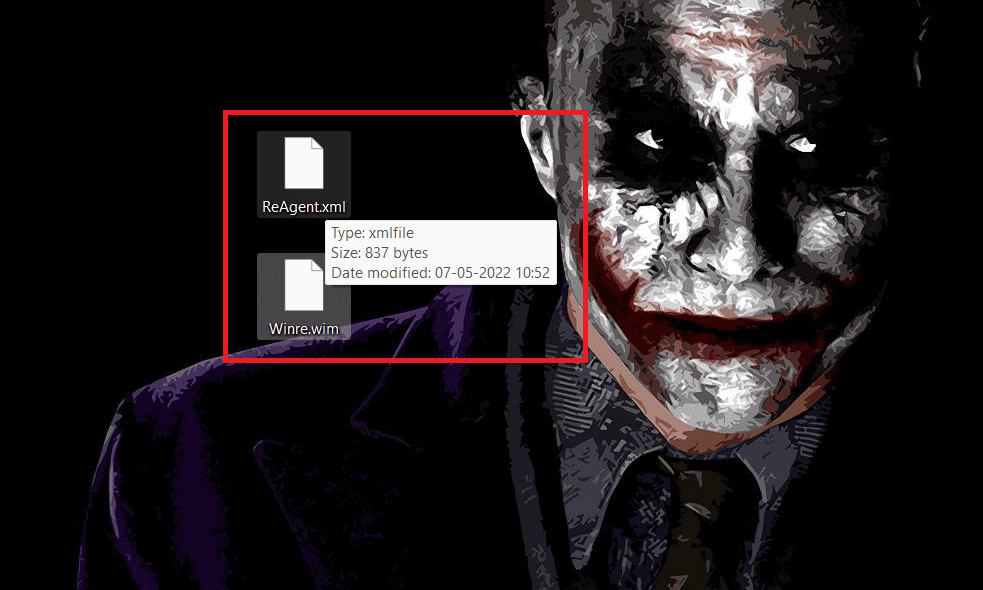
- You will see two files here-
- ReAgent.xml
- Winre.wim
- Select both these files, right-click, and click Copy to button from the right-click menu.

- On the pop-up window, click the three dots button, as shown in the image below.

- Select Desktop and then click on OK.

- Click on the OK button again to copy the files to the desktop.

- Once done, close the 7-Zip and head to the desktop.
- Select both the files, i.e., ReAgent.xml and Winre.wim, and copy them.
- Open File Explorer by pressing the Windows + E key combo, and head to the following path-
- C:\Windows\System32\Recovery

- Paste both files in this location.
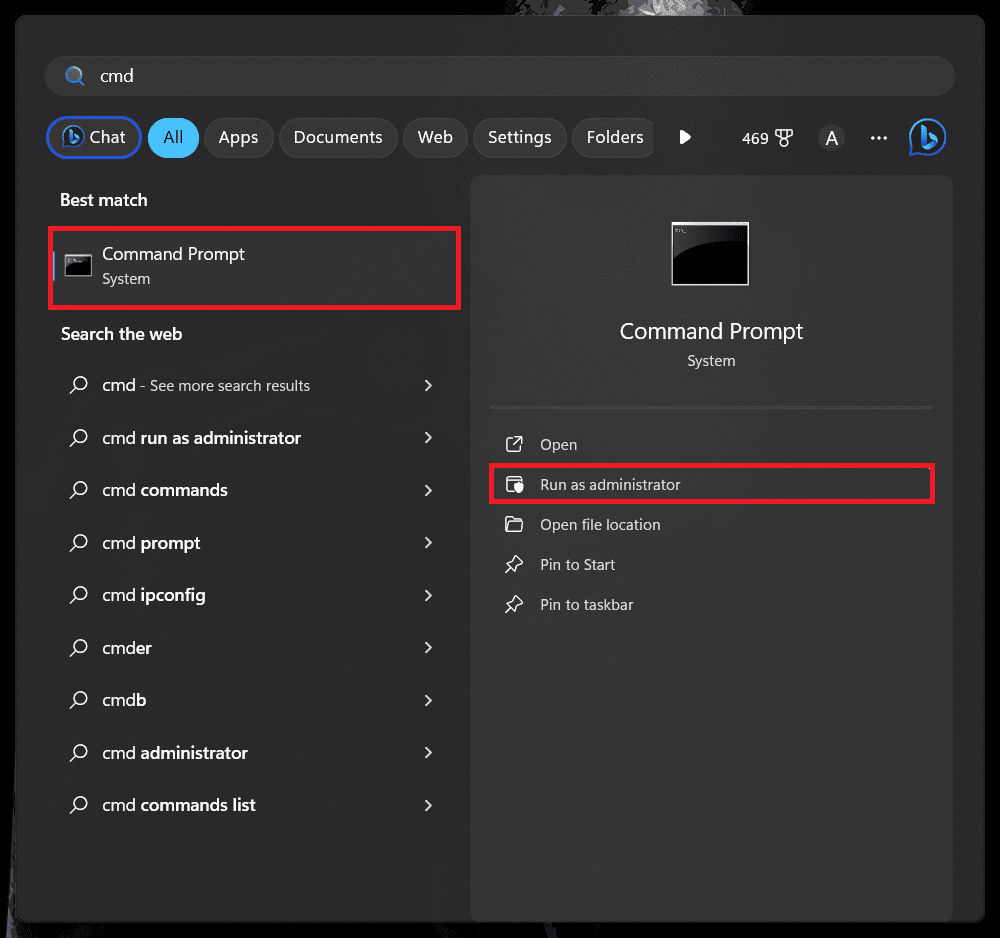
- Once done, open the Start Menu, search for Command Prompt, select it, and then click on Ru as Administrator.
- Now, execute the command given below one-by-one-
- reagentc /enable
- reagentc /info
- The command should run without the error and you will see the Windows RE status as Enabled.

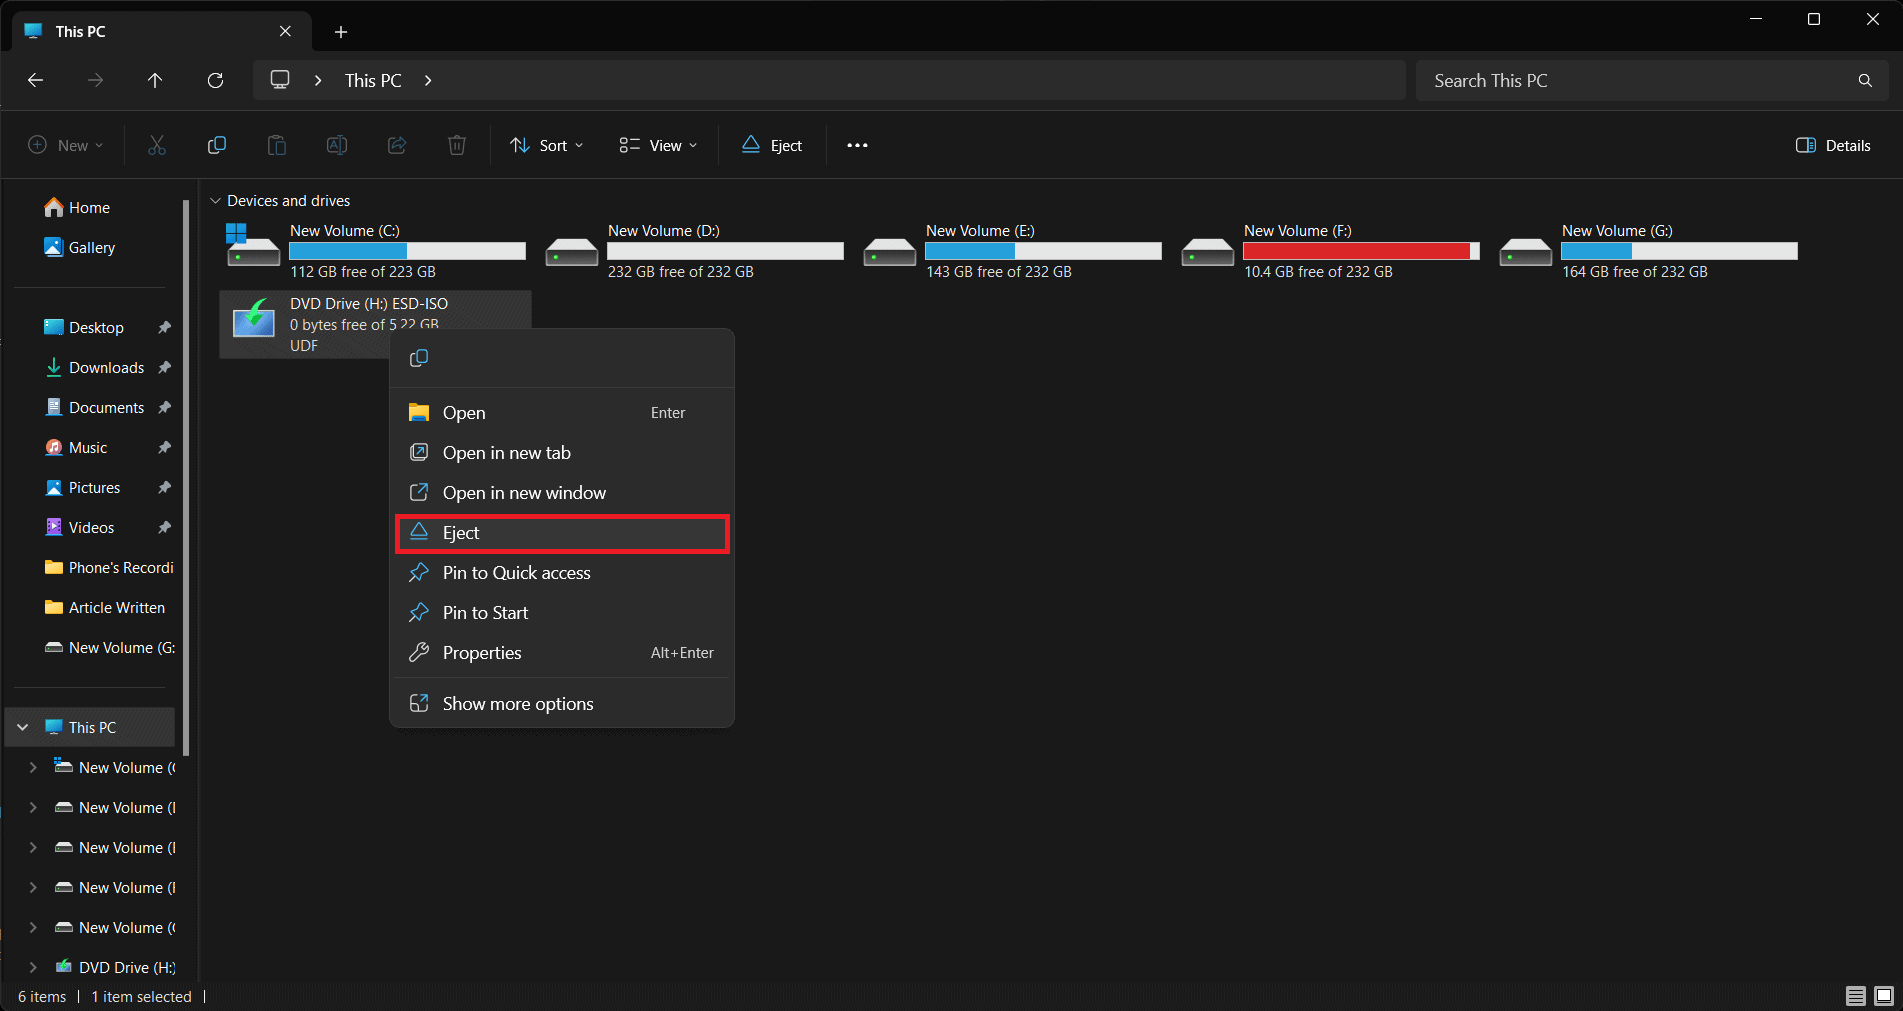
- Now, close the Command Prompt and open the File Explorer.
- Right-click on the mounted Windows ISO, and click on Eject to unmount it.
Conclusion
If you have been facing Reagentc.exe WindowRE image was not found then the above steps should help you fix the issue. Ensure you follow all the steps mentioned above carefully and do not miss even a single step. We hope you find this article helpful, and if you have some doubts regarding the steps mentioned above, you can let us know in the comments section below.
READ MORE:
- 8 Ways to Fix Windows Can’t Connect to this Network Error in Windows 11
- 7 Ways to Reset Windows 11 Update Components
- 12 Ways to Fix 0xc00000e9 Error Code in Windows 11
- 6 Ways to Fix Generic PnP Monitor Driver Problem on Windows 11
- Top 6 Ways to Fix Screenshot Not Working on Windows 11
- Fix: Windows 11 Not Showing Up In Windows 10/8 Update Settings


You dont need to mess with the partitions, just put winre.wim back in c:\windows\system32\recovery and run the update, it FAILS because this file is missing, putting it back and running the update again lets the update work.
of course make sure reagentc is active afterwards
Thank you very much Anurag, your document help me exactly on was I was needing!
In some cases, we really need to modify, move, delete the RECOVERY partition, and I was able to delete the original Recovery partition, but then when I needed to recreate it in a diferent position, I was completely lost.
Following all steps you mentioned here, I was able to acomplish what I needed.
Thanks again, and have a nice day!