- Generic PnP Monitor problem on Windows 11 can be due to driver issues or faulty hardware, similar to Windows 10.
- To fix the issue, check hardware connections, update the driver through Device Manager, reinstall the driver, update Windows, run an SFC scan, and update the graphics card driver.
- Following these steps should help resolve the generic PnP Monitor issue on Windows 11 efficiently.
Generic PnP Monitor problem is another common issue that you may face with Windows 11. The issue can often be due to driver issues, while sometimes it can be because of faulty or misconfigured hardware. The issue is common in not only Windows 11, but users also face it with Windows 10. If you are facing this issue, then there is nothing to worry about it.
Fix Generic PnP Monitor Issue in Windows 11
In this article, we will be discussing how you can fix the generic PnP Monitor problem in Windows 11.
Try Checking Your Hardware
You should check for the hardware issues because that’s the most common cause of this error. You should try reconnecting the monitor to the monitor. Also, check if the cables connecting your PC and your monitor are properly connected.
Check for the faulty cables and the hardware. If the cable is faulty, you will have to replace them, or if there are some hardware-related issues with the monitor, you will have to get it fixed by an IT expert. However, if there are no issues with the hardware and your monitor is properly connected to your PC, you should move to the next troubleshooting step.
Update Generic PnP Monitor Driver
As we have discussed, this issue can be caused due to some issues with the driver. Therefore, you should prefer updating your generic PnP monitor driver and then checking if you still face the issue or not. To update the Generic PnP monitor driver, follow the steps given below-
- Right-click on the Start icon on the task manager, and then click on Device Manager from the menu that opens up.
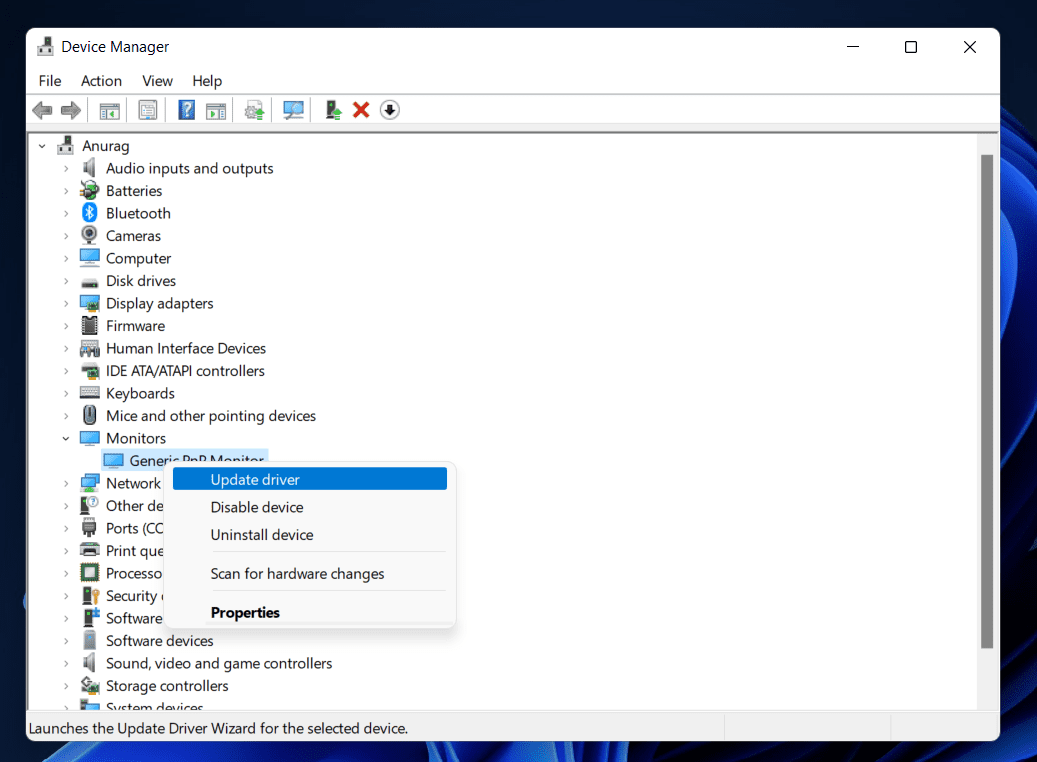
- In the Device Manager, expand the Monitors section by double-clicking on it.
- Here, select the Generic PnP Monitor, right-click on it, and then click on Update Driver.
- After updating the driver, restart your PC, and the issue should be fixed.
Reinstall Generic PnP Monitor Driver
If updating the Generic PnP monitor driver didn’t help solve the issue you were facing with it, you should try reinstalling the driver. To reinstall the Generic PnP monitor driver, follow the steps given below-
- Open the Device Manager on your PC.
- Select and expand the Monitors section by double-clicking on it.
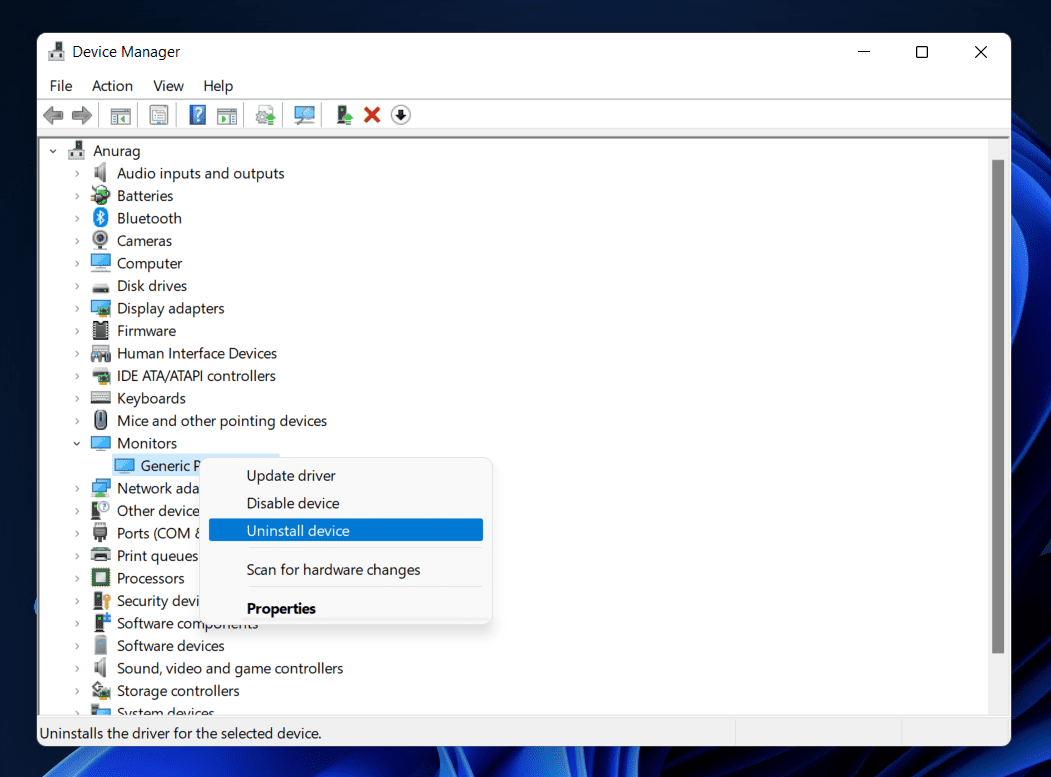
- Now from the expanded list, select Generic PnP Monitor. Right-click on it, and then click on Uninstall Device.
- You will get a confirmation prompt asking you whether you want to uninstall the monitor or not. Click on Uninstall.
- Once done, close the Device Manager and then restart your PC. Restarting your PC will reinstall Generic PnP Monitor Driver on your PC.
Update Windows 11
You may face this error if you are on an outdated version of Windows 11 or if your system version has bugs. Sometimes these bugs may be resolved in the latest update of the Windows released by Microsoft. You should prefer updating your Windows and then checking if you encounter the error or not. To update Windows, follow the steps given below-
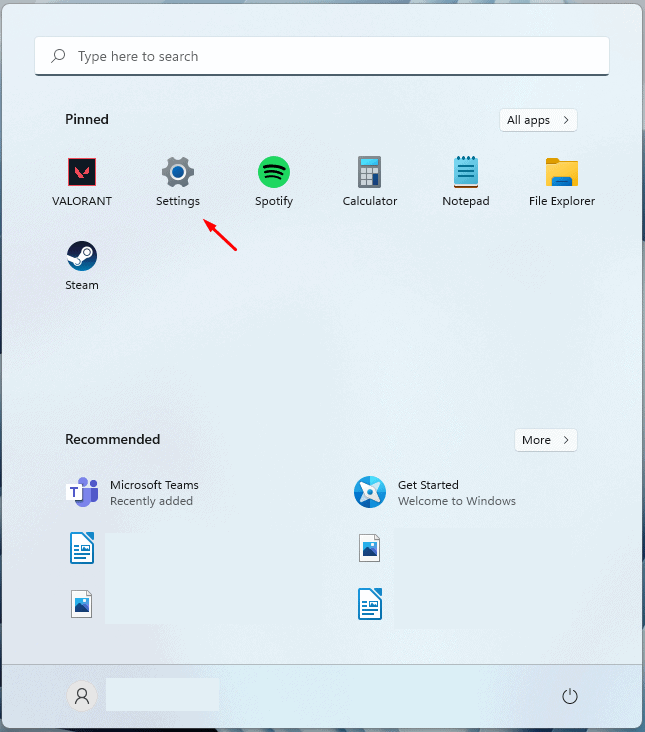
- Open the Settings app on your PC. The keyboard shortcut to open the Settings app is Windows+I.
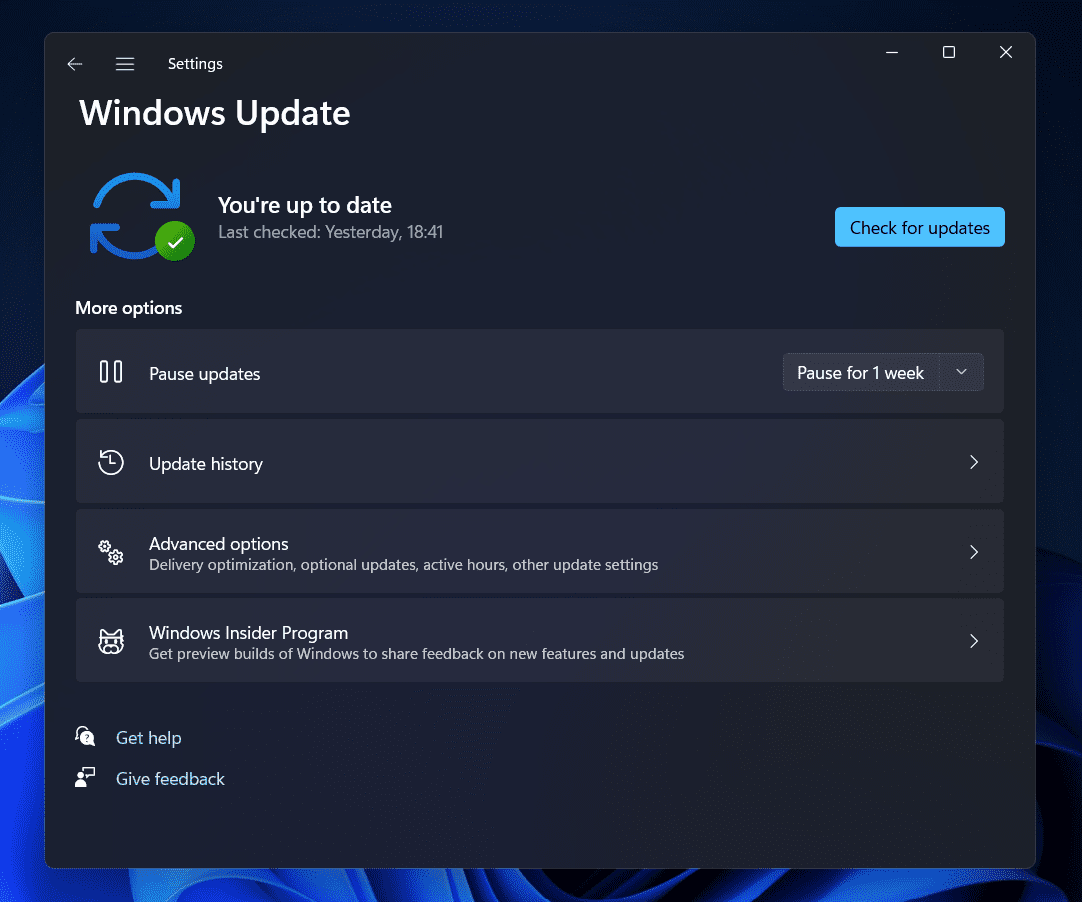
- Click on the Windows Update on the left section of the Settings.
- Now on the right side, click on the Check for Updates.
- Download and install all the updates available. After the driver has been installed, restart your PC, and the issue should be fixed.
Run SFC Scan
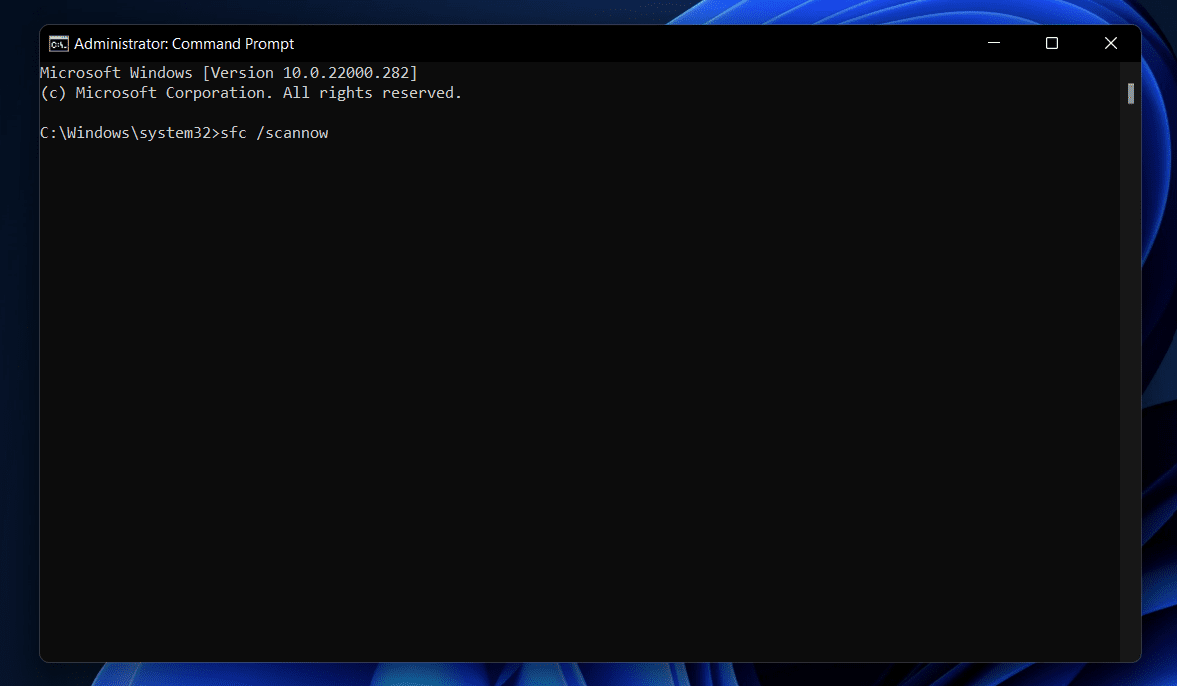
Running the SFC scan can also help you solve the issue. SFC scan or System File Checker fixes the issues caused due to corrupted files in your system. You should try running the SFC scan to fix the issue. To run the SFC scan, follow the steps given below-
- Firstly, run the Command Prompt as administrator. To do so, search for Command Prompt in the Start Menu. Right-click on the Command Prompt and then click on Run as Administrator.
- In the Command Prompt, type SFC /scannow and hit Enter.
- Wait for the process to complete, and then restart your PC. This should fix the issue for you.
Update Graphics Card Driver
Another thing that you can try doing is updating the graphics card driver. If the graphics card driver is outdated, then you are also most likely to face the issue. Follow the steps given below to update the driver–
- Open the Device Manager on your PC.
- Here, expand Display Adapters by double-clicking on it.
- You will see a list of graphics cards here. Select the graphic card from the list, right-click on it, and then click on Update Driver.
- Follow the on-screen instructions to update the graphics card driver. Do this for all the graphics card drivers on your PC.
- Once done, restart your PC, and the issue should be fixed.
RELATED GUIDES:
- How To Install Bluetooth Driver Windows 11
- How To Calibrate Monitor Screen on Windows 11 PC
- How to Fix Windows 11 Not Detecting Second Monitor
Conclusion
This should fix the generic PnP monitor problem in Windows 11. Follow the above steps if you have been facing issues with the generic PnP monitor, and you will be able to solve it.


