- Cortana is disabled by default in Windows 11, unlike Windows 10, requiring users to re-enable it or install it to use the virtual assistant.
- To install Cortana in Windows 11, users can search for the app in the start menu, sign in with a Microsoft Account, and enable voice activation for hands-free control.
- If Cortana is not found in the search results, users can download and install it from the Microsoft Store, then follow the setup steps to access the virtual assistant.
Cortana is a virtual assistant that you get with Windows. It first appeared in Windows 10 and worked as a companion to Windows users, helping them with their basic tasks. However, Windows 11 have disabled it by default. Unlike Windows 10, you don’t get Cortana by default in Windows 11. You will have to re-enable it or install it on your Windows 11 device to use it. If you are looking for how to install Cortana in Windows 11, you are in the right place.
Setting Up Cortana In Windows 11
In this article, we will be discussing how you can install Cortana in Windows 11.

Installing Cortana In Windows 11
Cortana isn’t excluded from Windows 11, but it is disabled by default. Therefore, you will have to re-enable it to be able to use it on your system.
- Press the Windows key on your keyboard, and then in the start menu, search for Cortana.
- You will see the Cortana app in the search result. Open it.
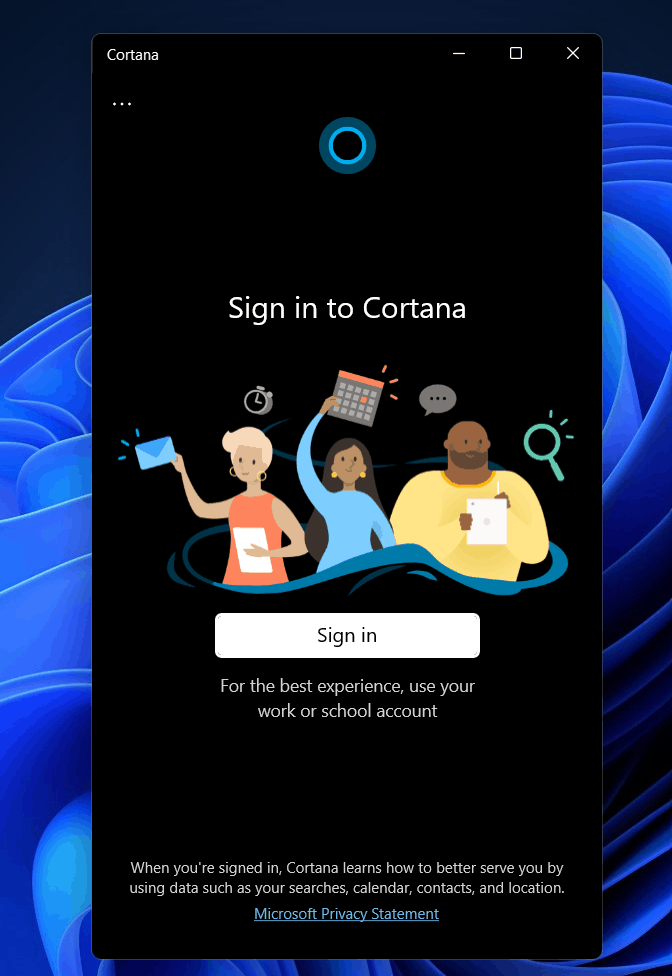
- You will be now be asked to sign in to Cortana. Click on Sign-in and sign in with your Microsoft Account.
- Next, Cortana will ask you for app permission. Click on accept and continue.
- This will set up Cortana, and you will be able to use it in Windows 11.
- If you want to control it using your voice, then you will have to enable voice activation.
- Click on the three ellipses on the top left corner of the Cortana window and then click on voice activation.

- It will ask you to give voice permissions. Click on voice activation privacy settings.

- You will be headed to the voice activation section in the settings app. Here, scroll down to find Cortana.
- Now enable Let Cortana respond to ‘Cortana’ keyword toggle. Once you enable this toggle, you can access the voice assistant with the voice command.

How To Use Cortana in Windows 11
If you don’t find the Cortana app in the search result as mentioned in the second step, then follow the steps given below-
- In the start menu, search for Microsoft Store and open it.
- In the Microsoft Store, search for Cortana. Click on the very first option that appears.
- Now click on get/install. This will download and install Cortana on your PC.
- After Cortana is installed, close the Microsoft Store.
- In the start menu, search for Cortana and open it. Now you will have to set it up. Follow the above steps to set up Cortana and access it anytime you want to.
RELATED GUIDES:
- How To Disable Mouse Acceleration In Windows 11
- Enable Or Disable Windows 11’s Startup Sound
- How to Fix TranslucentTB Not Working on Windows 11
- How To Enable Windows 11 Screen Savers
- How to Fix GPU Memory is Full Error on Windows 11
Final Words
Cortana isn’t gone from Windows 11, but it’s disabled by default. If you wish to use it, you must first activate it. You can do so by following the methods outlined in this article. If Cortana isn’t available on your PC, or if it’s been uninstalled, we’ve already covered how to reinstall it. Let us know if you are stuck in any steps.
")


")
