- Word documents use indenting for structure, with block paragraphs aligned with the left margin and line spacing. Indents signal a new paragraph.
- Hanging indent, also known as second line indent, separates lines in a paragraph, commonly used in academic papers and print publications.
- Methods to achieve hanging indent in Microsoft Word include using paragraph format, keyboard shortcuts, and paragraph styles for more precise control.
Hanging Indent: Word documents use indenting to enhance the structure and signal the beginning of a new paragraph or topic as the first line of text. As a default in Word, block paragraphs have each aligned with the left margin and line spacing separating each paragraph visually. When writing for an online platform, block paragraphs tend to be more common, while indented paragraphs tend to be more common in print publications and academic papers.
But, not many users are familiar with how to do hanging indent on Microsoft Word. Here’s a guide to help you do that. Here we have explained some possible methods using which you can easily do hanging indent on Microsoft Word.
What Is a Hanging Indent?
Hanging indents, also known as second line indents, occur when the second and subsequent lines of a paragraph are offset from each other. There are usually five spaces indented, which equates to half an inch.
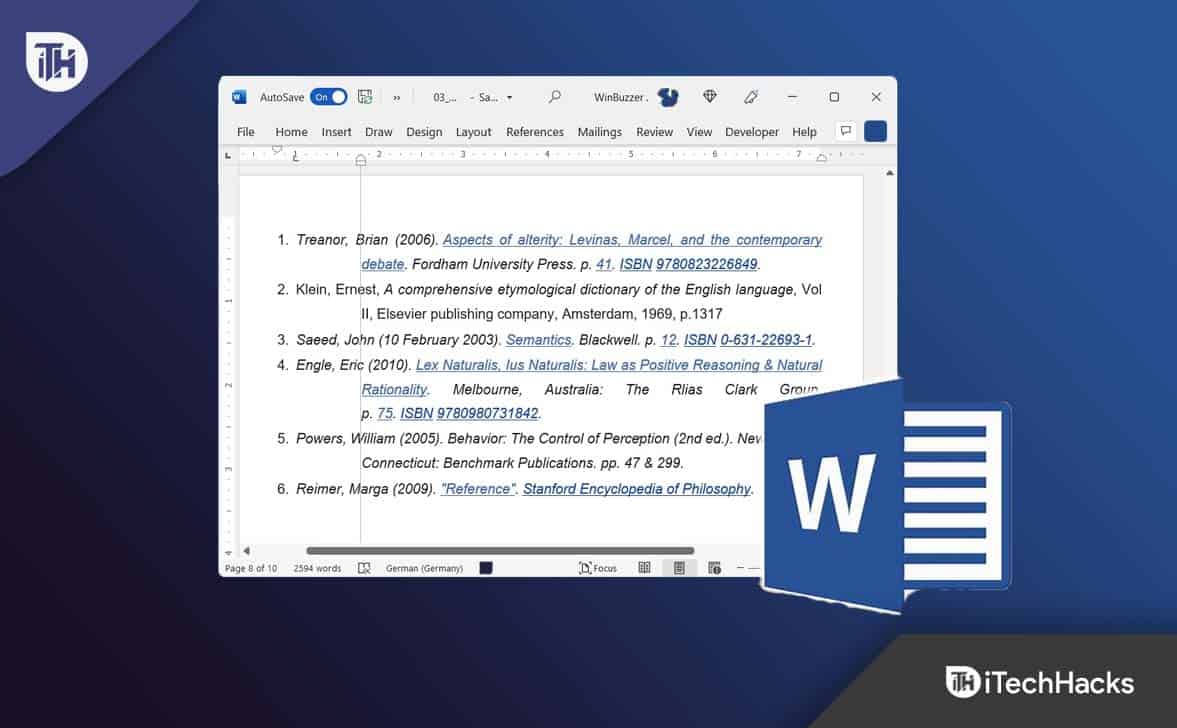
If a paragraph begins and ends flush at the margin, your first line should be indented, and each succeeding line should be indented. The most common use of hanging indents in academic papers is to make it easier to differentiate between citations in the bibliography. However, these required special Style guide like:
- APA (American Psychological Association)
- Associated Press Stylebook
- Chicago Manual of Style
- Modern Language Association (MLA)
Generally, academic and scholarly papers use hanging indents. It is possible to use hanging indents in a business document as well. In addition to being visually appealing, they also make scanning between authors’ names or titles of works easy.
What is First Line Indent?
Indentation of the first line is more commonly known as the first line indent. Paragraphs are only indented at the beginning, as indicated by their names. In this, the left margins are used for the remainder of the lines.
It is visually easier to differentiate between paragraphs when the first line is indented. Due to the ease in adjusting the margins between paragraphs in word processing software like Microsoft Word, first-line indents are no longer commonly used.
How to Do a Hanging Indent on Word
If you want to do a hanging indent on Microsoft Word, then there are many methods available, using which you can do this with ease. However, in case you are not familiar with those methods, then let’s check out the available methods:
Method 1. Use Paragraph Format To Do Hanging Indent
The hanging indent can be controlled more precisely using this method. After typing or pasting the citations into your document, you can follow this method. Follow these steps:
- Initially, select the Para that you want to indent.
- After that, tap on the Home tab.
- Next, tap on the Paragraph dropdown button and click the paragraph flyout button.

- Now, a new window will appear; go to the Indents and Spacing tab.
- Now, set the Special section to Hanging. However, keep in mind that the Hanging Indent Spacing will be set to 0.5″(1.27cm) by default. You can change that using the By: tab.
- Then, after checking the preview, hit the Ok button.

- Additionally, you can change the hanging indent in Word by enabling the Ruler tool.


Method 2: Using Keyboard Shortcut To Do Hanging Indent
Using this method does not require complicated steps. Using this method is best if all the citations in your document have already been typed or pasted. When using a Mac or Windows keyboard, you can indent by pressing Cmd+T or Ctrl+T.
Default indentation is 0.5 inches for succeeding lines. So, let’s look at how to do this in detail:
- You can apply the hanging indent by clicking and dragging the mouse over the text.
- Use the Cmd+T keyboard shortcut (Mac) or the Ctrl+T keyboard shortcut (Windows). A hanging indent is now applied to the selected paragraphs, with the subsequent lines indented by 0.5 inches (the default).
Method 3: Use Paragraph Styles To Do Hanging Indent
The paragraph style in Microsoft Word can also be used to add a hanging indent. This method can be used if you plan to add more references later. Creating a formatting style with the hanging indent in Word is a good idea if you often write academically. With just one click, you can insert a hanging indent in Word. Here’s how you can do it:
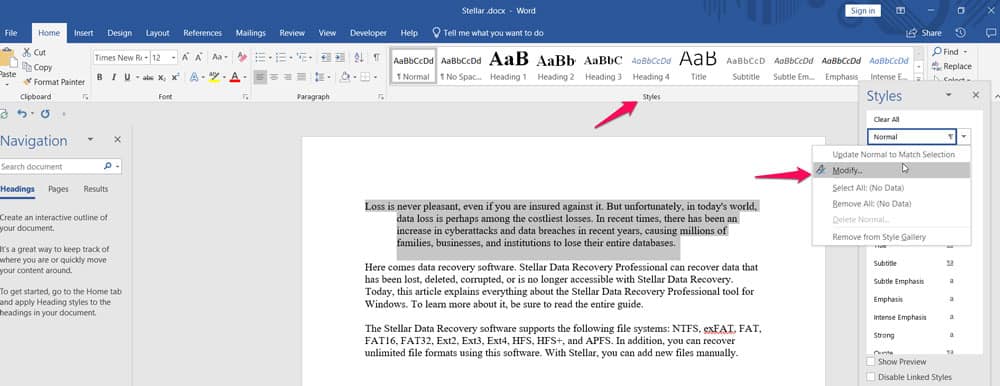
- Open the Home tab and click on Style.
- Then, choose the Modify… option.

- Now, change the Style to Hanging indent and press the Format followed by the paragraph.

- Then, tap on the Indents and Spacing and set the Special section to Hanging. Also, the size should be automatically set to 0.5″ (1.27cm) by default. You can change it using the BY: section.

- After that, select the Para and tap on Style to add a hanging indent.


How to Do a First Line Indent on Word
Now, as we have already mentioned how to do a hanging indent on Microsoft Word; therefore, now if you want to make a first-line indent in Word, you must follow these methods:
Method 1: Using Tab Key
Using this method, you can indent your first line easily. This isn’t a convenient method if you’ve already written the whole document. Besides being more suitable for shorter documents with just a few paragraphs, it also lends itself to shorter documents.
- Mark the beginning of the paragraph with the cursor.
- Press the tab key. A first-line indent is automatically created for the next paragraph when you hit return at the end of the paragraph.
Method 2: Using Paragraph Format
This method works well when typing or pasting text onto a longer document.
- Choose the text you want to edit.
- Then, select the paragraph from the Format menu. A window with paragraph settings appears.
- In the dropdown menu, select First Line beside Special.
- Indent according to your preference, then click OK.
How To Use Microsoft Word Indents to Create an Effective Document
Strategically placed indents on both sides of your document are two ways to improve its visual appeal and make it more readable. You can make your document more appealing by visually separating paragraphs on Microsoft Word.
References and citations can be scanned more easily with hanging indents. Nonetheless, first-line indents help readers identify the beginning of each paragraph.
If you have already added spacing between paragraphs, you do not need to indent the first line. If you use a Word template, you can create a great-looking document.
Wrap Up | Hanging Indent Word
Numerous style guides require hanging indents, including APA, Chicago, and MLA. However, we have already mentioned all the possible methods using which you can do hanging indent on Microsoft Word. Therefore, try them and let us know which method you use. Meanwhile, in case you have any doubts or queries, comment below and let us know.
READ NEXT:

")


")
")
