- Windows boot loops often stem from corrupted or misconfigured BCD (Boot Configuration Data), and rebuilding BCD is the primary fix.
- Fixing the issue involves identifying the Windows and System/EFI partitions, then repairing the bootloader with the correct commands for MBR (BOOTREC) or UEFI (BCDBOOT).
Stuck in a Windows boot loop? This problem often occurs when the Boot Configuration Data (BCD) is missing, corrupted, or not set up correctly. The usual fix is to rebuild the BCD, but sometimes you may run into the error: “The system cannot find the path specified.”
This error is especially common after cloning your drive, switching from HDD to SSD, replacing a disk, or setting up dual-boot configurations. It can appear on both GPT/UEFI and MBR/Legacy BIOS systems, though the message may differ. For example, on MBR setups you may see “Element not found” instead.
Whether you’re on Windows 10 or Windows 11, the good news is that you can fix this issue. In this guide, we’ll walk you through step-by-step methods to repair BOOTREC / REBUILDBCD errors so you can get your PC booting normally again.
Fix BOOTREC / REBUILDBCD The System Cannot Find The Path Specified
Nothing to worry about if you have been getting this issue and are unable to boot to your PC. You can follow the steps given below to fix the issue. Do note that we are dividing the process into small parts to make it easier for you to understand and follow without missing any part.
1. Identify Windows Partition and Disk Scheme
Before going ahead, you must identify whether the Windows Partition and the Disk scheme (whether GPT or MBR). To do so, follow the steps given below-
- In the Command Prompt, type DISKPART and press Enter to open Diskpart.

- Now, execute the command LIST DISK. This will show you all the disks on your system.

- You will see a GPT column. Check which disk has an asterisk (*) next to it under the GPT column. Disk with asterisk means they have GPT scheme else MBR scheme.

- Now, you must know your Windows is installed on which disk (if you have multiple disks). If you don’t know this then follow the steps given below to identify the disk on which Windows is installed-
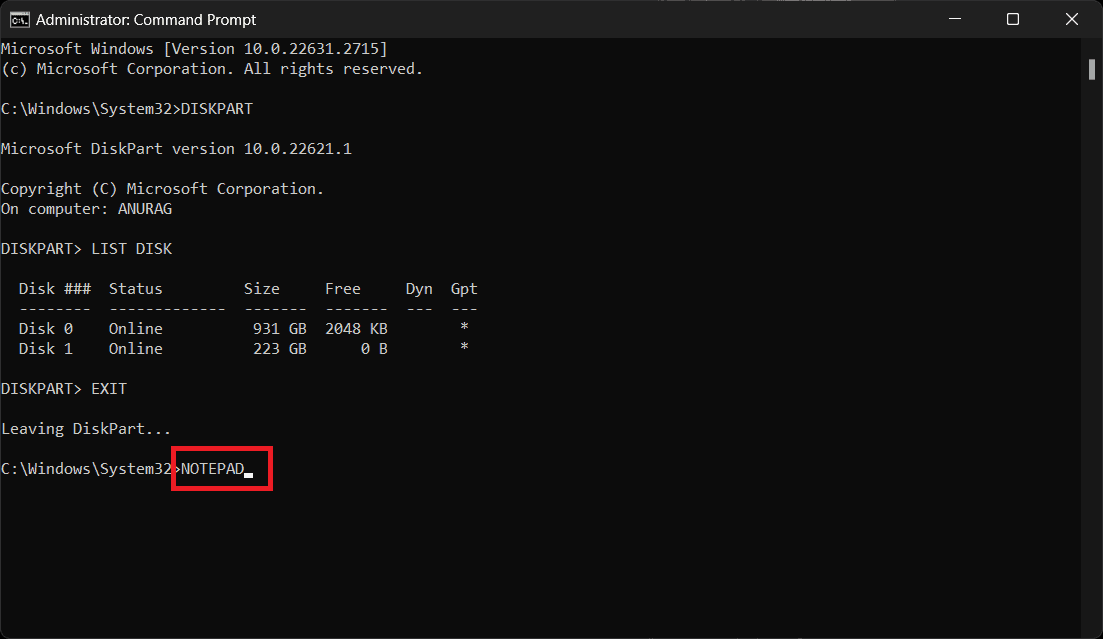
- Execute the EXIT command to leave Diskpart.

- Type NOTEPAD and press Enter.
- Click on the File tab on the Notepad and then click on Open.

- On the left pane, click on the This PC icon to see all the partitions.

- You will have to determine which partition contains the Windows installation. To do so, you can open each partition and check the files and folders there. The partition with the Windows installation will have folders like: Windows, Users, Program Files, Program Files (x86), etc.
- Once you have found out which partition contains the Windows partition you can continue ahead. In general, Windows is installed on the ‘C’ partition.
- Close the Notepad window, and head back to the Command Prompt.
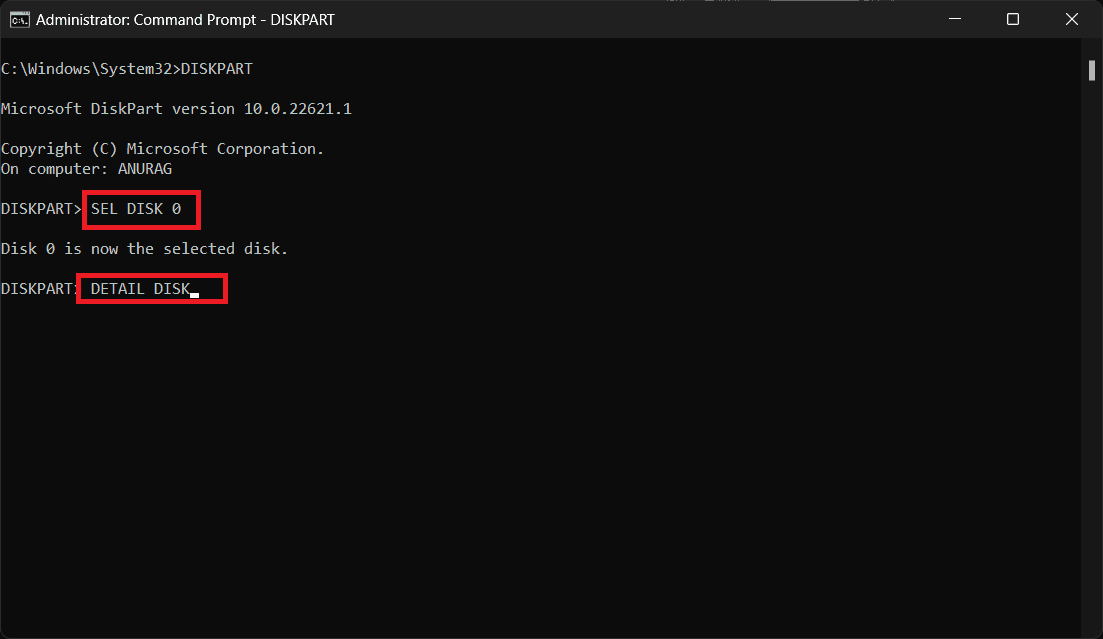
- Open Diskpart, by executing the command DISKPART.
- Execute the command SEL DISK 0 followed by DETAIL DISK.
- This will show the partition in Disk 0. See if the Windows installation partition is here or not.
- If the partition is not on the Disk, then execute the command SEL DISK 1 and then execute DETAIL DISK. Check the partition on this disk. You will have to keep doing it for all the disks until the partition is found.
- Execute the EXIT command to leave Diskpart.
- Once you have identified the Disk with Windows Installation, check whether it has a GPT scheme or MBR scheme.


NOTE: In newer Windows 11 builds, EFI partitions are usually 100MB–550MB. Don’t rely only on size; confirm using FAT32 for GPT or NTFS for MBR.
2. Identify System or EFI Partition
Let’s assume Disk 1 has Windows Installation. We will be executing the commands based on Disk 1; if your system has Windows installation on some other Disk then you will have to replace ‘1’ with the number of that disk. Now, you will have to identify which partition in the Disk is a System/EFI partition. To do so, follow the steps given below-
- Ensure you are in the Diskpart in the Command Prompt.
- Type and execute the command SEL DISK 1 to select Disk 1.

- After this type and execute the command LIST PART to get all the partitions for the Disk.
- Then execute the command, LIST VOL.


- Now, after executing the previous two commands check whether any partition has Type as System or whether any volume has Info as System.

- If you don’t see the system, then you will have to determine the system volume by the format. In the GPT scheme, the format of the system volume will be FAT32 while in the MBR scheme, it will be NTFS. Also, the size of the volume will be around 100MB in both MBR and GPT schemes, but the size can go up to 250-500MB in the case of GPT. To confirm it, you can follow the steps given below-
- Select the partition by typing the command SEL PART 2 and executing it. Here, replace the 2 with the partition you want to check is a System or not.
- You will have to assign a letter to the partition. Do it by executing the command ASSIGN LETTER=M
- Type and execute the EXIT command to exit the Diskpart.
- Now, type and execute the command DIR /A M:\ to get the content of the partition M.
- The partition should have a Boot folder in the MBR scheme which means it is a System partition. Similarly, in the GPT scheme, the System partition will have EFI folder.
On GPT/UEFI, the EFI partition will be FAT32 with an EFI folder. On MBR/Legacy, the System partition is NTFS with a Boot folder.
3. Fixing the Issue
Once you are done with the above steps, all you have to do is fix the ‘The System Cannot Find The Path Specified’ issue. To do so, follow the steps given below-
- First, you will have to mark the system partition as active. To do so, execute the commands given below one by one-
- DISKPART
- SEL DISK 1 (NOTE- Here, replace 0 with the Disk number which has the Windows partition)
- LIST PART
- SEL PART 2 (NOTE- Here, replace 2 with the System Partition number)
- ACTIVE
- EXIT

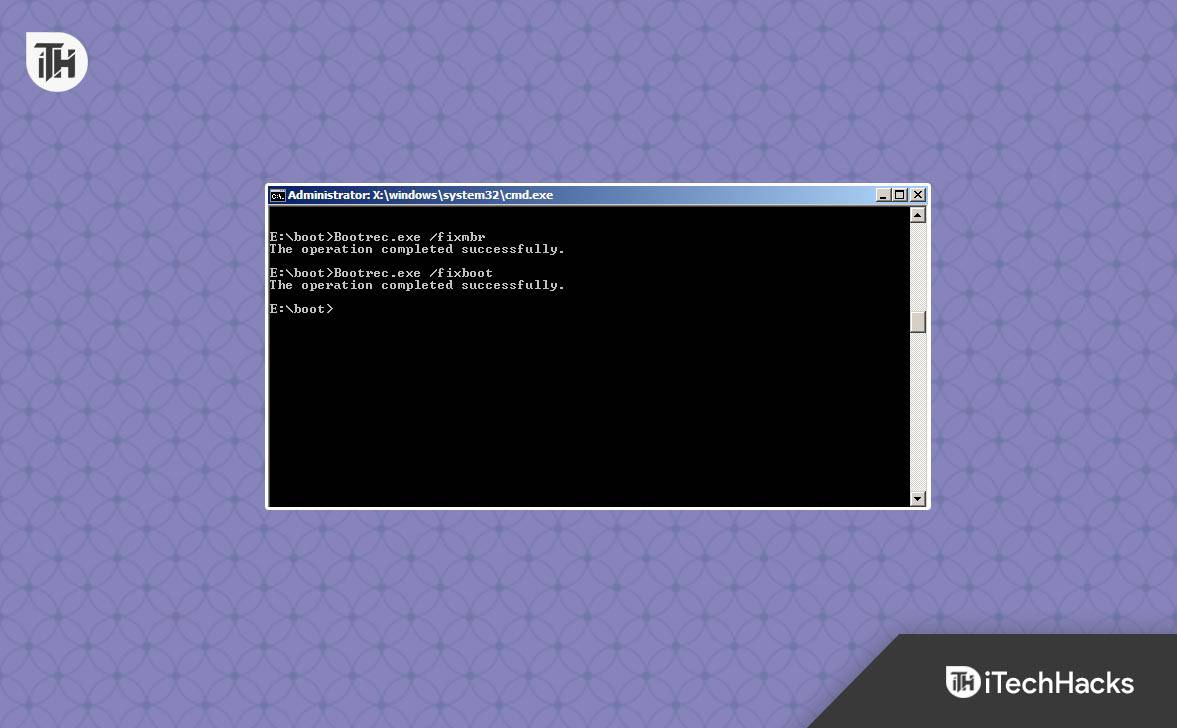
- After exiting the Diskpart, exit the commands given below one after another-
- BOOTREC /FIXMBR
- BOOTREC /FIXBOOT
- BOOTREC /REBUILDBCD
- BCDBOOT C:\WINDOWS (NOTE- In this command, C must be replaced by the Windows Installation Partition name)
- BCDEDIT
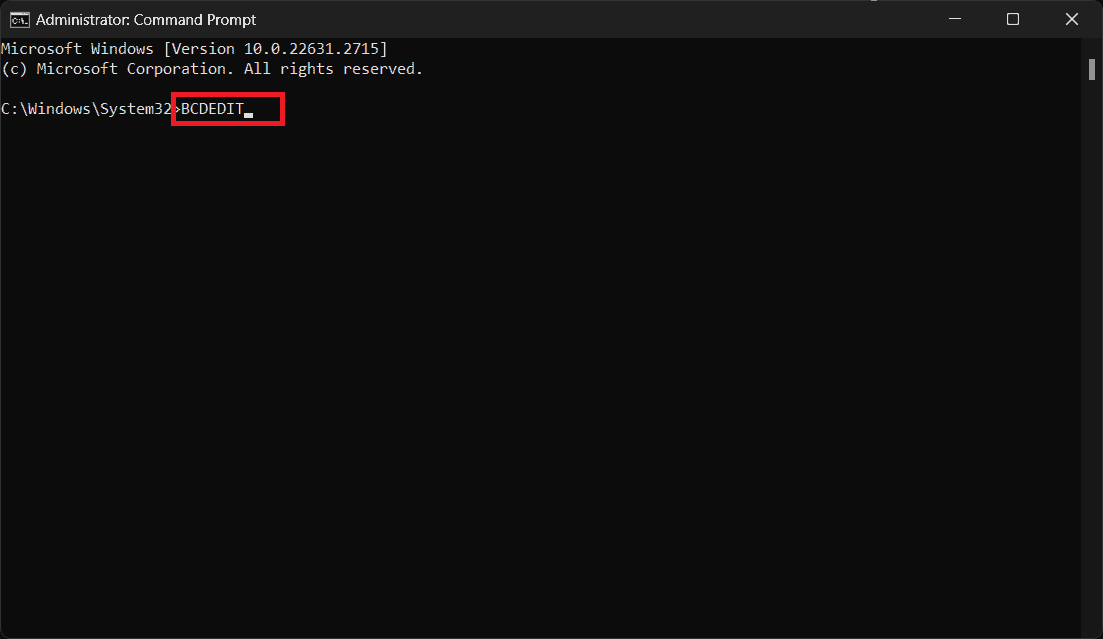
- After the BCDEDIT command, the BCD file will be revealed indicating that the error is fixed.

For GPT/UEFI systems:
- DISKPART
- SEL DISK 1
- LIST VOL
- ASSIGN LETTER=M (assign EFI partition)
- EXIT
- BCDBOOT C:\WINDOWS /s M: /f UEFI
- BCDEDIT
On GPT/UEFI, do not mark partitions ACTIVE and do not use BOOTSECT.
Bottom Line
That’s it for this guide. By now, you should be able to fix the BOOTREC /RebuildBCD “The System Cannot Find the Path Specified” error and restore normal startup. While the process can feel a bit technical, carefully following the steps for your system type (MBR/Legacy BIOS vs GPT/UEFI) usually resolves the problem.
If the manual commands don’t work, try running Startup Repair from the Windows Recovery Environment (WinRE) or use tools like BCDBOOT on UEFI systems. In rare cases where corruption is severe, third-party repair utilities such as EasyBCD or rebuilding the boot files using Windows installation media can provide a fix.
With the right approach, both Windows 10 and Windows 11 users can overcome this issue and get their system back up and running without data loss.
FAQs
1. Does BOOTREC /RebuildBCD work on Windows 11?
Yes. The BOOTREC tool is still available in Windows 11, but some commands (like marking partitions active) only work on MBR/Legacy BIOS systems. On UEFI/GPT systems, using BCDBOOT is more reliable for rebuilding boot files.
2. Why do I see “Element not found” instead of “The system cannot find the path specified”?
The “Element not found” error usually appears on MBR systems when BOOTREC cannot locate the system partition or BCD store. The fix involves ensuring the correct partition is active and then running BOOTREC and BCDBOOT again.
3. What should I try if BOOTREC commands don’t fix the issue?
If BOOTREC fails, run Startup Repair from the Windows Recovery Environment (WinRE) or rebuild boot files using BCDBOOT. If the problem persists, consider third-party tools like EasyBCD or use Windows installation media to repair the bootloader.
READ MORE:
- Top 5 Ways to Fix Outlook Keeps Crashing On Windows 11
- 8 Ways to Fix Windows Can’t Connect to this Network Error in Windows 11
- WaaSMedicSVC.exe: Windows Update Medic Service in Windows 11
- 5 Ways to Fix KMODE EXCEPTION NOT HANDLED in Windows 11
- 5 Ways To Fix Bluetooth Icon Option Disappeared In Windows 11


