- Learn how to create a bootable Kali Linux Live USB using Rufus, Universal USB Installer, and Balena Etcher.
- Follow detailed, user-friendly instructions to ensure a smooth setup process.
Creating a bootable Kali Linux Live USB is a crucial skill for anyone interested in cybersecurity or using Kali Linux as a portable operating system. Despite what you might think, it’s not difficult to do. Many people worry about damaging their USB drives, but I’m here to show you three easy methods to make a bootable Kali Linux USB on Windows. These methods are straightforward, and I’ll guide you step-by-step.
Why Use Kali Linux?
One common question is: why use Kali Linux? Here’s why:
Kali Linux comes with over 300 pre-installed tools, making cybersecurity tasks much easier. If you need more tools, you can download them effortlessly.
Requirements
Before we start, make sure you have the following:
- Kali Linux ISO: You can download it from the official Kali Linux website.
- USB Drive: A USB drive with at least 8GB of storage.
Now, let’s get into the methods.
Create Bootable Kali Linux Live USB on Windows PC
Using Universal USB Installer
Universal USB Installer is user-friendly tool for creating bootable USB drives.
- Download Universal USB Installer: Visit the Universal USB Installer website to download the latest version.
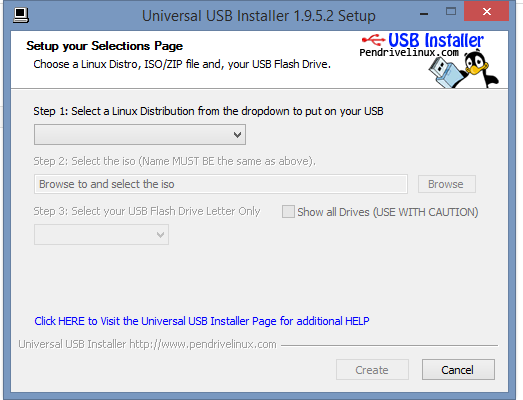
- Open Universal USB Installer: After downloading, open the application.
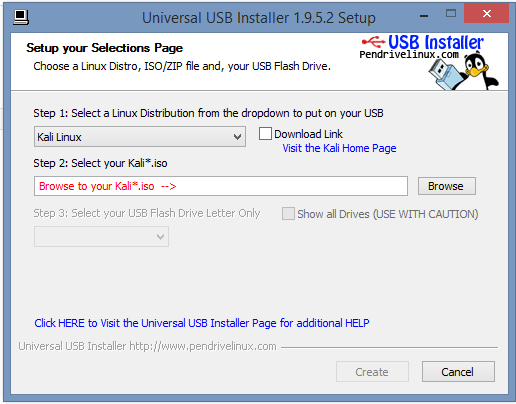
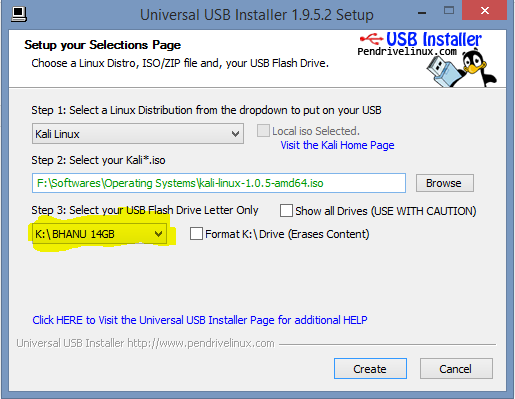
- Select Kali Linux: From the dropdown menu, select Kali Linux.
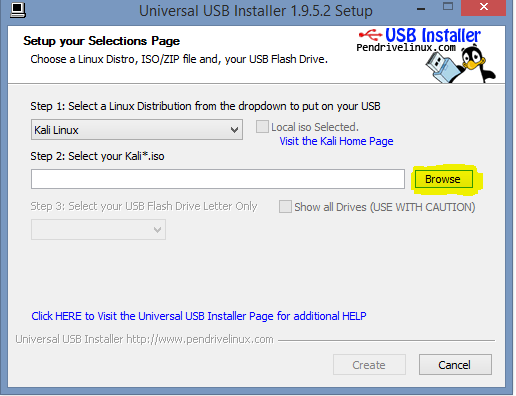
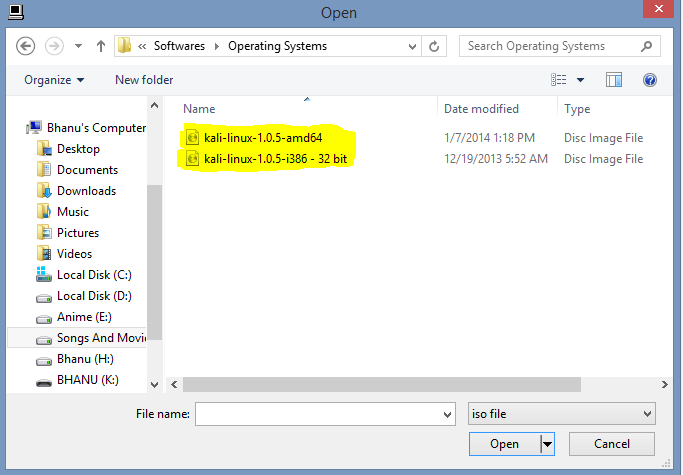
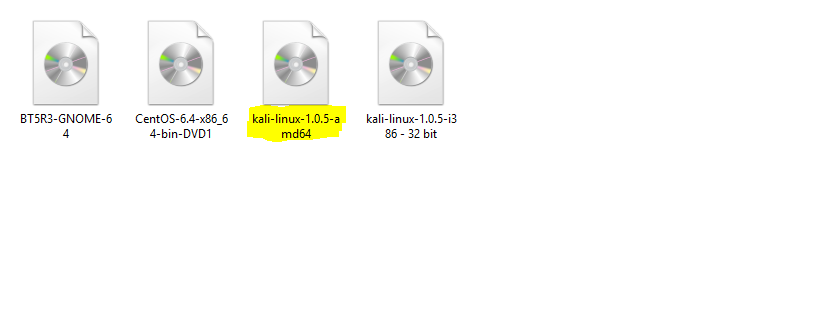
- Select the ISO File: Click “Browse” and choose your downloaded Kali Linux ISO file.
- Choose Your USB Drive: Select your USB drive from the list.
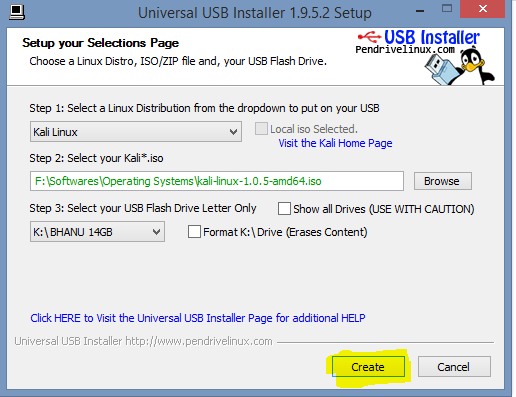
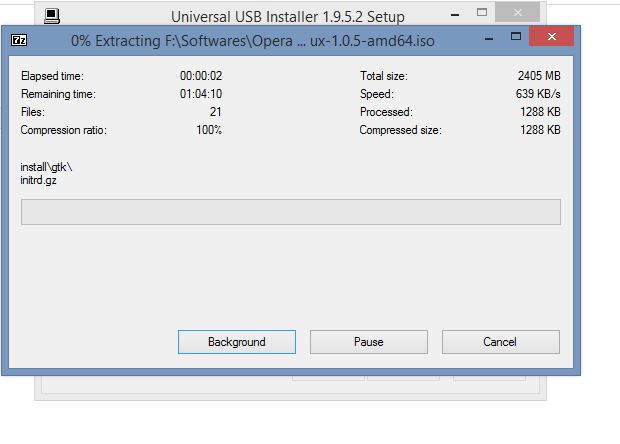
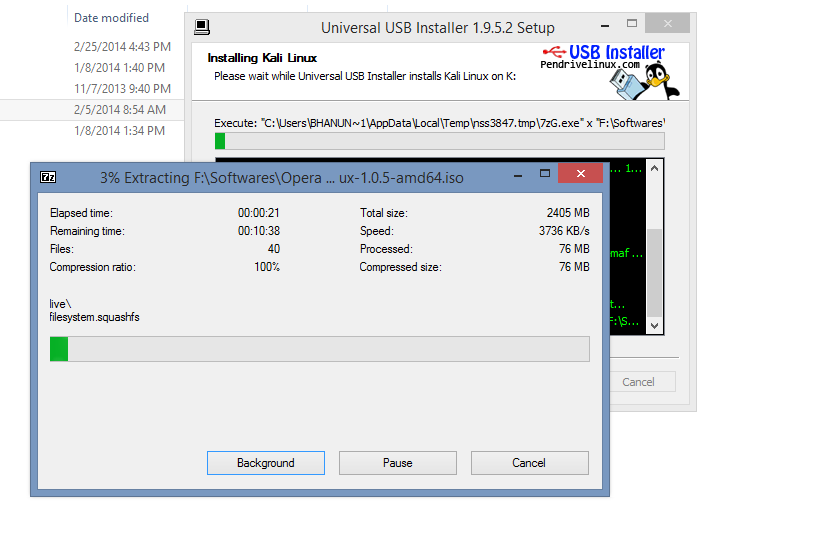
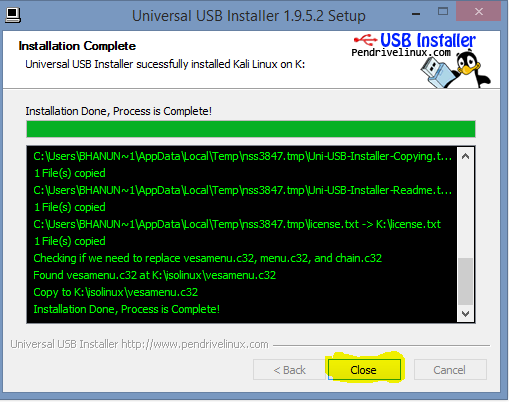
- Create Bootable USB: Click “Create” and follow the on-screen instructions. Universal USB Installer will format the USB drive and create the bootable USB.

Using Rufus
Rufus is a highly reliable and efficient tool for creating bootable USB drives.
- Download Rufus: Visit the official Rufus website to download the latest version.
- Open Rufus: After downloading, open the Rufus application.
- Insert Your USB Drive: Insert your USB drive into the computer. Rufus should automatically detect it.
- Select the ISO File: Click on the “SELECT” button and choose the Kali Linux ISO file you downloaded.
- Configure Settings: Ensure the following settings:
- Partition scheme: MBR or GPT (depending on your system).
- File system: FAT32 or NTFS.
- Start the Process: Click “START” and confirm any prompts. Rufus will format the USB drive and create the bootable USB.
Using Balena Etcher
Balena Etcher is a modern, open-source tool that makes creating bootable USB drives simple and straightforward.
- Download Balena Etcher: Visit the Balena Etcher website to download the latest version for your operating system.
- Open Balena Etcher: After downloading, open the application.
- Select the ISO File: Click on “Flash from file” and choose your downloaded Kali Linux ISO file.
- Select Your USB Drive: Insert your USB drive and select it in Balena Etcher.
- Flash the USB Drive: Click “Flash!” to start the process. Balena Etcher will format the USB drive and create the bootable USB.
Conclusion
These are the three simple and reliable methods to create a bootable Kali Linux Live USB on Windows in 2024. Each method has been tested and proven to work effectively. If you encounter any issues, feel free to comment below for help. Don’t forget to share this guide with others who might find it useful. Happy hacking!

")


")

Hey! This post could not be written any better!
Reading this post reminds me of my previous room mate!
He always kept talking about this. I will forward this write-up to him.
Fairly certain he will have a good read. Many thanks for sharing!
Found this on Google and I’m glad I did. Well written article.
Do you have a spam problem on this website; I also am a blogger,
and I was curious about your situation; we have created some nice practices and we are looking to exchange strategies with other folks, be sure to shoot me an e-mail if interested.