- If your iPhone's charging port isn't working, it might be due to debris inside the port, a software glitch, or a faulty cable, but these issues can often be fixed at home without needing technical skills.
- Start by carefully cleaning the charging port with a wooden or plastic tool, checking and replacing any damaged cables or adapters, and restarting your phone to clear any software problems.
- If the issue persists after trying these troubleshooting steps, contact Apple Support or a professional repair shop for help, as it might be a hardware issue.
The iPhone is arguably the most essential tool in modern life, serving as our primary camera, communication device, GPS, and entertainment hub. However, all these advanced features become useless the moment the battery dies and refuses to revive. One of the most panic-inducing moments for any user is plugging in their device at the end of a long day, only to realize the lightning bolt icon never appears. You wiggle the cable, try a different outlet, and panic sets in. If you are searching for this article, you are likely facing the frustrating issue of your iPhone’s charging port not working and are worried that your device is permanently broken or that you are facing an expensive repair bill.
This article will help you by guiding you through comprehensive, step-by-step troubleshooting methods to identify the root cause of the problem. Whether it is a simple case of pocket lint blocking the connection, a faulty cable, or a software glitch, we will show you how to fix it at home without needing technical expertise. By following this guide, you can potentially save hundreds of dollars on repair fees and get your device back up and running in minutes.
Why is the iPhone Charging Port Not Working?
If you don’t know why your iPhone’s charging port is not working, you can follow this article’s steps. We have discussed reasons for the iPhone charging port not working in this article.
Understanding the “why” is the first step to solving the problem. The charging process on an iPhone is actually a complex handshake between the charger, the cable, the charging port (Lightning or USB-C), and the software (iOS). If any one of these links in the chain breaks, the power flow stops.
There are several reasons why you might face this issue. It is not always a hardware failure. In many cases, it is simply a blockage or a software glitch.
- Debris Accumulation: This is the most common reason for the iPhone charging port not working. Since we carry our phones in pockets, purses, and bags, lint, dust, and crumbs often get stuck inside the port. Over time, pushing the charging cable in compacts this trash at the bottom of the port, creating a physical barrier that prevents the metal pins from making contact.
- Software Glitches: Charging is not just physical; it is controlled by software. Your iPhone’s operating system (iOS) manages the power input to prevent overheating and overcharging. Sometimes, the software crashes or freezes in the background, refusing to acknowledge that a cable has been plugged in.
- Faulty Cables and Adapters: The Lightning cable or USB-C cable is the most fragile part of the charging equation. The internal wires can fray from bending, or the connector pins can corrode. Using non-certified (non-MFi) cables can also cause the iPhone to reject the accessory for safety reasons.
- Corrosion or Oxidation: If you live in a humid environment or have ever exposed your phone to moisture, the gold pins inside the charging port can oxidize. This layer of corrosion acts as an insulator, preventing electricity from flowing from the cable to the battery.
- Physical Damage: Dropping the phone can dislodge the internal connection between the charging port assembly and the logic board. Similarly, aggressively yanking the cable out at an angle can damage the delicate pins inside the port.
How to Fix an iPhone Charging Port Not Working?
You can fix the iPhone charging port issues using simple troubleshooting methods at home. To fix the charging port, follow the steps given below-
1. Clean the Charging Port
The most common reason for an iPhone charging port not working is lint or dust packed into the port. Even if the port looks clean to the naked eye, a layer of compacted felt at the bottom can prevent the cable from clicking into place. To clean it safely, follow the steps given below-
- Turn off your iPhone: Before inserting anything into the port, turn off your iPhone completely to avoid short circuits.
- Select the right tool: Find a wooden or plastic toothpick. Do not use metal objects like needles, safety pins, or paperclips. Metal can scrape the coating off the pins or create an electrical short that could fry the charging chip.
- Inspect with light: Use a flashlight to look inside the port. You might see a wall of gray fuzz at the bottom.
- Gently scrape: Gently insert the toothpick into the charging port. Do not jam it in.
- Loosen the debris: Move the toothpick side to side to loosen any lint or debris. Imagine you are scooping it out rather than digging.
- Remove the build-up: Pull the toothpick out to remove the debris. You might be surprised by how much lint comes out.
- Use compressed air: Once the large chunks are removed, blow compressed air into the port to clear remaining fine dust.
- Test the fit: Connect your charger to see if the issue is resolved. The cable should make a satisfying “click” sound and sit flush against the bottom of the phone.
2. Force Restart Your iPhone
If the port is clean but the phone won’t charge, it might be a software crash where the iOS has stopped monitoring the lightning port. A force restart cuts power to the logic board and forces a reload of the hardware drivers. To force restart your iPhone, follow the steps given below-
- For iPhone 8, X, 11, 12, 13, 14, 15, and SE (2nd/3rd Gen):
- Press and quickly release the Volume Up button.
- Press and quickly release the Volume Down button.
- Press and hold the Side button (Power button).
- Keep holding the button until the screen goes black and you see the Apple logo on the screen.
- For iPhone 7 and 7 Plus:
- Press and hold both the Volume Down button and the Sleep/Wake button (Side button) at the same time.
- Keep holding both buttons until you see the Apple logo.
- For iPhone 6s and earlier:
- Press and hold both the Home button and the Sleep/Wake button at the same time.
- Release them when the Apple logo appears.
- Retest: Once the phone restarts, try plugging in the charger again to see if the iPhone charging port not working issue is resolved.
3. Check Your Charging Cable and Adapter
Sometimes the problem lies with the accessories and not the phone itself. Apple’s Lightning cables are prone to failure near the connector head. To check your accessories, follow the steps given below-
- Visual Inspection: Inspect your charging cable for any visible signs of damage, cuts, kinks, or fraying near the ends.
- Check the Pins: Look closely at the gold metal pins on the connector of the cable. If they appear black, pitted, or corroded, the cable is damaged and will not conduct electricity properly.
- Swap the Cable: Try using a different Lightning or USB-C cable to charge your phone. Ideally, use an official Apple cable or an MFi-certified (Made for iPhone) cable.
- Swap the Adapter: Try plugging the adapter into a different wall socket to rule out a blown fuse in your house. Also, try a different power brick (charging block).
- USB Test: Plug the cable into a USB port on a computer or laptop. If it charges via computer but not the wall, your wall adapter is faulty.
4. Disable Optimized Battery Charging
If your iPhone charges but stops at 80%, your port is likely fine. This is a feature called “Optimized Battery Charging” designed to extend battery lifespan. However, it can make it seem like the iPhone charging port not working properly. To check this setting, follow the steps given below-
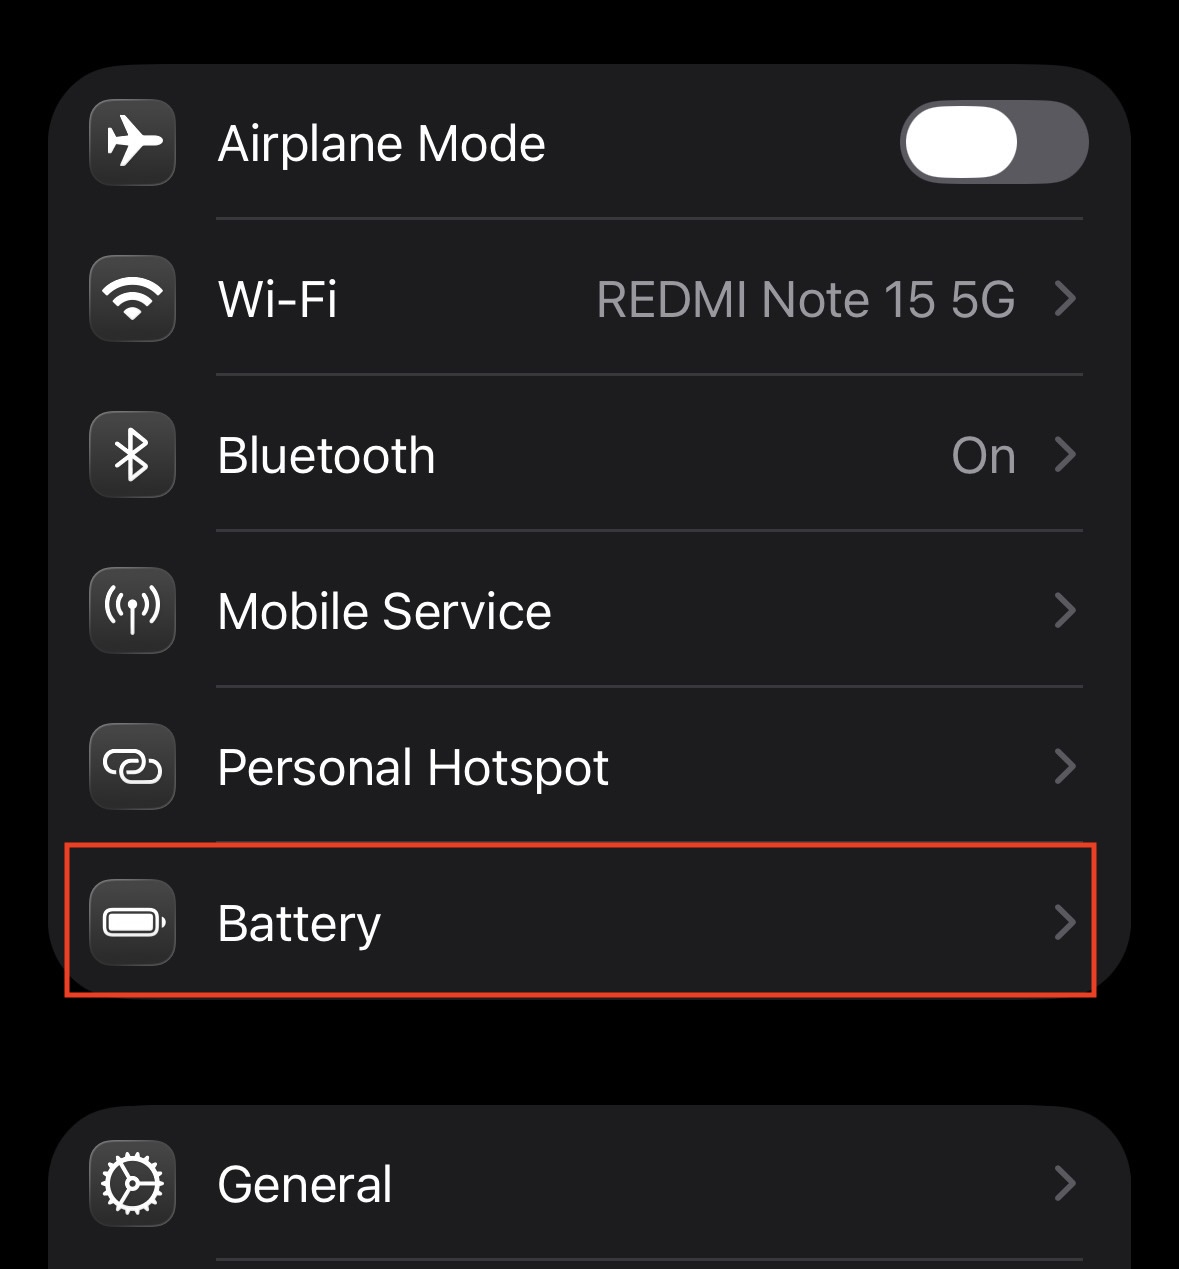
- Open the Settings app on your iPhone.
- Scroll down and tap on Battery.

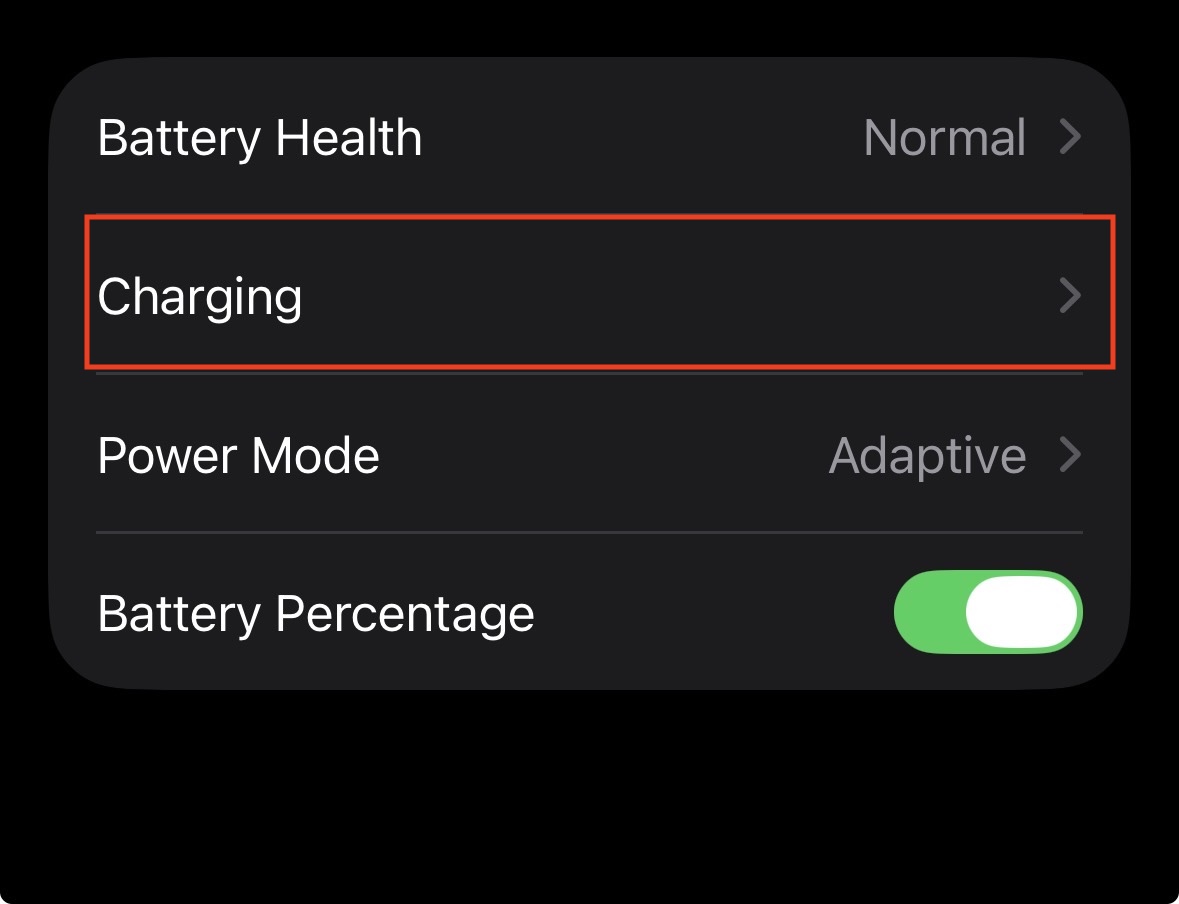
- Select Charging.

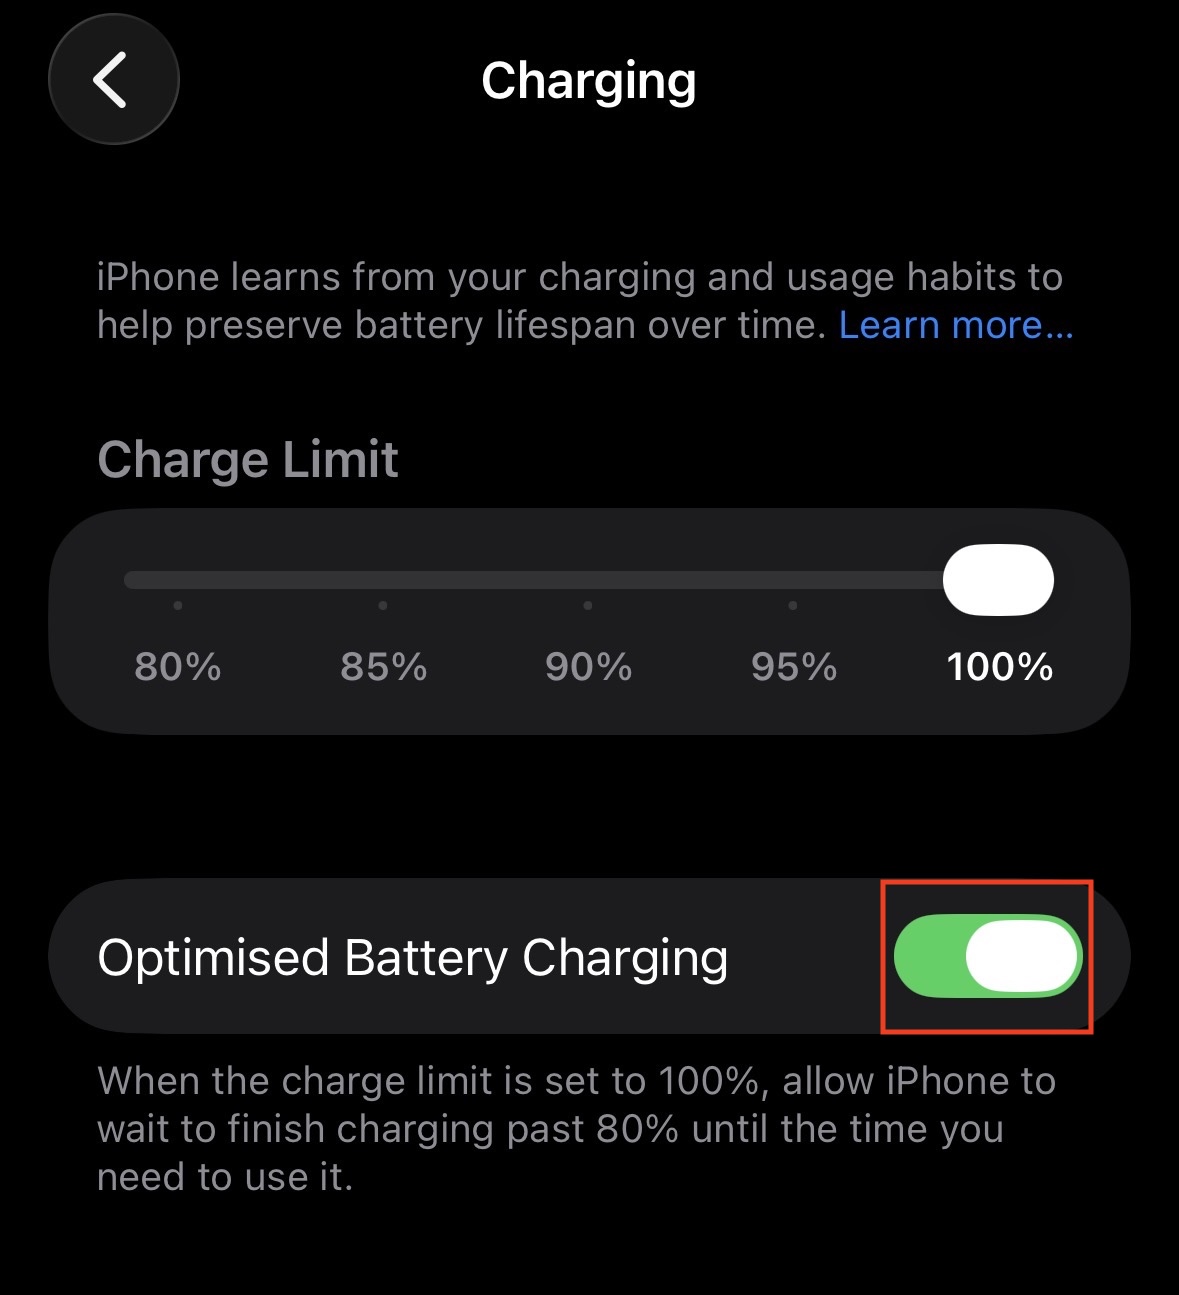
- Look for the Optimized Battery Charging toggle.

- Turn it off temporarily.
- Choose Turn Off Until Tomorrow or Turn Off Permanently.
- Plug your phone back in and see if it charges past 80%. If it does, your port is fully functional.
5. Check for Liquid Detection
If you see a “Liquid Detected in Lightning Connector” warning on your screen, your iPhone has disabled the charging port for safety. Charging while wet can cause permanent corrosion. To fix this, follow the steps given below-
- Unplug immediately: Do not try to override the warning unless it is an absolute emergency.
- Dry the phone: Tap the iPhone gently against your hand with the connector facing down to remove excess liquid.
- Air dry: Leave your iPhone in a dry area with some airflow.
- Wait: It can take up to 24 hours for the port to dry completely.
- Do not use rice: Putting your phone in rice can introduce starch dust into the port, which adds to the debris problem.
- Wireless Charging: If you have a wireless charger (MagSafe or Qi), you can use that to charge your phone while waiting for the port to dry, as the back glass is not affected by port moisture.
6. Update Your iOS
Outdated software can sometimes cause bugs with battery management or USB accessory recognition. If your battery has enough power, an update can fix these driver issues. To update your iPhone, follow the steps given below-
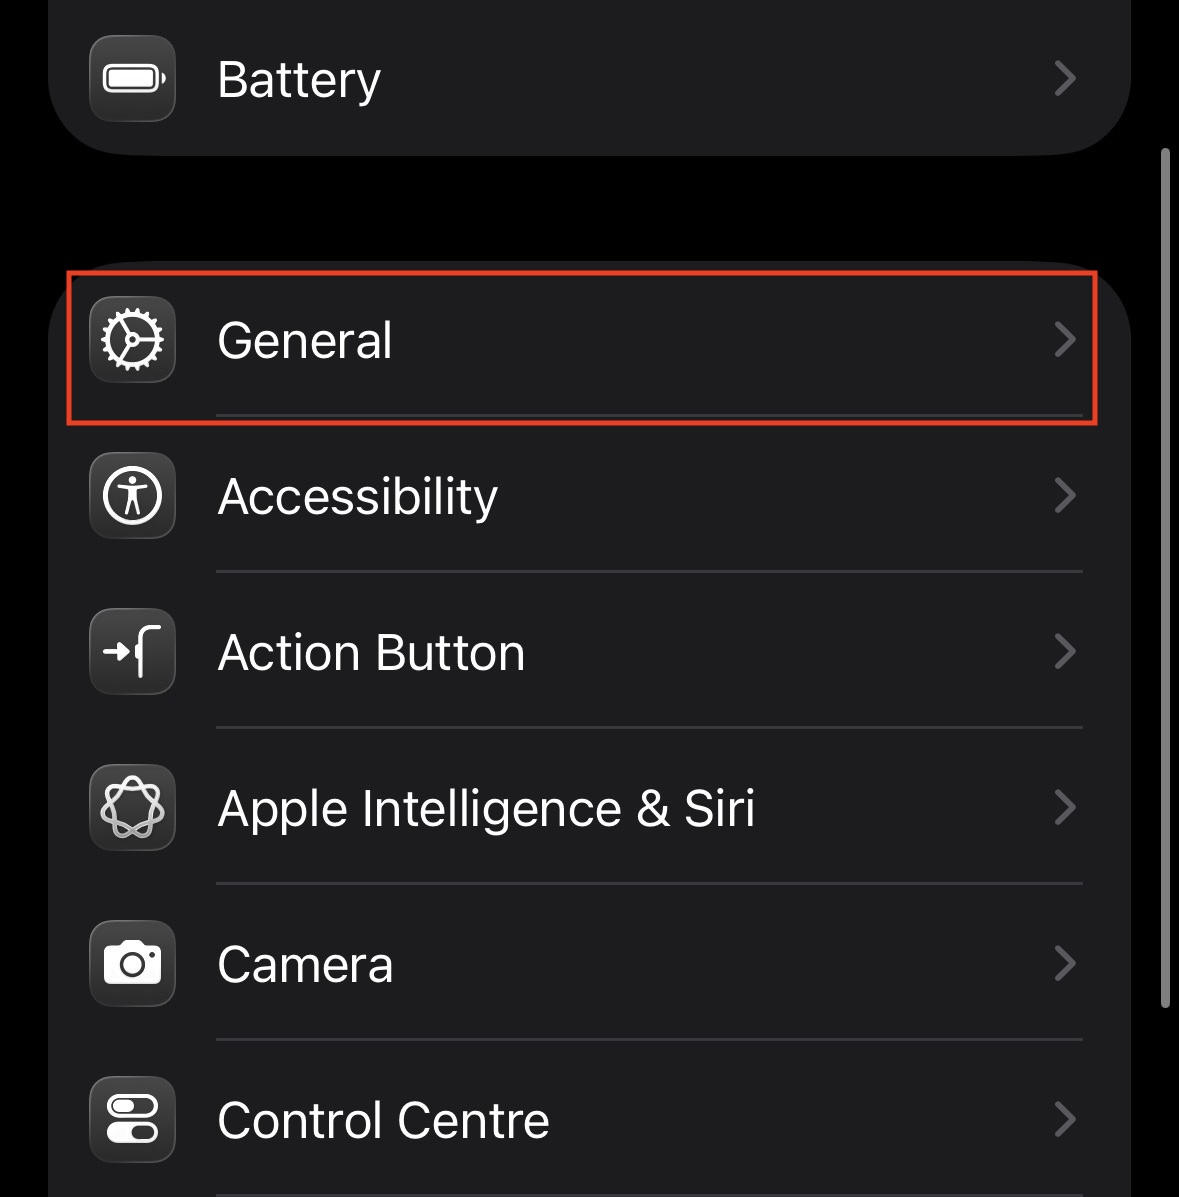
- Open the Settings app on your iPhone.
- Tap on General.

- Select Software Update.

- The phone will check for available updates. If one is available, tap Download and Install.

- Enter your passcode if prompted.
- Wait for the update to finish and the phone to restart.
- Check if the iPhone charging port not working error is gone.


7. Perform a DFU Restore (Advanced)
If none of the above works, and you suspect a deep software corruption is preventing charging, a DFU (Device Firmware Update) restore is the final step. This erases everything and reloads the firmware. Warning: This deletes all data. To perform a DFU restore, follow the steps given below-
- Connect your iPhone to a computer (Mac or PC) using a cable.
- Open iTunes (or Finder on macOS Catalina and later).
- Perform the button combination for your specific model to enter DFU mode (this usually involves holding power and volume buttons in a specific sequence until the screen stays black but the computer detects a device in “Recovery Mode”).
- Follow the on-screen prompts on your computer to Restore iPhone.
- This will wipe the device and reinstall the latest iOS code from scratch.
- If the phone charges during this process, the issue is software. If it fails to connect to the computer at all, the issue is hardware.
Final Words
By doing so, you can fix the iPhone charging port. Following the steps mentioned in this article, you will be able to resolve the issue of the iPhone charging port not working for both old and new models. From cleaning out pocket lint to performing a force restart, these DIY solutions resolve the vast majority of charging issues.
However, if you have tried every step in this guide, including trying different cables and cleaning the port—and the phone still refuses to respond, it is highly likely that the charging port assembly inside the phone is physically damaged or disconnected. In that case, you will need to contact Apple Support or visit a professional repair shop to have the hardware replaced.
ALSO READ:


")
