- The WinSxS folder is essential for Windows 10 and 11, storing important system files and multiple versions for compatibility, updates, and recovery. Deleting it can crash your operating system, so it's crucial not to remove it manually.
- To save space while keeping your PC safe, you can use Windows tools like Disk Cleanup, DISM commands, or Storage Sense to reduce the folder's size. These methods remove outdated files but keep essential ones, maintaining system stability.
- Myths about the folder, like speeding up your computer by cleaning it, are false. The goal is to free up disk space without altering system performance. Regularly using the cleanup tools helps maintain a tidy component store, ensuring your system's health and stability.
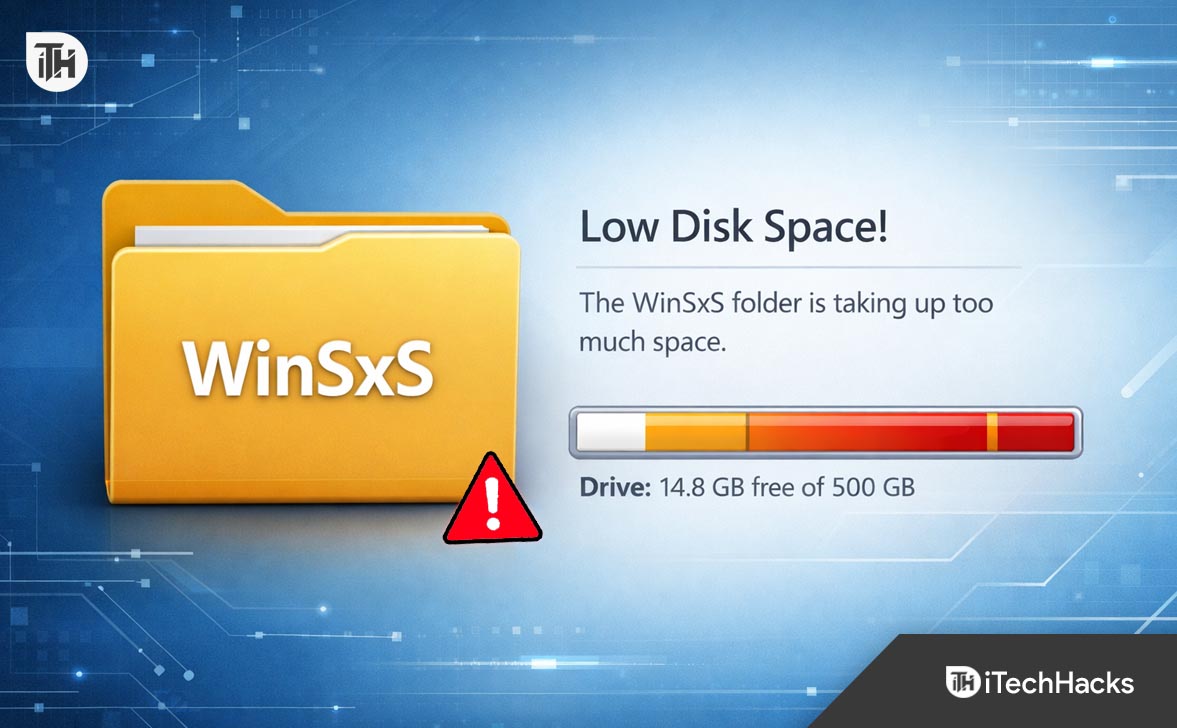
If you have ever hunted for free space on your hard drive, you have almost certainly stumbled upon the WinSxS folder. Located deep in C:\Windows, this massive directory often consumes 10GB to 20GB of space, sitting like a monolith on your SSD. The temptation to hit “Delete” is overwhelming, but doing so is one of the most dangerous things you can do to your PC.
The most common question users ask is: is it safe to delete the WinSxS folder? The short answer is a hard NO – manually deleting it will crash your operating system. However, the good news is that you can safely shrink it. This guide will explain exactly what this folder does and how to use built-in Windows tools to reclaim gigabytes of space without breaking your computer.
What Is the WinSxS Folder?
WinSxS stands for Windows Side-by-Side. Introduced way back in Windows XP and refined in Vista, it serves as the “holy grail” of your Windows installation. It isn’t just a folder of junk files; it is the native component store for the entire operating system.
It houses multiple versions of system files (DLLs, EXEs, and other system components). Why does Windows need multiple versions of the same file?
- Compatibility: Some older apps need an older version of a specific system file to run, while newer apps need the new version. WinSxS keeps both “side-by-side” so everything runs smoothly.
- Windows Updates: When you install an update, Windows stores the old version of the updated files in WinSxS. This allows you to uninstall a bad update if it crashes your system.
- System Recovery: If a critical system file gets corrupted, Windows can “self-heal” by pulling a fresh, working copy from the WinSxS store.
The “Hard Link” Illusion
One reason users panic about WinSxS is that File Explorer often lies about its size. Windows uses a technique called “hard linking.” Files that appear to be in C:\Windows\System32 are often just projections (links) to the actual files stored in WinSxS.
Because file explorers count these links as physical files, the WinSxS folder often appears much larger than it actually is. However, even accounting for this illusion, the folder does grow over time, primarily due to accumulated Windows Update data.
Is It Safe to Delete WinSxS Folder?
Let’s address the primary keyword directly: Is it safe to delete WinSxS folder using the standard delete key?
Absolutely not.
If you try to manually delete the WinSxS folder (or files inside it) using File Explorer, Command Prompt, or third-party file shredders, you will break your operating system.
- System Instability: Your PC may fail to boot (Blue Screen of Death).
- Update Failure: You will lose the ability to install or uninstall future Windows Updates.
- Feature Loss: Built-in Windows features may stop working entirely.
Because this folder contains the “master copies” of your system files, deleting it is equivalent to removing the engine from your car to make the car lighter.
However, while you cannot delete the folder, you can clean up the folder. Windows provides built-in tools designed specifically to remove the obsolete versions of files that are no longer needed, safely shrinking the folder’s footprint.
Method 1: Use The “Disk Cleanup” Tool (Easiest Method)
For most users, the classic Disk Cleanup tool (or the modern Storage settings in Windows 11) is the safest way to tackle this. It knows exactly which files are redundant and which must be kept. Here’s how you can use it:
- Press the Windows Key and type Disk Cleanup.
- Right-click the app and select Run as administrator. (This is crucial; without admin rights, you won’t see the system files).
- Select your system drive (usually C:) and click OK.
- The tool will scan your drive. Once the list loads, look for a button or checkbox labeled Clean up system files. Click it.
- The tool will scan again—this takes longer.
- In the list, look for Windows Update Cleanup.
- Note: If you have recently installed a major Windows update, this file size can be massive (5GB–10GB). These are the backup files allowing you to “roll back” the update.
- Check the box for Windows Update Cleanup and click OK.
Windows will now intelligently remove the older versions of updates that are no longer needed. This effectively shrinks the WinSxS folder without risking system stability.
Method 2: Using DISM Command (The “Pro” Method)
If Disk Cleanup doesn’t free up enough space, or if you prefer a more granular approach, you can use the DISM (Deployment Image Servicing and Management) tool via the Command Prompt. This is the industrial-strength way to manage the WinSxS component store.
Step 1: Analyze the Folder
First, let’s see if a cleanup is even necessary.
- Right-click the Start button and select Terminal (Admin) or Command Prompt (Admin).
- Type the following command and press Enter:
dism /Online /Cleanup-Image /AnalyzeComponentStore
The tool will run for a minute and return a report. Look at the line that says “Component Store Cleanup Recommended”.
- If it says Yes, proceed to Step 2.
- If it says No, you likely won’t reclaim much space, but you can proceed anyway if you wish.
Step 2: Start Component Cleanup
This command deletes previous versions of updated components and essentially performs the same task as Disk Cleanup but often more thoroughly.
Type this command and press Enter:
dism /online /cleanup-image /startcomponentcleanup
What this does: It removes replaced components and reduces the size of the component store. It is completely safe and essentially answers the question “Is it safe to delete WinSxS folder contents?” with a “Yes, but only the obsolete ones.”
Step 3: The “ResetBase” Command (Use with Caution)
If you are desperate for space and want the maximum possible reduction, you can add a specific switch to the command.
Type this command and press Enter:
dism /online /cleanup-image /startcomponentcleanup /resetbase
Warning: The /resetbase switch removes all superseded versions of every component in the component store.
- The Benefit: It reclaims the maximum amount of disk space.
- The Downside: After running this, you cannot uninstall any currently installed Windows Updates. The backup files needed to revert an update are deleted.
Use /resetbase only if your system is running perfectly and you are sure you won’t need to roll back a recent update.
Method 3: Windows Storage Sense (The Modern Automation)
In Windows 10 and 11, Microsoft introduced “Storage Sense,” an automated system that runs in the background to keep drive space optimized. It essentially automates the cleanup processes we discussed above.
- Go to Settings > System > Storage.
- Turn Storage Sense to On.
- Click on Configure Storage Sense or run it now.
- Scroll down to the bottom. Check the box that says “Delete previous versions of Windows.”
- Click Clean now.
This is the “set it and forget it” method. Windows will periodically check the WinSxS folder and prune old updates automatically after a certain number of days, ensuring the folder doesn’t balloon out of control again.
Method 4: Features on Demand
Another reason the WinSxS folder gets large is that it stores installation files for Windows features you might never use (like Hyper-V, IIS, or old media features). You can remove these “payloads” to save space.
- Open Command Prompt (Admin).
- To see what features are installed, type:
dism /online /get-features /format:table
- To remove a specific feature (for example, the TFTP client if you don’t use it), type:
dism /online /disable-feature /featurename:TFTP /remove
The /remove switch is key here. It doesn’t just turn the feature off; it removes the installation payload from the WinSxS folder. If you ever need that feature back, Windows will have to download it from the internet.
Myths vs. Reality: Managing Expectations
When asking “Is it safe to delete WinSxS folder,” users often have misconceptions about what shrinking this folder will achieve.
Myth 1: “Cleaning WinSxS will speed up my computer.”
Reality: False. The WinSxS folder is a storage repository. It sits passively on your hard drive. Cleaning it up will free up disk space (which is good for SSD health), but it will not make your CPU faster or increase your gaming FPS. It is purely a space-saving measure.
Myth 2: “I can move WinSxS to a D: drive.”
Reality: Do not attempt this. While it is technically possible with complex symbolic links (junctions), it is highly unstable. If the secondary drive disconnects or fails to mount during boot, your Windows installation will crash instantly. WinSxS must live on the system partition (C: drive).
Myth 3: “I can delete it if I don’t update Windows.”
Reality: Even if you never update Windows (which is a security risk), the WinSxS folder contains the baseline files needed for your system to run. It is not just an update cache; it is the library of your OS.
Conclusion
The battle for disk space is ongoing, especially as apps and games get larger in 2025. When you see the WinSxS folder hogging 15GB of space, the urge to delete it is natural. But remember: is it safe to delete winsxs folder manually? No. Doing so is a one-way ticket to a broken operating system.
However, you have powerful tools at your disposal. By using Disk Cleanup, running the DISM command, or configuring Storage Sense, you can safely trim the fat, removing gigabytes of obsolete update files while keeping the critical “skeleton” of Windows intact.
Make it a habit to run the StartComponentCleanup command once every few months, or after every major Windows feature update. This keeps your OS lean, your SSD happy, and your system stable.
Frequently Asked Questions (FAQs)
1. I cleaned up WinSxS, but it’s still 6GB. Why?
The WinSxS folder has a minimum functional size. It must store the current version of every system file. It is virtually impossible to get it near zero. A size of 6GB to 8GB is considered normal and healthy for a modern Windows 10/11 installation.
2. Will cleaning WinSxS delete my personal files?
No. The WinSxS folder only contains Windows system files. Cleaning it touches nothing in your Documents, Pictures, or Downloads folders.
3. Is it safe to delete winsxs folder content if I am reinstalling Windows anyway?
If you are planning to format the drive and reinstall Windows from a USB stick, then yes, the entire drive (including WinSxS) will be wiped. But there is no benefit to deleting it before the format.
4. How often should I clean the Component Store?
You don’t need to do it daily. Running the Disk Cleanup or DISM commands once every 3 to 6 months is sufficient. Windows also runs a scheduled task (StartComponentCleanup) automatically when the system is idle, so much of this maintenance happens without you lifting a finger.
ALSO READ:


