- "Video Scheduler Internal Error" on Windows 10 may stem from graphics driver issues or system updates, sparking the need to update drivers, revert recent changes, and check for Windows updates.
- Causes of the error include incompatible graphics drivers, hardware issues, corrupt system files, Windows registry problems, and virus attacks.
- Solutions to fix the error include running CHKDSK, repairing the registry, running an anti-virus scan, reinstalling/updating graphics drivers, ensuring Windows updates, and removing recent hardware/software additions or third-party apps.
Running into the “Video Scheduler Internal Error” on Windows 10? This error often points to issues with graphics drivers or system updates. A good start is to update your graphics drivers, roll back any recent system changes, or check for Windows updates. This is just a quick glimpse of potential fixes. To fully tackle the “Video Scheduler Internal Error” and get your system back on track, delve into our comprehensive article below. We’re here to guide you every step of the way!
It is common for the graphics driver system on a computer to cause internal video scheduling errors. The causes of these errors may include defective hardware, incompatible software, and faulty drivers. But, there is nothing to worry about as we have some fixes to video scheduler’s internal error problem. So, if you are facing this, make sure to read the guide until the end.
What Causes Video Scheduler Internal Error?
This error could be caused by many things, but let’s examine the most likely causes:
- Incompatible, corrupt, or outdated graphics drivers
- Issues with hardware
- System files that are corrupted in Windows
- Corrupt Windows registry
- Virus attack
Fix Windows 10/11 Video Scheduler Internal Error BSOD
Here are some fixes that will help you resolve this Video Scheduler error:
Run Check Disk (CHKDSK)

If you run Check Disk on your Windows 11/10 system, you will find errors that need to be fixed.
- On your keyboard, press the “Win” key. Enter the short form for “Command Prompt“: cmd.
- Thereafter, right-click on this icon and select “Run as administrator.”
- In a pop-up, choose “Yes” to continue allowing the app to make changes to your computer.
- You will now be able to type in the following command: CHKDSK /f /r.
- You can press the “Y” letter on your keyboard. In order to confirm that the check will be done when the computer is restarted, please confirm by clicking here.
- Now, you need to restart your computer.
Repair Your Registry
It is possible that the Video Scheduler Internal error can arise if there are corruptions or errors in your system registry. For scanning and fixing errors, Windows System File Checker (SFC) can be used. To make this method work, follow these steps:
- At the same time, press “Windows” and “X” on your keyboard. However, in the menu that appears, select “Command Prompt (Admin)”

- Type the following commands in the field and press “Enter“:

sfc /scannow

sfc /scannow /offbootdir = c:\ /offender = c : \ windows
- Your computer will need to be restarted once the process has been completed
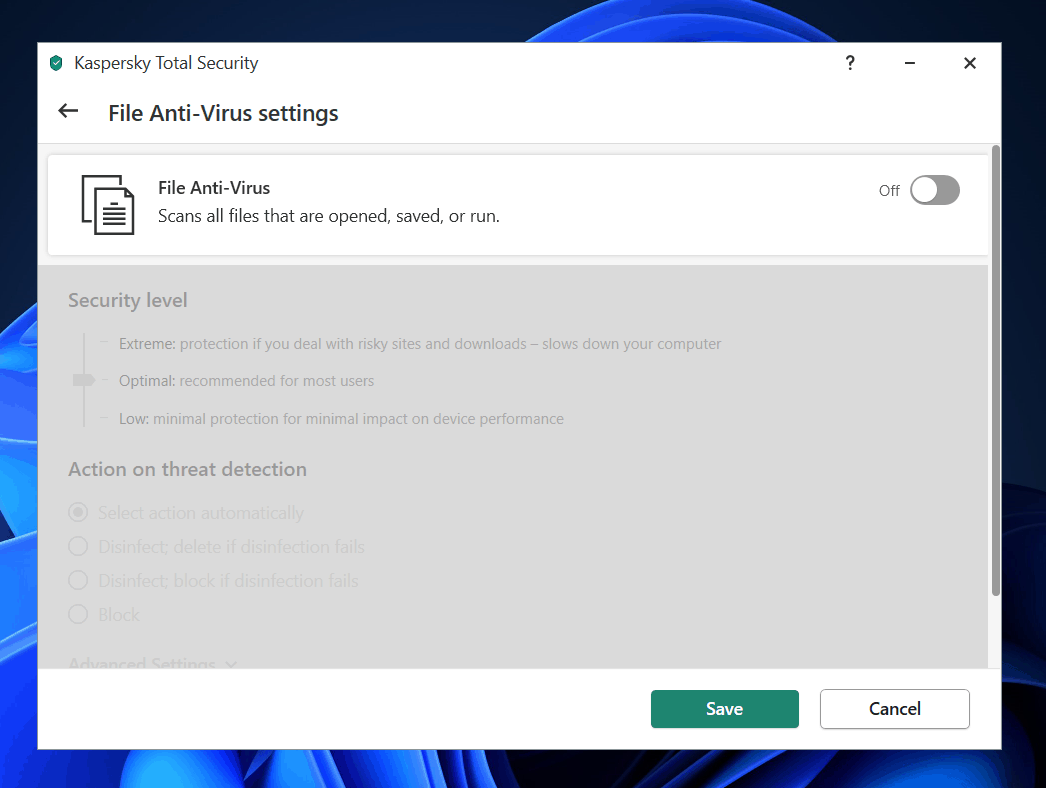
Run an Anti-Virus Scan
Make sure your system is virus-free by running a full system scan. In Windows OS, Windows Defender is the built-in antivirus, and you can also use a third-party antivirus to protect your computer. Here are the steps to using Windows Defender:
- Select Windows Defender from the “Start” menu. Double-click it to launch it.
- Choose the shield icon from the left-hand panel in Windows Defender.
- In the next pop-up window, choose to perform an advanced full scan.
- Click the option to start a full system scan.
Reinstall Graphics Drivers
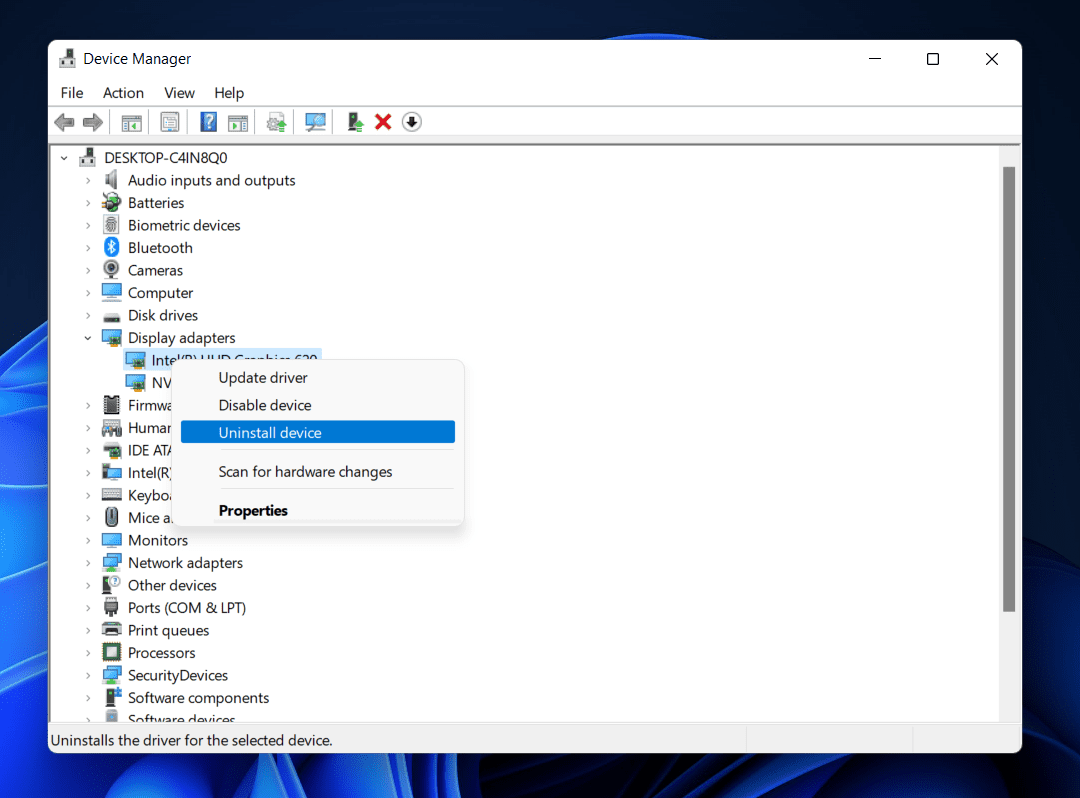
- In the device manager, right-click on the NVIDIA graphic card and choose “Uninstall.” When prompted, click “Yes.”
- Click on “Control Panel.” From the Control Panel, select “Uninstall a Program.” Then, uninstall everything related to Nvidia.
- To save changes, reboot your computer and re-download the setup from the manufacturer’s website. Afterward, reinstall your Device Drivers after you have removed everything related to them.
Update Graphic Card Drivers
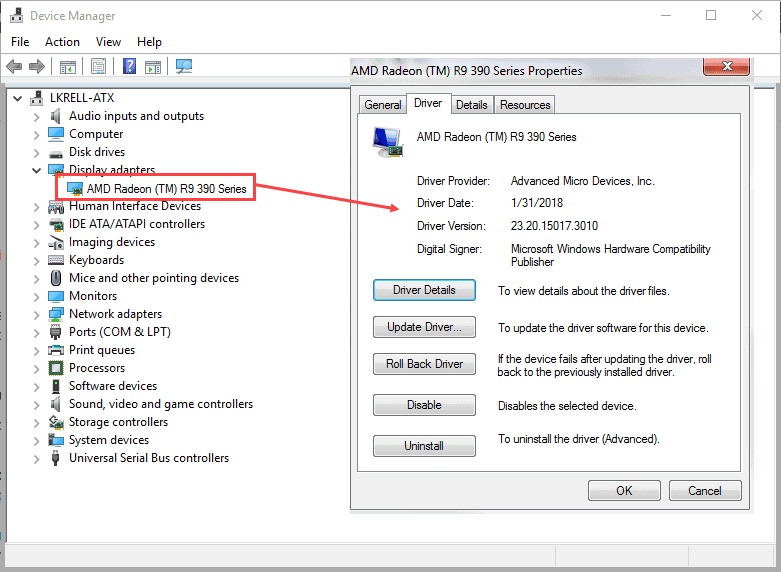
Video Scheduler Internal errors can be caused by outdated graphics card drivers. For this reason, you’ll need to update your graphic card drivers as follows:
- By using the shortcut “Win” + “R“, you can open the “Run” dialog box. Enter the instruction: devmgmt.msc.
- To pick your graphic card driver, expand the “Display adapters” option. Using the right-click menu, click “Enable“.
- Once again, right-click on the graphic card and select “Update Driver Software.”
- Choose the option that allows you to automatically find the updated version of your driver software. After the process is complete, your problem should be resolved.
- If the above option does not work, click on “Update Driver Software.” By doing this, you can download the latest drivers for your computer.
- You can select the graphics card driver from a list of devices on your computer by clicking “Let me pick from a list of device drivers on my computer.” Click “Next“.
- Your changes will be saved if your computer is restarted after the process has been completed.
Make Sure Windows is Updated
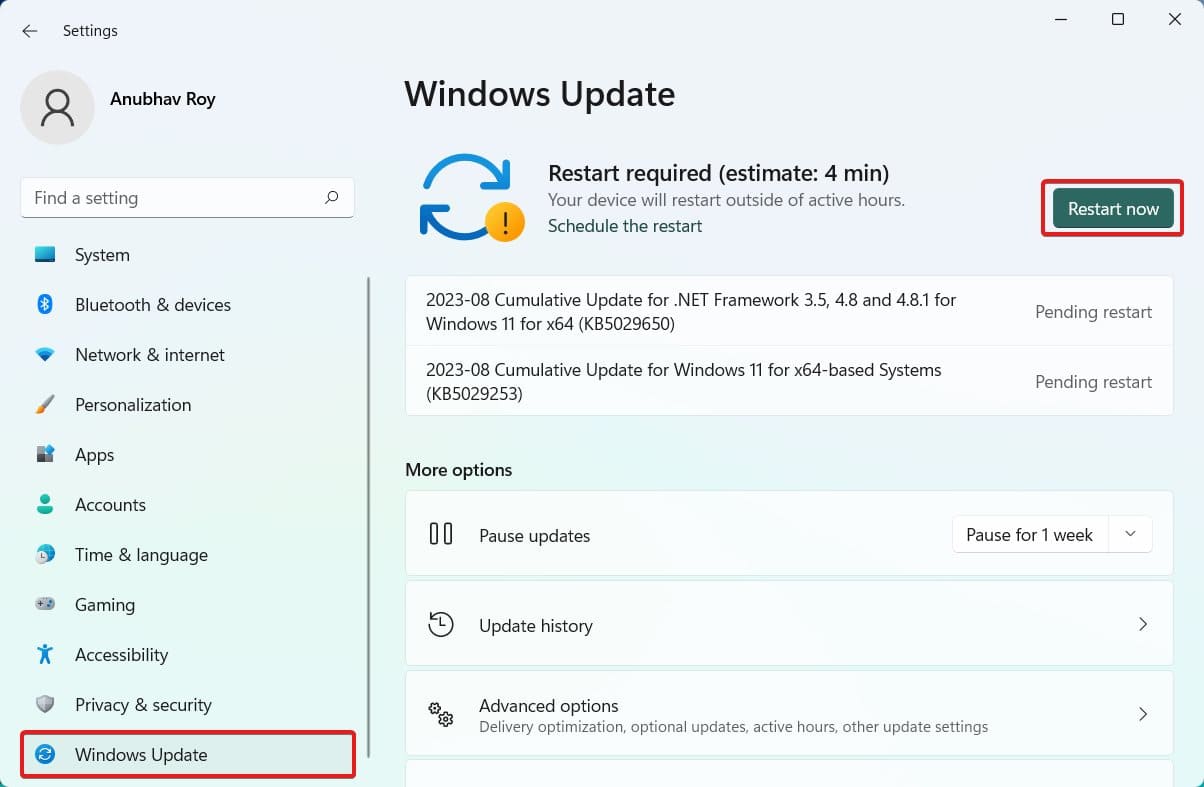
- To begin, press Windows Key + I, then select “Update & Security.”
- If any new updates are available, click “Check for updates” and install them. In order to fix the Video Scheduler Internal Error, reboot your computer after installing the updates.
- You will need to reboot your PC after installing the updates in order to fix the Video Scheduler Internal Error.
Remove Recent Hardware/Software Additions
It is possible that the cause of your problem is related to recent hardware or software installations. Especially if you have been experiencing this error right after installing something new, you should consider uninstalling it.
Hardware and drivers that come with it, as well as standalone applications, can cause problems. Windows System Restore can be useful for software if you add new hardware or software before creating a restore point.
Uninstall Third-Party Apps
When installing questionable third-party applications, the Video Scheduler Internal Error may occur. You can refer to this solution.
- Launch Control Panel using Windows Search.
- Select Uninstall a program from the Control Panel.
- See if there are any suspicious or recently installed apps causing the BSOD.
- Right-click it and select Uninstall. Once you have made your selection, confirm it.
Can RAM Lead To Internal Errors In The Video Scheduler?
There is a possibility that hazardous RAM can cause the internal video scheduler to malfunction. When RAM (memory) is broken or unreliable, system crashes may occur, including difficulty using the video scheduler.
The most important thing you should do is make sure that your RAM modules are compatible with your system and are working properly. It can be helpful to run memory checks or swap out problematic RAM when dealing with RAM-related errors.
READ MORE:
- How To Fix IRQL_NOT_LESS_OR_EQUAL Error In Windows 11
- Latest Windows 10 Skins and Themes Pack 2024
- How to Get Help in Windows 10 and Windows 11
- How to Fix Windows 10 Update Stuck and Failed
- How To Fix Windows 10 Update Freezes and Stuck
- How to Change DNS Server on Windows 10, 11, macOS, Android, and Other OS


")


