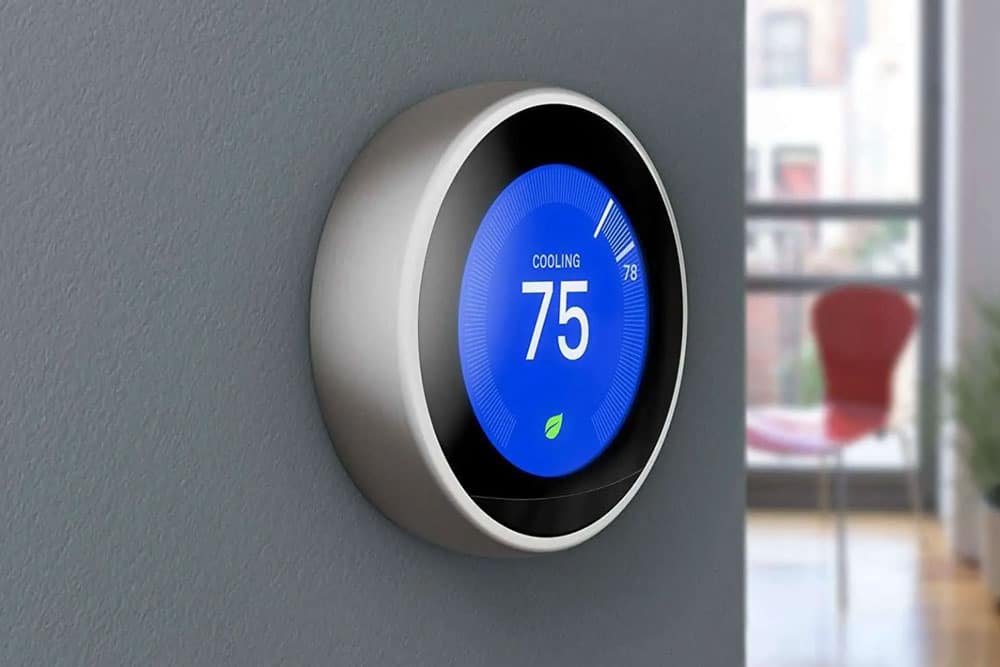
- Google's Nest Thermostat revolutionized energy savings with effortless heating and cooling, learning preferences quicker as it's used, and generating energy reports.
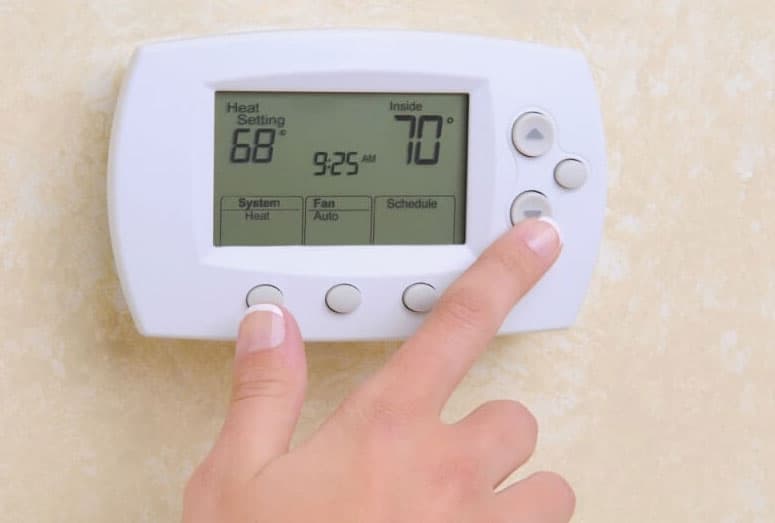
- Users may experience delays in the Nest Thermostat's functioning due to low power, irreplaceable batteries, or HVAC system issues.
- To fix delays, adjust delay settings, reset the thermostat, check and replace the battery, use a C-wire adapter, or check for recent installations or software updates.
When Google’s Nest Thermostat was released in 2011, it changed the game in terms of energy savings. Despite its third generation, it still gives you effortless heating and cooling. Nest Learning Thermostat learns your preferences more quickly as you interact with it.
While it may be expensive initially, this learning thermostat saves money and energy over time since it has features such as auto-away and auto-scheduling.
It generates an energy report at the end of each month that highlights how much you’ve saved and how you can further reduce your bills. But, for some users, the Nest Thermostat is delayed and not working properly. That’s the reason why we are here. This article will teach you how to fix Nest Thermostat delayed error. So, let’s get started with it.

What is Nest Thermostat Delayed?
Your Nest Thermostat will display a Delayed notice if it has low power. It is possible to charge the Nest Thermostat for 2 hours by removing the display and connecting it to a USB port. For a longer-term solution, you should connect your Nest and furnace together with a common (C) wire.
What Are The Causes Of Nest Thermostat Delayed?
Lithium-ion rechargeable batteries are included in the latest Nest thermostats. Using this battery only as a backup is not recommended.
The batteries in this Nest are not replaceable (the original Nest came with AAA alkaline batteries that were easy to replace). There is no longer access to the batteries in recent versions.
If you want entry into your Nest, you would have to disassemble them one by one. It is almost certain that your Nest will malfunction once the rechargeable batteries run out. This is one of the first signs you’re reading now, the notification Nest Delayed.
How To Fix Nest Thermostat Delayed
It is most likely that Nest will use the heating or cooling wires to draw its power for most setups. But, sometimes, Nest Thermostat may show a delayed error, which must be fixed. So don’t worry! We have some fixes for that. Therefore, let’s get started with them:
Check the Delay Settings
To start, make sure your application’s delay intervals are set correctly. NEST Thermostats use delay intervals to determine how long it takes for the heating or cooling system to start up after you turn them on.
It’s all just a matter of setting the delay to the lowest settings and making sure nothing can delay turning it on. It is important to keep the recommended time there in order to prevent any components from going bad or developing wear and tear.
The NEST thermostat will now work perfectly for you once you have adjusted the timer, so restart it once all the settings have been made. Besides the above factors, you may also need to consider another factor that might be contributing to the delay.
Reset the Thermostat
It’s time to put out the old leaf and reset the thermostat if nothing else has worked. There is a possibility that NEST Thermostats might develop an error here because they are designed to update automatically.
You can make your thermostat work perfectly once it is restarted once you have reset it. This will not only wipe out all the settings but will also trigger an update so that once it is restarted, all the settings will be restored.
Check On The Battery
It is also necessary to adjust the battery installed in this system after you have checked the wiring side of things. You will likely have to replace the battery if the situation with the battery becomes serious. It’s not that expensive to replace the battery, so you should be able to cover the cost.
It’s essential to keep in mind that when it comes to replacing the battery, you’ll need to cycle through some guides and tutorials online. If you don’t resolve these errors, you’ll be stuck in these errors forever, and you’ll find it very challenging to fix your unit.
It would be a good idea to take the thermostat to a local repair centre so that it can be disassembled and a new battery installed. It will be resolved, and you won’t have to deal with the same problems in the future.
Damage to The HVAC System
Once the HVAC system has been turned off, the thermostat sends a signal to the control panel to charge the batteries. Some systems, however, are quite sensitive to this signal and can turn it on at any time.
In addition to your fans, your air conditioner will not work properly. You won’t be able to switch from heating to cooling, and your HVAC system will be unable to control the temperature efficiently. However, your thermostat can last less time if you do this, as it can make a lot of noise and cause a lot of wear and tear.
Using a C-Wire Adapter

Using a C-Wire Transformer, the thermostat can remain powered at all times. It reduces the workload on the HVAC system by using the main power. There is nothing complicated about the installation process.
To connect the transformer, two wires are needed. In order to connect the wires, make sure the Power (RH) and C-terminals of the thermostat are connected. Afterwards, connect the transformer unit to a wall outlet.
It is recommended that your thermostat be located near a wall outlet. This method has the drawback of making the adapter wires protrude from the thermostat, destroying its neat appearance.
Using G-Wire as a C-Wire
It is possible to regulate the blower fan individually with the green G cable. G wires are often confused with ground wires, however.
If you follow this method, you’ll need to unplug the G wire from the G terminal. It is located on the thermostat’s inside. It needs to be installed in exactly the same way as a C wire.
There will be no difference in the process for the furnace. There is a simple, low-cost alternative to this. You should always have power to your thermostat. There will be no autonomous control over your ventilation fan, which is the main disadvantage.
It is important to ensure that the fan is not connected to anything else before you disconnect the G wire. In order to connect the jumper cable to the G and Y terminals, you may first need to empty the terminals. Using fan-only mode is recommended instead of this option.
Check to See if The Nest Thermostat Was Recently Installed
If your Nest thermostat displays the message Delayed for 2 Hours or another timeframe, don’t panic. New Nest thermostats usually need some learning time to get used to your house. You’ll soon see the device functioning normally once it’s settled in.
Also, if you’ve recently reset your Nest thermostat, you’ll see an alarm delay notification. As a result, the device won’t be able to learn about your home as it does not have all its saved data, so for it to learn again, it will need to be treated like a new device and wait for a couple of days.
Check for Software Updates
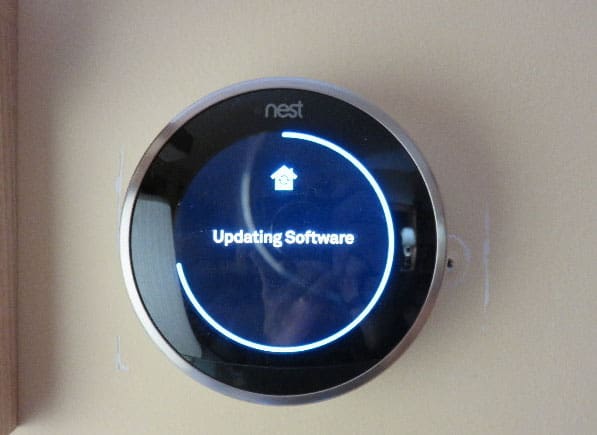
Nest thermostats must be regularly updated to ensure optimal performance. There is a possibility that your device is running an update and can’t perform its regular functions due to the ‘Delay’ notification.
There’s no need to panic if your device displays a ‘Delay‘ notification, as this is completely normal. After a while, the device should start working normally once it has completed the updates.
Wrap Up
So, that’s how to fix the nest thermostat delayed issue. We hope that this guide has helped you. Meanwhile, if you need more info, comment below and let us know.
ALSO READ:
- Honeywell Home Pro Series Thermostat Manual
- How to Fix Google NEST Thermostat Not Cooling
- Fix Doordash Error Validating Basket on Android/iOS App
- How to Fix My TCL TV Not Turning On Properly
- Fix This File Does Not Have an App Associated With It
- How To Fix VT-X is Not Available (verr_vmx_no_vmx) in Virtual Machine

")


