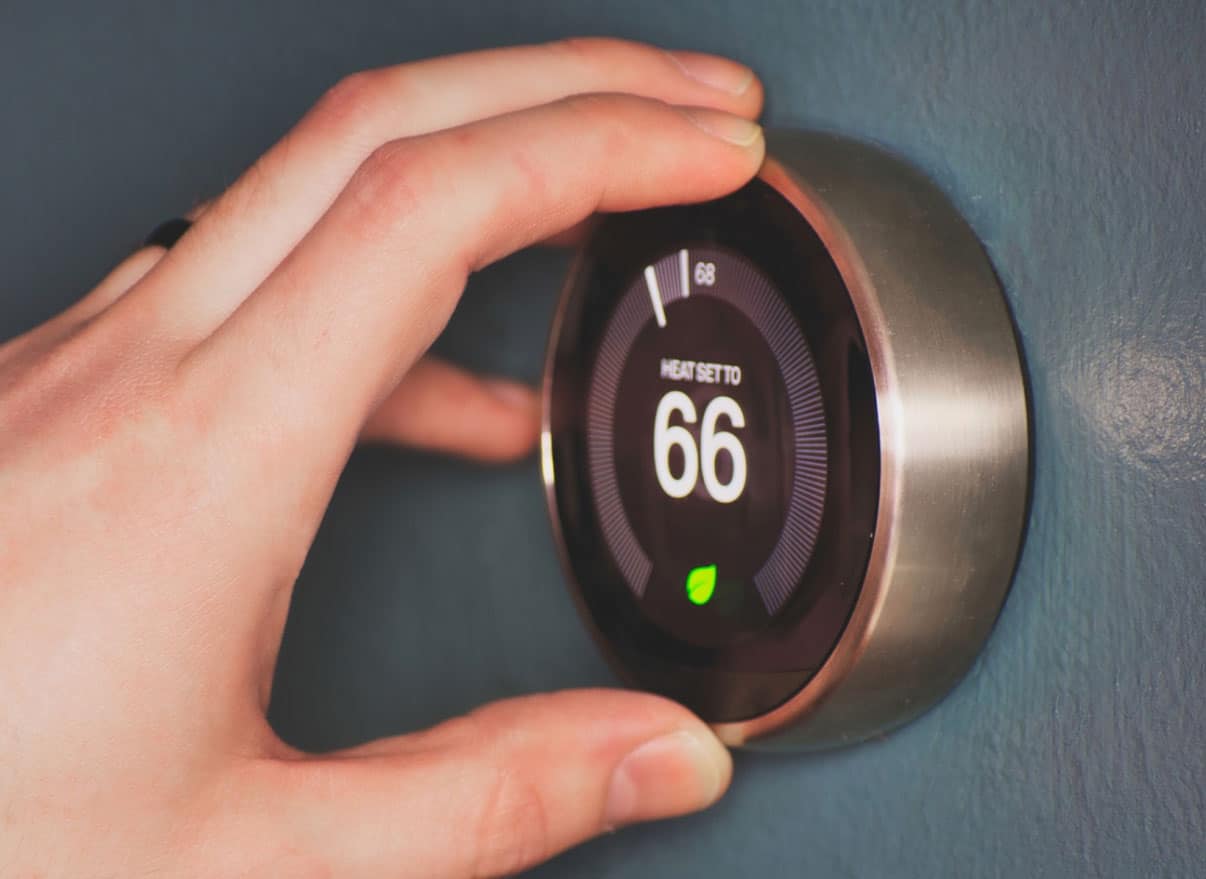
- Nest Thermostat provides high-tech features like voice and app control, HVAC system alerts, and personalized schedules
- Steps to fix Nest Thermostat not cooling include restarting the system, checking for fully inserted wires, and ensuring compatibility with the HVAC system
- Other troubleshooting tips involve checking maintenance requirements, identifying the home cooling system, reinstalling the old thermostat, and checking for a tripped circuit breaker.
This Thermostat provides most of the more expensive Nest Learning model features, such as voice and app control, HVAC system alerts, and auto-turndown when you leave. It automatically sets up a schedule and learns your temperature preferences. That’s what sets the Learning model apart.
In spite of the Nest Thermostat’s scheduling feature, you must set it up manually. However, sometimes it fails to work properly. Many users recently reported that the NEST Thermostat is not cooling. Well, that’s the reason why we are here. In this journey, you will learn how to fix NEST Thermostat that is not cooling. So, let’s get started with the fixes:
Fix NEST Thermostat Not Cooling
Although there might be various reasons you are getting this annoying problem, there is nothing to worry about as we have mentioned some potential fixes that will help you resolve the NEST Thermostat, not a cooling issue. Therefore, let’s try them out:
Restart the System
It is still worth giving your Nest thermostat a reset, even if it is unlikely to resolve an issue as significant as it not cooling. It would be best to completely shut off the Nest by turning off the fuse or cutting power to it in some other manner.
Once you have waited five minutes, turn on the Nest again. While the Nest reboots, you’ll need to wait a few minutes for it to reconnect with your home systems. In addition, to manually reset the device, you can also use the following method:
- To access Quick View, press the thermostat ring.
- Select Settings.
- To reset, turn the ring to Reset and press select.
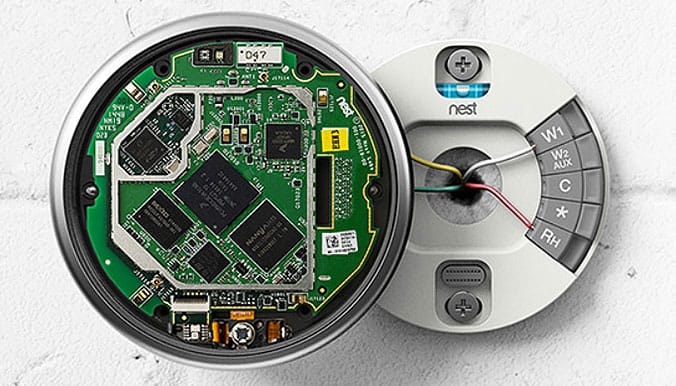
Check If The Wires are Fully Inserted

It is typically caused by poor wiring in these situations. It is, therefore, important that you check all your wiring. So, here’s how you do it:
- Firstly, turn off the system. By doing this, any damage caused by this process will be prevented or avoided.
- Then, carefully remove the Google Nest thermostat display.
- Lastly, check all the wires that are connected to make sure that they are all connected.
- Pulling out the wires and re-inserting them if necessary may be necessary.
You can now check if the problem with the not cooling has been resolved. Don’t worry if this doesn’t work; try the next method instead.
Check Compatibility
This is also why NEST Thermostats do not work properly, not of a cooling issue. It is common to see this problem with NEST Thermostat when it is used with an incompatible device.
NEST Thermostat is designed to operate on a 24V system. Despite this, some models and manufacturers may not be compatible with this system. Nevertheless, if your device is compatible with the Thermostat, the C wire may be needed.
Check It Need Maintenance
Whenever you try to cool and heat, the Nest thermostat screen turns blue but doesn’t light up. However, what if it starts working again after rebooting? So, how do you determine whether your Thermostat needs maintenance? Well, if you restart it, eventually, it’ll work. It takes a while for the error to appear, but yet it does. Thermostat systems require maintenance, so this indicates that they need to be serviced.
Correctly Identify Your Home Cooling System
You can easily check your outside system by looking outside. The label should say whether it is an air conditioner or a heat pump. To get more information about the system, get the brand name and model number and Google the device.
It is also a good idea to turn on your house’s heat to see if the cold starts to run outside. If it does, you have a heat pump. If you are experiencing Nest cooling problems, I suspect you have a heat pump system, but I thought it was conventional.
Reinstall Your Old Thermostat
It’s important to confirm whether the Nest is actually the cause of your cooling problems if you’ve reached this point. You can accomplish this by reinstalling your old Thermostat. It’s another good idea to turn off the Thermostat’s fuse before handling any wires.
It is possible that something is wrong with your home’s wiring if you install the old Thermostat. There is something off with the Nest if, for example, the old Thermostat works fine, but the Nest doesn’t.
You may have a problem with your cooling system’s wiring if your old Thermostat isn’t working either. If you want to get it fixed, you’ll probably need a professional electrician.
Tripped Circuit Breaker
To see if your circuit breaker box has been tripped, check your circuit breaker box if you are still experiencing cooling problems. Simply look for any switches in the off position and turn them on.
The breaker should be turned on, off, and then finally turned back on once it has been identified. It is likely that this will reset the breaker and resolve the NEST Thermostat not cooling issue.
RC, RH Wiring Issue
A single R wire is sometimes bridged to an RC or RH wire with a piece of metal in older thermostats. There’s a good chance you’ll miss it. It is notable, however, that Nest separates the RC and RH wiring into their own ports.
You should connect your single red R wire to Nest’s RH port if you only have one red R wire. Check to see if connecting the red wire to the RC port solves your problem if that doesn’t work.
Wrapping Up
So, that’s how to fix the NEST Thermostat not cooling issue. We hope the fixes mentioned earlier in this article have helped you. Further, comment below and let us know if you have any doubts or queries.
RELATED GUIDES:


")


