- Persistent iCloud price increase notifications on macOS can be caused by nearing or exceeding iCloud storage limits, system bugs, or unregistered subscription changes.
- To resolve this issue, you can sign out and sign back into iCloud, update your macOS to the latest version, and manually clear the notification badge.
- Managing your iCloud storage by deleting unnecessary files, turning off specific iCloud services, or using alternative backup solutions can help eliminate these notifications.
Persistent notifications on macOS can be frustrating, especially when they seem impossible to dismiss. One common issue users face is the notification of a price increase related to iCloud storage. This notification often persists on your Mac even after you’ve acknowledged it or made changes to your iCloud subscription.
Whether you’ve already upgraded your iCloud plan, don’t need more storage, or have stopped using iCloud altogether, the notification keeps popping up, causing unnecessary annoyance. In this article, we’ll guide you through simple steps to remove these persistent iCloud price increase notifications and regain control over your Mac.
Let’s explore the reasons behind these notifications and learn how to get rid of them once and for all.
Understanding the Causes of Persistent iCloud Notifications
Before diving into the fixes, it’s helpful to understand why the notification of a price increase might keep reappearing on your macOS device. Several factors could contribute to this issue:
iCloud Storage Nearing Its Limit
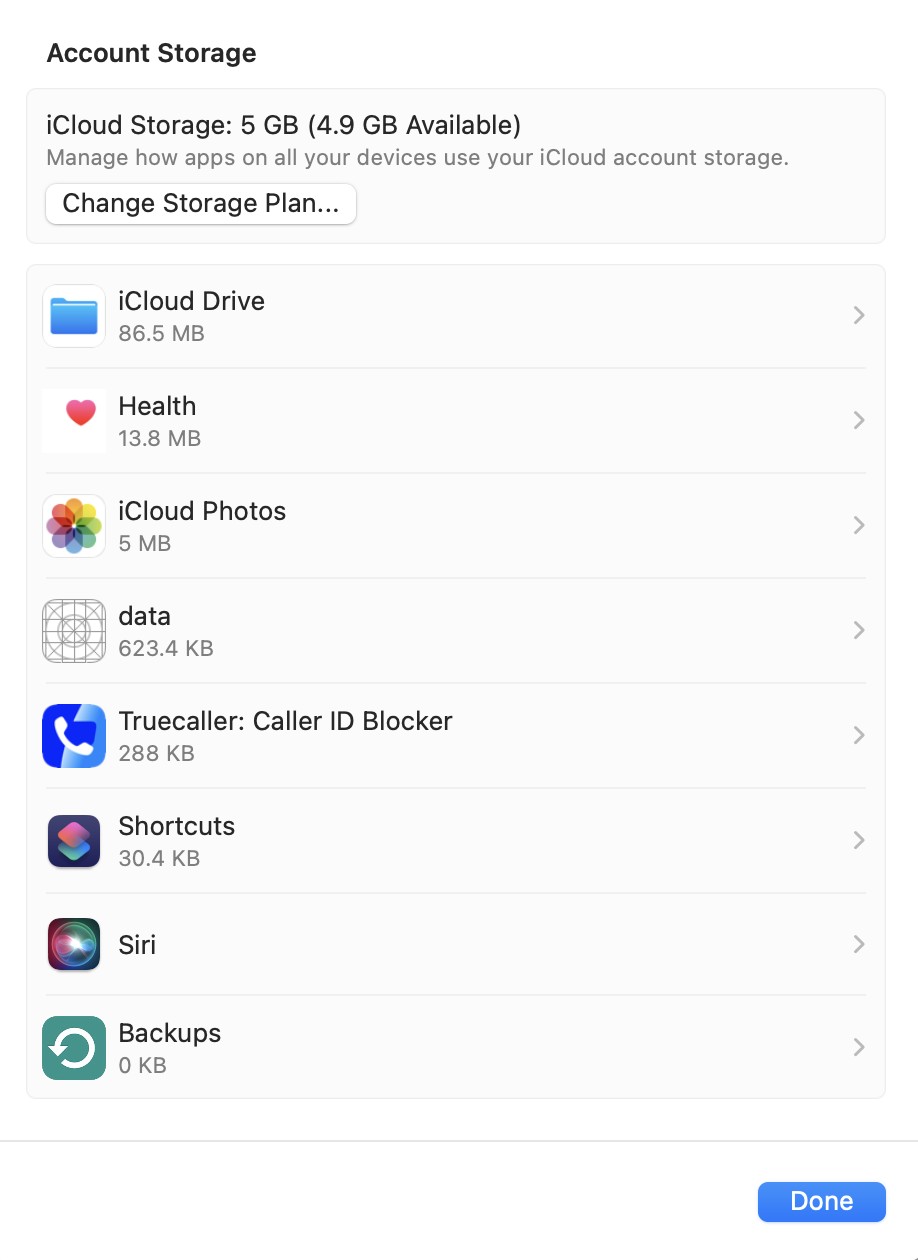
One of the most common reasons for these notifications is that your iCloud storage is almost full or has exceeded the free 5GB limit. macOS may keep reminding you to upgrade your plan, even after you’ve done so or cleared some storage.
Notification System Bug
Sometimes, persistent notifications are simply the result of a bug in the macOS system. Even if you’ve dismissed the notification, it can still keep coming back due to a glitch in how notifications are managed.
Unchanged iCloud Subscription Details
If you’ve recently upgraded or downgraded your iCloud plan, the notification might persist because macOS hasn’t registered the change yet. This could happen due to a syncing issue between your Mac and Apple’s servers.
Fix iCloud Price Increase Notifications Stuck on macOS
Sign Out and Sign Back Into iCloud
One of the simplest and most effective ways to remove persistent iCloud price increase notifications is to sign out of iCloud and then sign back in. This method helps reset the connection between your macOS device and Apple’s iCloud servers, often resolving the notification issue.
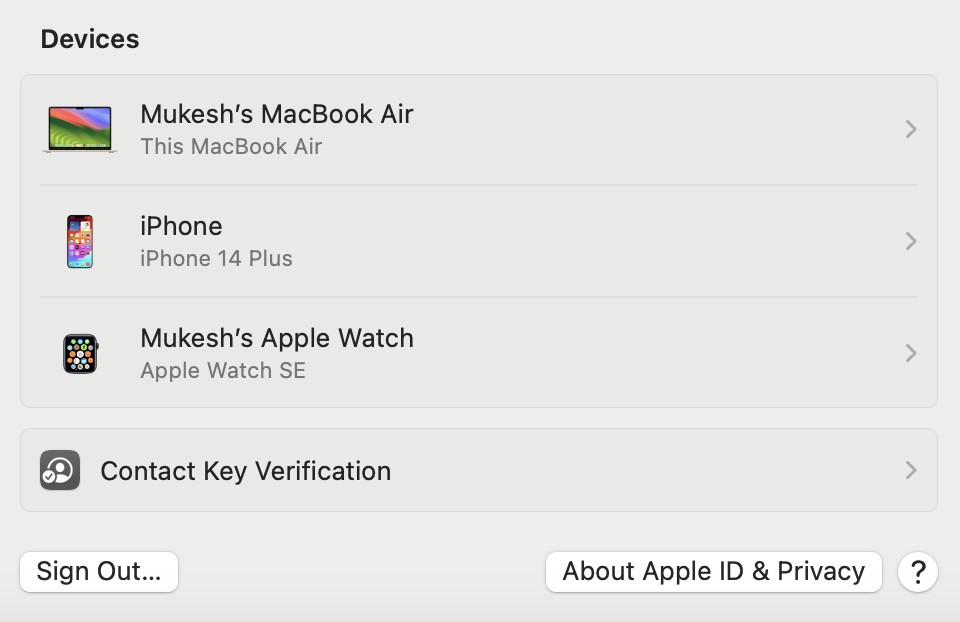
- Open System Settings: On your Mac, click the Apple menu in the top left corner and select “System Settings.“
- Go to Apple ID: In the System Settings, look for the “Apple ID” option at the top and click on it.
- Sign Out: Scroll to the bottom of the Apple ID page and click on “Sign Out.” You may be asked if you want to keep a copy of your iCloud data on your Mac (like contacts or calendar entries) – choose the option that suits your needs.

Sign Out and Sign Back Into iCloud - Restart Your Mac: After signing out, restart your Mac to clear any temporary files or system bugs that may be contributing to the persistent notification.
- Sign Back In: Once your Mac restarts, go back to System Settings > Apple ID and sign back in using your iCloud credentials.
- Check Notifications: After signing in again, check if the notification of price increase is still appearing. In most cases, this fix should resolve the issue.
Signing out and back in refreshes your iCloud session, which often clears up any lingering notifications related to storage or pricing. If this doesn’t fix the issue, proceed to the next method.
Update macOS to the Latest Version
Keeping your macOS updated is crucial for ensuring smooth system functionality. Persistent iCloud price increase notifications may occur due to a bug or glitch in your current macOS version. Updating your Mac to the latest version can often resolve these issues, as Apple regularly releases bug fixes and improvements.
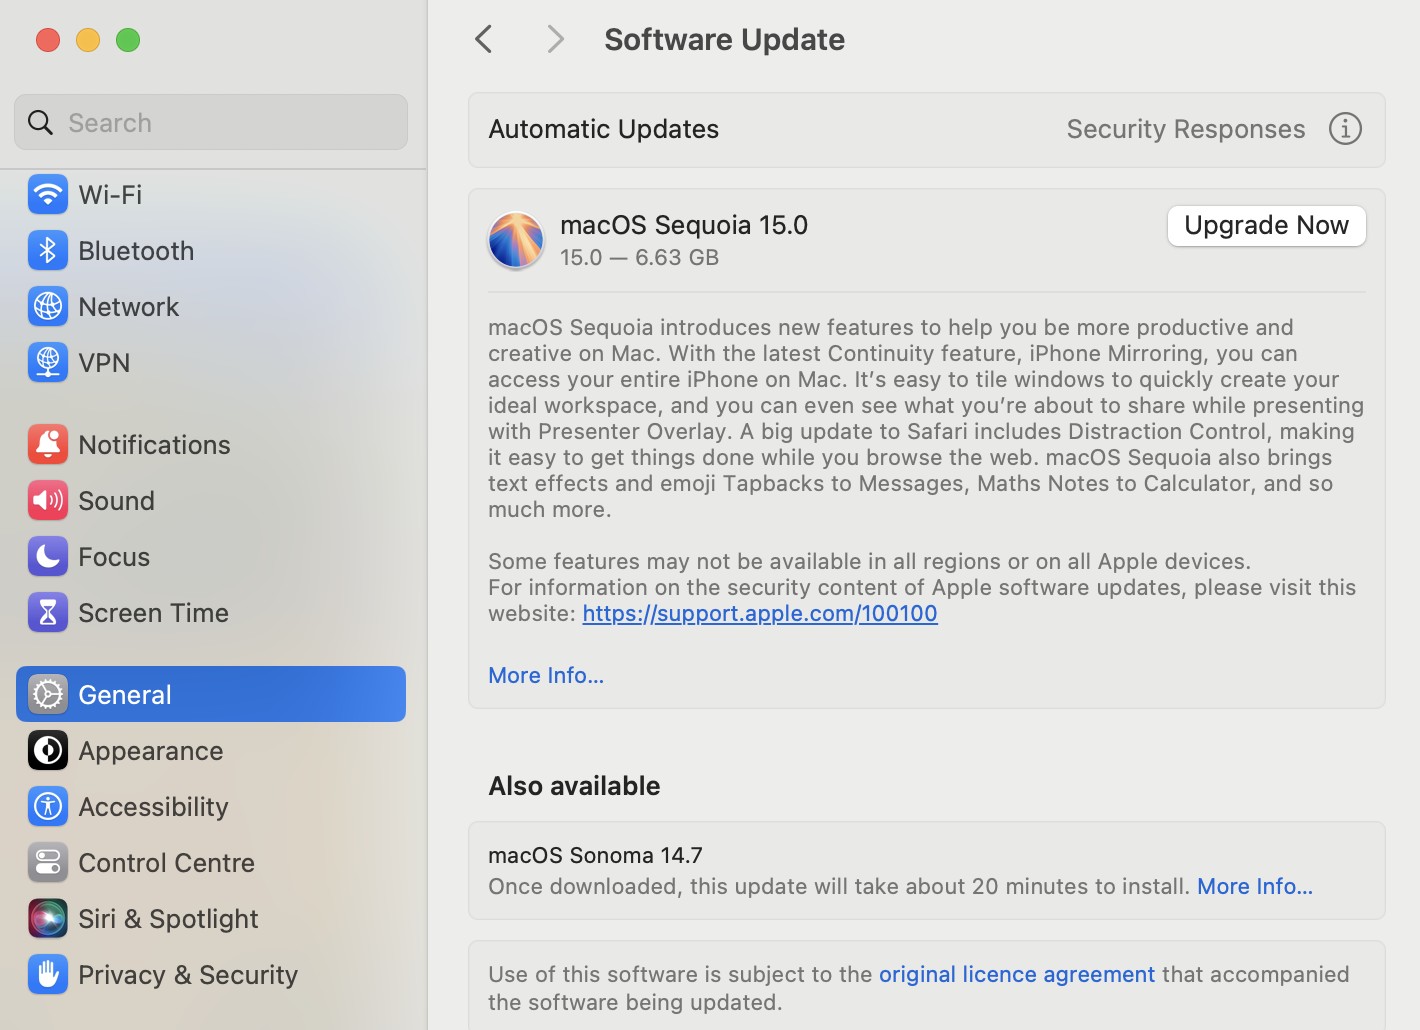
- Open System Settings: Click the Apple menu in the top-left corner and select “System Settings.”
- Go to Software Update: In the System Settings window, click on “General” and then select “Software Update.” Your Mac will automatically check for any available updates.
- Install Updates: If an update is available, click “Update Now” or “Upgrade Now” (depending on the macOS version). Make sure your Mac is connected to power during the update process.
- Restart Your Mac: After the update is installed, your Mac will restart. Once it boots back up, check to see if the notification of price increase is still present.
Updating your macOS helps ensure that any bugs or glitches related to notifications are fixed, providing a smoother overall experience. If the issue persists after updating, continue to the next method.
Clear the Notification Badge on macOS
Sometimes, the notification of a price increase gets stuck in the system’s notification center, causing it to persist despite being acknowledged. Manually clearing the notification badge can help resolve this issue.
- Open the Notification Center: Click the date and time in the top-right corner of your Mac’s screen to open the Notification Center. You can also use a two-finger swipe from the right edge of your trackpad (if applicable) to bring it up.
- Locate the iCloud Notification: Scroll through the list of notifications until you find the persistent iCloud price increase notification.
- Right-Click (or Control-Click) the Notification: Once you’ve found the notification, right-click on it (or hold down the Control key while clicking) to bring up additional options.
- Click “Clear”: From the options that appear, select “Clear.” This should remove the notification from the Notification Center.
- Restart Your Mac (Optional): If the notification continues to reappear after clearing it, try restarting your Mac to ensure any temporary files or system bugs are reset.
Clearing the notification badge can help remove the lingering price increase notifications that refuse to disappear, especially if the issue is caused by a temporary glitch in macOS. If this method doesn’t work, try the next fix.


 Free Download and Install")

