- Apple has added a new feature in macOS Sequoia, iOS 18, and iPadOS 18 that lets you create instant text versions of your voice notes in the Notes app.
- This feature helps you quickly read voice notes without listening to them, which is useful for getting fast summaries or when you can't play audio.
- Generating live transcriptions is simple: open the Notes app, create or select a note, record your audio, and the text version of the audio will appear within seconds.
The latest update from Apple now allows users to generate live transcriptions of their voice notes. This feature was introduced with macOS Sequoia, iOS 18, and iPadOS 18 in WWDC 24. With this feature, you can simply record voice notes in the Notes app on your device and you can get its transcription in an instant.
But what’s the use? Well, this allows you to get a quick look over the voice note without having to listen to it. This can be useful when you have to get a quick summary from the note or when you can’t hear the voice note (due to obvious reasons). In this article, we will be guiding you on how you can generate live transcriptions in macOS Sequoia, iOS 18, and iPadOS 18.
How to Generate Live Transcriptions in macOS Sequoia?
You can generate live transcriptions for the voice notes you record on the Notes app. But before you continue, ensure your Mac is running on the latest macOS Sequoia (currently in the Beta phase).
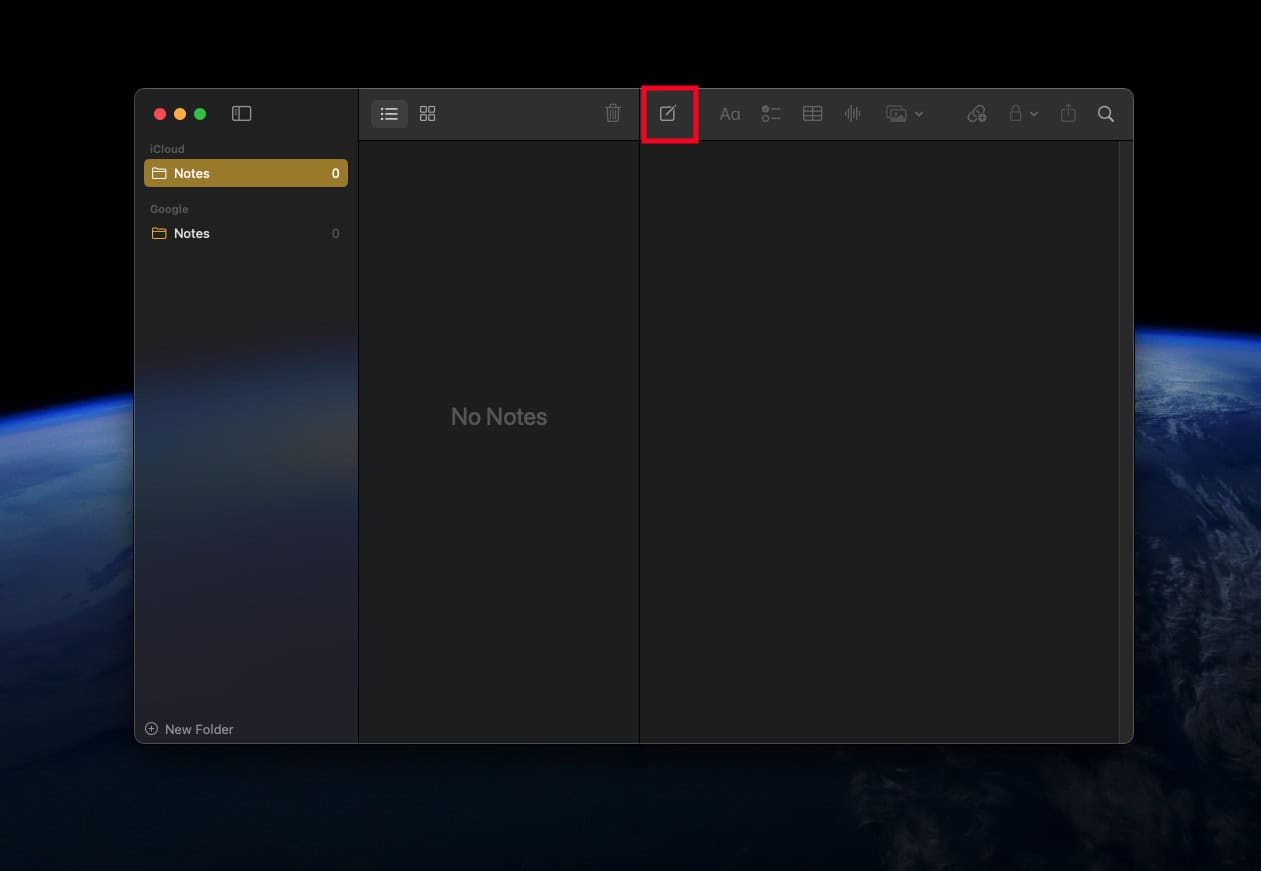
- Press Command + Spacebar to open Spotlight Search. Type Notes and press Enter to launch the Notes app.
- Click on the Create Note icon on the top to create a new note. You can even select an already existing note.

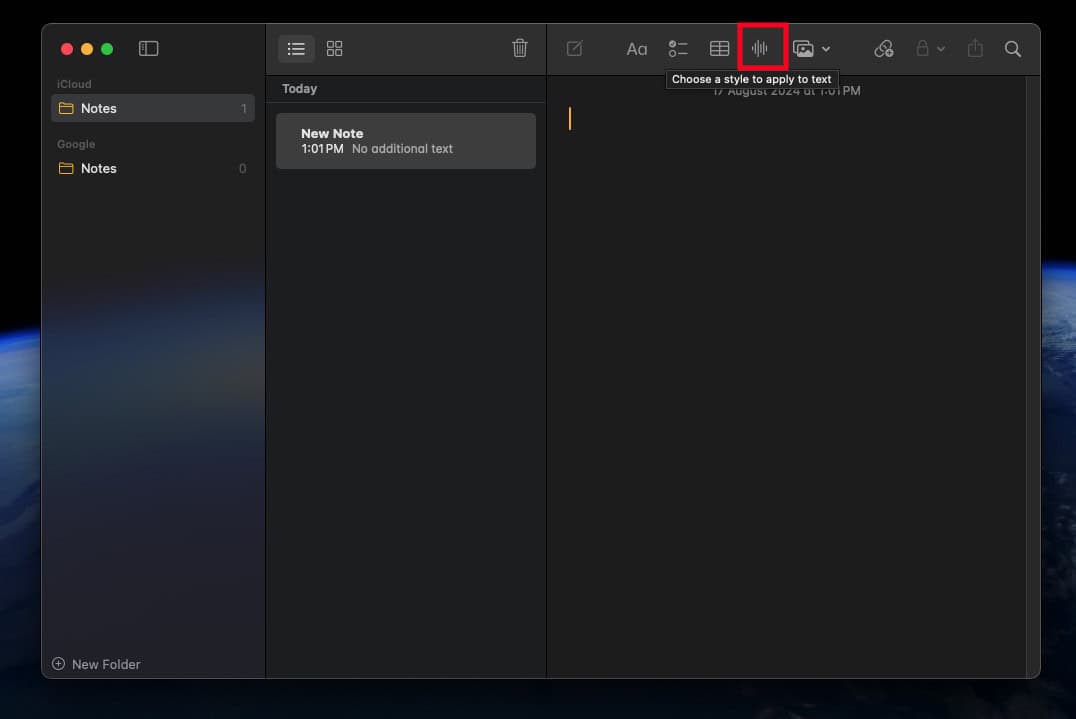
- After this, click on the Record Audio button.

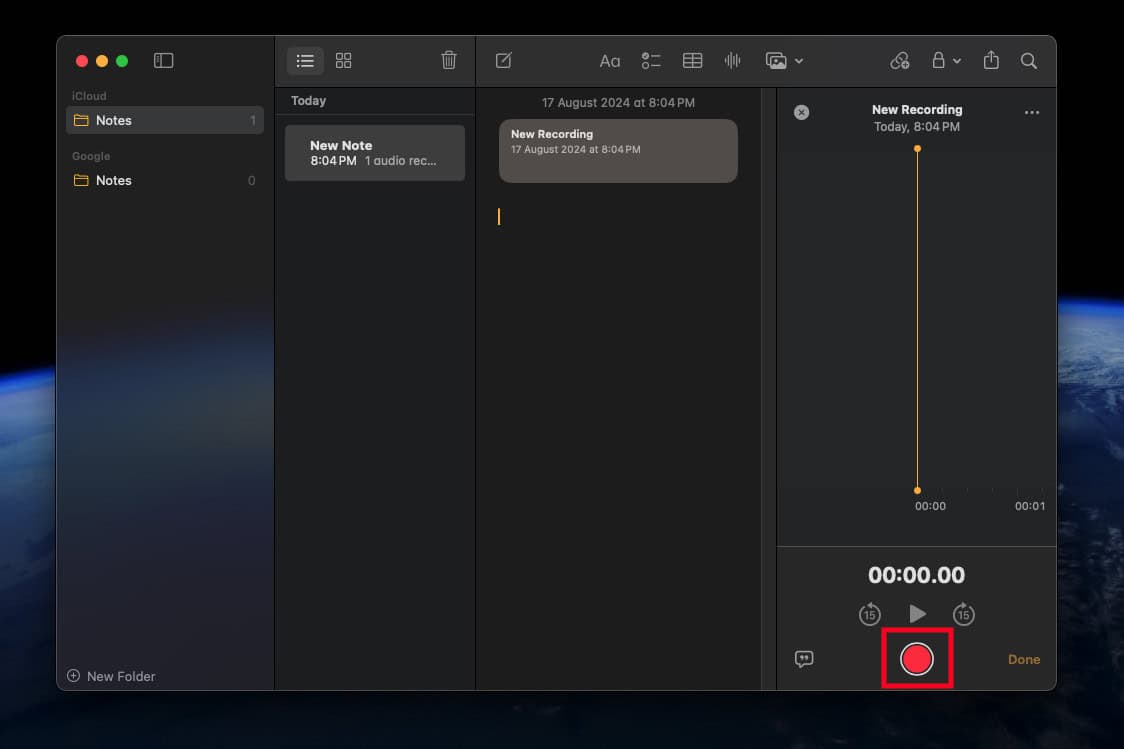
- Now, click on the red Record button to start recording.

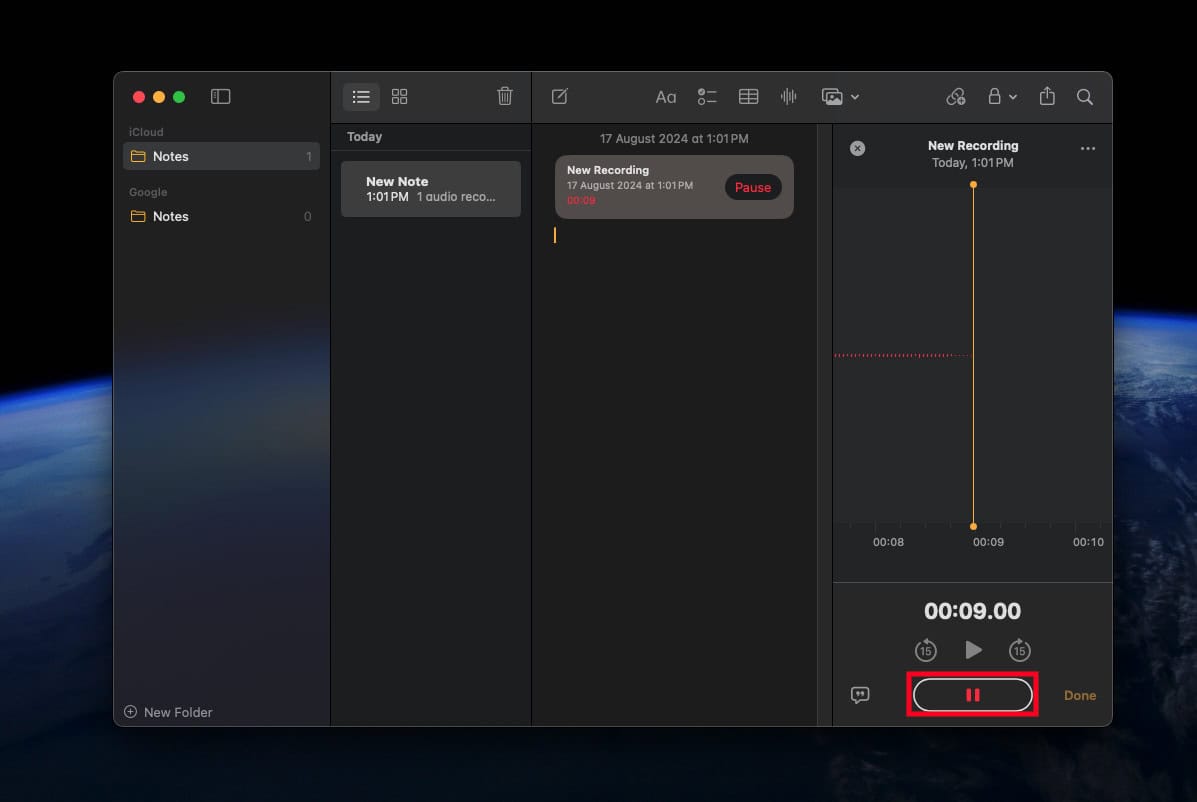
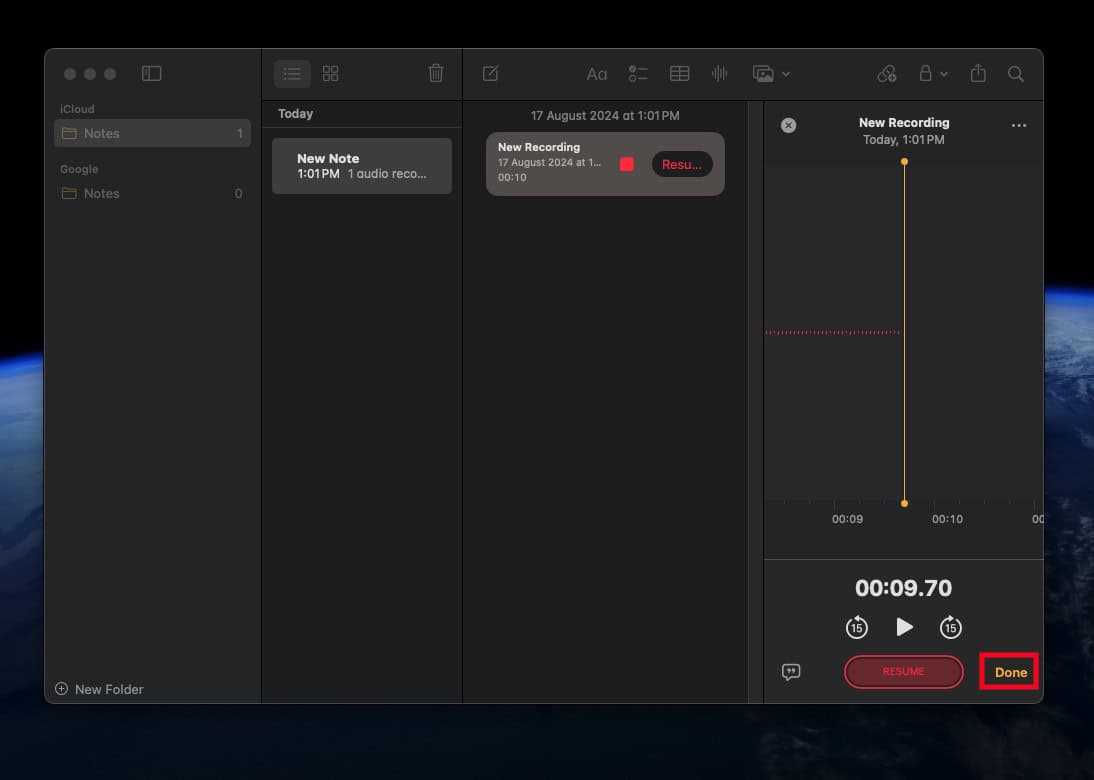
- After you have recorded the audio, click on the Pause button.

- Now, click on Done to save the audio.

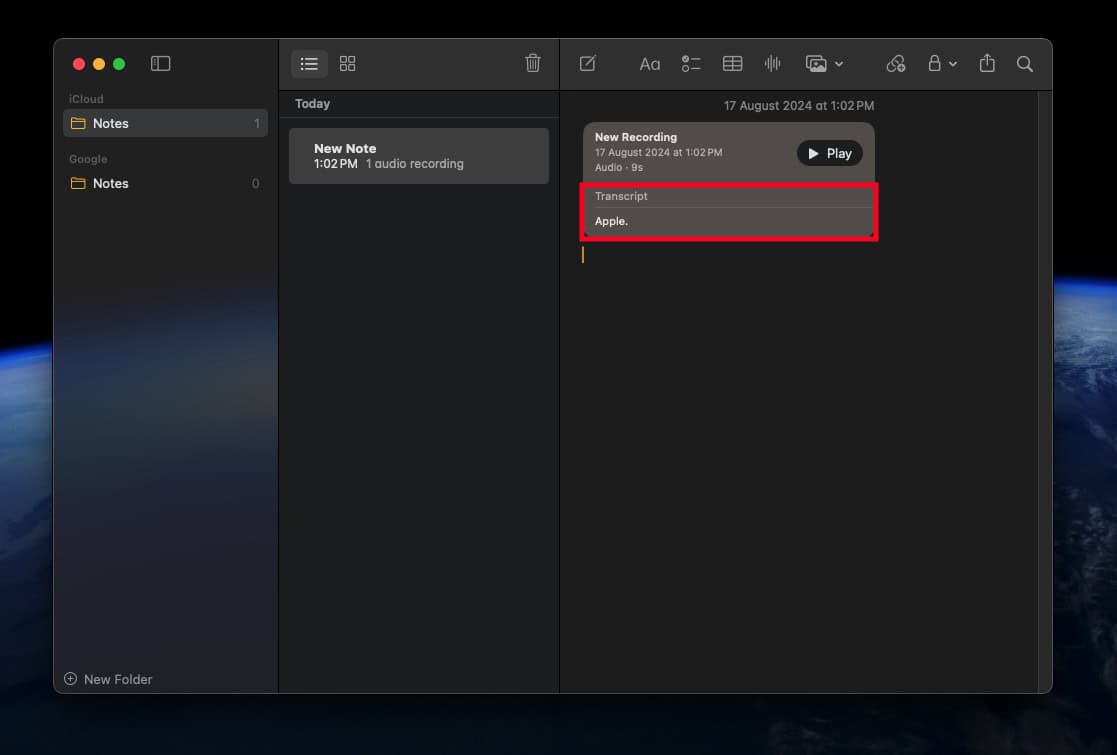
- Once done, you should see the transcription of the voice note.

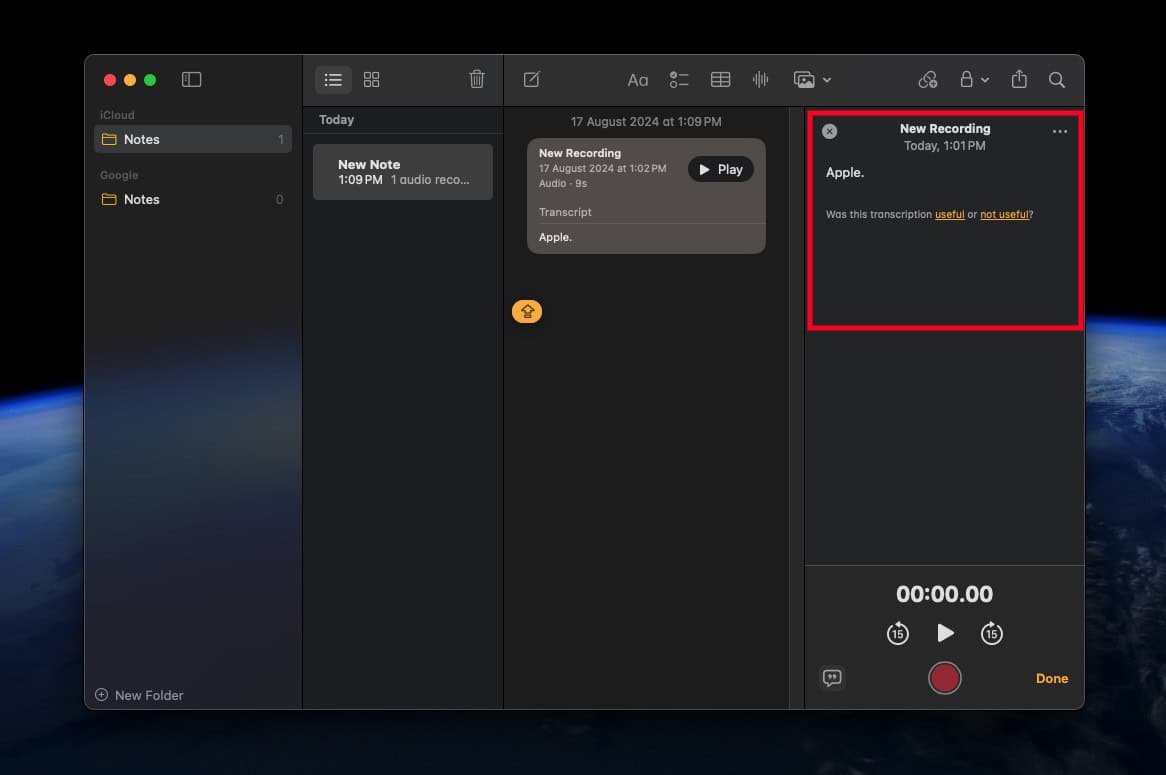
- Click on the voice note to get the full transcription.

Clicking on the three dots will give you additional options to what you can do to the transcript, such as: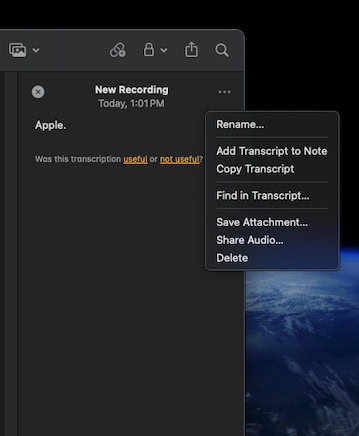
- Rename- Use this option to rename the audio recording.
- Add Transcript to Note- This will save the transcription to your note.
- Copy Transcript- You can copy the transcription and paste it anywhere you want to, i.e., Pages, Social Media apps, etc.
- Find in Transcript- You can look for keywords in the transcription. Type the word you want to search for and this will check whether the word is available in the transcription or not.
- Save Attachment- You can save the audio recording to your device
- Share Audio- Share audio to Mail, Messages, AirDrop, or any other app.
- Delete– This allows you to delete the audio recording.
How to Generate Live Transcriptions in iOS 18 and iPadOS 18?
Apple brings the live transcription feature to iPhone and iPad with the latest iOS 18 and iPadOS 18. Getting live transcription for voice notes on mobile devices is similar to macOS. Here’s how you can do it:
- Launch the Notes app on your device.
- Now, select a note or create a new one by tapping on the Create note icon at the bottom right corner.
- After this, tap on the Attachment button and then select the Record Audio option.
- After this, tap on the Record button at the bottom and start recording your audio.
- Tap the Pause button to stop recording, and then Done to save the recording.
- After a few seconds, the transcription for the audio will be generated.
- Tap on the audio and then tap on the Yellow Quotation Box icon in the bottom left corner to see the full transcription.
Bottom Line
The best part about using Live Transcription is that it can be shared with anyone you want to. You can export the audio files, rename them, or even sync them to your iCloud. Your audio files and live transcriptions will get synced across all of your Apple Devices connected to your Apple account.
While I was testing this feature on my Mac, I found the transcriptions to be inaccurate sometimes. Remember that you will get live transcriptions for audio recordings in English only; if you record audio in any other language then Live Transcription will generate random results.
The latest macOS, iOS, and iPadOS are still in the beta phase and there’s still room for improvement for such features. With Apple Intelligence, I hope all of these features will improve over time.
ALSO READ:


