- Starlink Mini offers portable satellite internet suitable for traveling and remote work without needing large equipment. It is perfect for camping, RVs, rural homes, and temporary sites.
- To activate a new Starlink Mini on an existing account, ensure the kit is not linked to another account and gather necessary details like your account info, kit ID, and payment method.
- You can manage multiple Starlink devices under one account by adding Starlink Mini as a separate subscription. Ensure the kit is clear from obstructions for optimal use.
Starlink Mini is designed for people who need portable satellite internet without carrying a large dish, a separate router, and bulky power setup. It is smaller, easier to travel with, and useful for remote work, camping, RV trips, backup internet, rural homes, and temporary job sites.
If you already have a Starlink account, activating a new Starlink Mini is usually straightforward. The important part is choosing the correct activation method based on where you purchased the hardware and whether the kit has ever been assigned to another account.
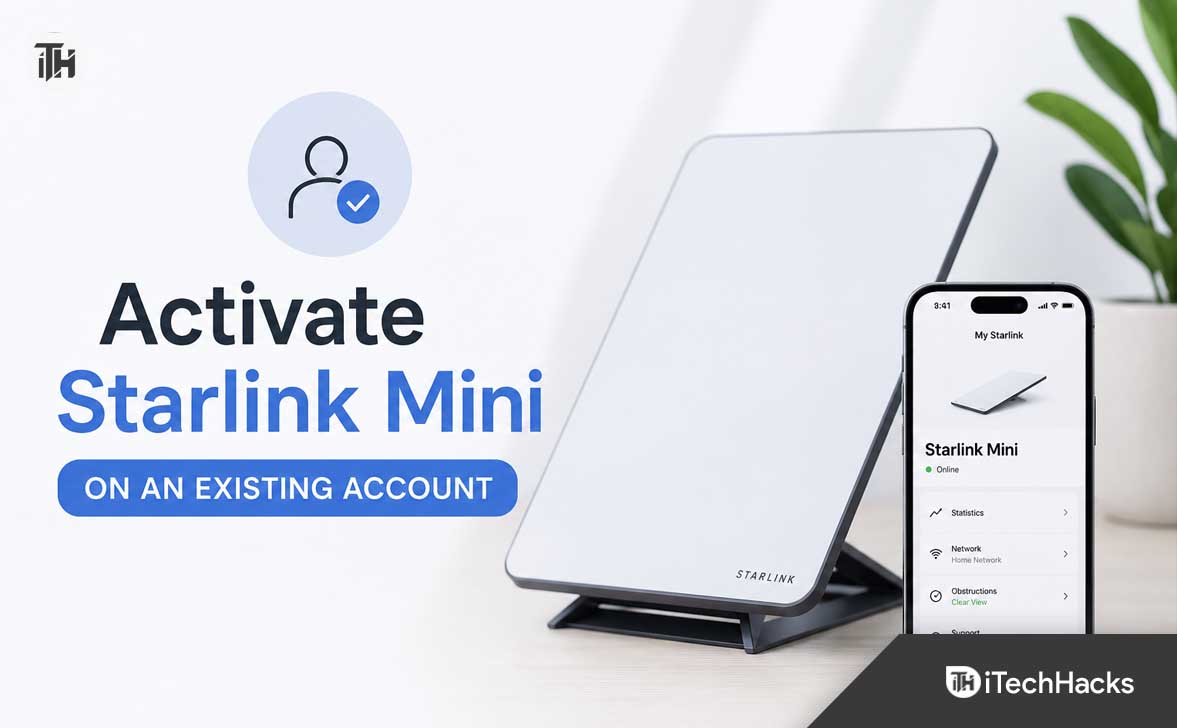
This guide explains how to activate Starlink Mini on an existing account in 2026, how to add it as a separate subscription, what information you need before starting, and how to fix common activation errors.
Before You Activate Starlink Mini on an Existing Account
Before starting the activation process, make sure your Starlink Mini kit is eligible for activation. A brand-new kit purchased directly from Starlink or an authorized retailer is usually ready to be added to your account.
However, a used Starlink Mini may still be attached to another person’s account. In that situation, you cannot activate it until the original owner properly transfers or removes the hardware from their Starlink account.
You should have the following details ready:
- Your existing Starlink account email address and password
- Your Starlink Mini Kit ID, terminal ID, or serial number
- Your service address or primary usage location
- A payment method for the new subscription
- The Starlink app installed on your phone
- A clear view of the sky for final setup
The Kit ID is usually printed on the Starlink Mini packaging. You may also find the serial number on the device label. Do not confuse the Wi-Fi network name with the Starlink hardware identifier.
Can You Add Starlink Mini to an Existing Starlink Account?
Yes, you can add Starlink Mini to an existing account. Your account can manage more than one Starlink subscription, which is helpful if you already use a Standard Starlink dish at home and want a Mini kit for travel, backup connectivity, or another property.
Each Starlink Mini generally needs its own active subscription or service line. Adding the Mini to your existing account does not automatically share the same service plan from your current Starlink dish.
For example, you may have a Residential plan for your main home and a Roam plan for your Starlink Mini. The available plans depend on your country, service address, account type, and local Starlink availability.
How to Activate Starlink Mini Through Your Existing Account
The easiest method is to add the Starlink Mini from your Starlink account dashboard. This is usually the best option when you already have an active Starlink account and want to keep all your hardware and billing information in one place.
Step 1: Sign In to Your Starlink Account
Open the Starlink website and sign in using the email address connected to your existing Starlink subscription. Make sure you use the correct account, especially if you have used multiple email addresses for Starlink orders in the past.
After signing in, you should see your account dashboard with your existing Starlink hardware, subscriptions, billing details, support options, and account settings.
Step 2: Open the Subscriptions or Manage Starlinks Section
Look for the section that manages your Starlink hardware and subscriptions. Depending on your account layout, this may be labeled as Subscriptions, Manage Starlinks, or Account.
Starlink occasionally changes its dashboard layout, so the exact wording may look slightly different. The goal is to find the option that lets you add a new Starlink service line or hardware kit.
Step 3: Choose Add Starlink or Add Subscription
Select the option to add another Starlink. This starts the activation process for your Starlink Mini.
You may see options such as:
- Add Starlink
- Add Subscription
- Activate Hardware
- Add Existing Kit
- Activate Online
Choose the option that allows you to connect your Starlink Mini Kit ID to your current account.
Step 4: Enter the Starlink Mini Kit ID or Terminal ID
Enter the Starlink Mini hardware identifier exactly as shown on the box or device label. Check every character before continuing because a small typing error can stop the activation process.
If the Starlink system says the hardware is already assigned to another account, do not keep trying random activation options. That message usually means the kit has not been transferred correctly by the previous owner.
Step 5: Enter Your Service Address
Next, Starlink will ask for your service address or intended primary use location. This step helps Starlink check availability and assign the correct service options for your area.
For a portable Starlink Mini setup, you may still need to enter a home or primary address even if you plan to use the device while traveling. Choose the address that best matches your account and service needs.
Use your real address whenever possible. Incorrect service details can create problems with availability, billing, local rules, or future support requests.
Step 6: Select the Right Starlink Mini Plan
Choose a plan that matches how you intend to use your Mini. The exact plans shown in your account can vary by country and location, but you may see options related to Residential, Roam, travel, mobile use, or priority data.
A Residential-style plan may be more suitable if the Starlink Mini will mainly be used at a fixed location. A Roam or travel-focused plan may make more sense if you want to take it between cities, campsites, holiday homes, or remote work locations.
Read the plan details carefully before checking out. Pay attention to monthly charges, roaming rules, usage limits, pause options, priority data, and whether the plan supports international travel.
Step 7: Confirm Payment and Complete Activation
Review your order summary, payment method, billing address, and selected plan. Once you confirm the subscription, Starlink should add the Mini as a separate service line inside your existing account.
You may receive an activation confirmation email. Your account dashboard should also show the new Starlink Mini subscription after the process is complete.
How to Activate Starlink Mini Using the Activation Page
If you cannot find the option to add a Starlink from your dashboard, you can use Starlink’s activation page. This can be useful for a new retail kit, a transferred kit, or hardware that is not yet linked to any account.
When using the activation page, enter your Starlink identifier and follow the prompts. Use the same email address connected to your existing account whenever Starlink gives you the option to sign in.
Avoid accidentally creating a second Starlink account unless you have a real reason to keep your services separate. Managing all your Starlink hardware under one account makes billing, support tickets, subscription changes, and equipment tracking much easier.
How to Set Up Starlink Mini After Activation
Activating the subscription is only the first part. Once your Starlink Mini is connected to your account, you need to set up the hardware properly.
1. Place the Starlink Mini Outside
Take the Starlink Mini outdoors and place it where it has the clearest possible view of the sky. Avoid placing it under a roof, close to tall walls, between trees, or near large metal structures.
Satellite internet needs a wide, open view of the sky. Even partial obstruction from trees, buildings, poles, or hills can cause video calls, gaming, downloads, and browsing to disconnect.
2. Connect the Power Supply
Connect the Starlink Mini to a stable power source using the supplied cable and power equipment. Make sure the connection is secure and protect the cable from water, sharp edges, and accidental damage.
If you are using Starlink Mini while traveling, make sure your power source can provide stable output. An unstable inverter, weak power bank, damaged cable, or loose plug can make the system repeatedly restart.
3. Connect to the Starlink Wi-Fi Network
Open Wi-Fi settings on your phone and connect to the temporary Starlink network. The default network name may include the word Starlink.
Once connected, open the Starlink app. The app should guide you through naming your Wi-Fi network, creating a password, checking device status, and confirming whether the Mini has a clear view of the sky.
4. Use the Obstruction Tool
The Starlink app includes a sky obstruction tool that helps you identify trees, roofs, hills, poles, and other objects that may block the dish’s view.
Use this before permanently mounting the Starlink Mini. It is much easier to move the kit before drilling holes, buying mounts, or routing cables through walls.
5. Wait for the Initial Connection
The first connection can take several minutes while the Starlink Mini powers on, finds satellites, updates settings, and establishes service. Do not repeatedly unplug the device unless the app clearly shows a hardware issue.
Once online, run a speed test and check the app for obstruction warnings. A stable connection is more important than a single high speed-test result.
What to Do If Your Starlink Mini Is Already Assigned to Another Account
If your Starlink Mini was purchased second-hand, from a friend, from a previous homeowner, or through an online marketplace, it may still be tied to the seller’s account.
You cannot activate a Starlink Mini that remains assigned to another account. The original owner must first remove the hardware from their Starlink account and complete the transfer process.
Ask the seller to confirm that they have:
- Cancelled or removed the active service line
- Transferred the hardware through their Starlink account
- Provided the correct kit or terminal identifier
- Paid any outstanding balance on the account
- Shared proof that the hardware is eligible for activation
Do not rely only on a screenshot showing that the dish works. A Starlink Mini can physically power on and still be impossible to activate if it remains locked to another account.
Common Starlink Mini Activation Problems and Fixes
Starlink Says the Kit Is Already Assigned
This usually means the Starlink Mini is still connected to another account. Contact the seller and ask them to complete the official transfer process. Starlink support may not be able to override ownership disputes without proper account verification.
Your Kit ID Is Not Accepted
Double-check the number on the packaging and device label. Make sure you are entering the Kit ID or terminal identifier, not the Wi-Fi name, order number, router password, or shipping tracking number.
No Plan Options Appear
Plan options depend on your country, service address, local capacity, and account eligibility. Try entering the correct service address again, then check whether Starlink service is currently available in that location.
Starlink Mini Is Activated but Shows Offline
First, check the Starlink app for obstruction warnings. Then inspect the power cable, power adapter, outlet, and connection ports. Restart the Mini only after checking for loose or damaged hardware connections.
The Starlink App Cannot Find the Mini
Connect your phone directly to the Starlink Wi-Fi network before opening the app. Turn off mobile data temporarily if your phone keeps switching away from the Starlink network.
You can also restart your phone’s Wi-Fi, forget the Starlink network, and reconnect using the correct password.
Tips for Managing Multiple Starlink Devices on One Account
Keeping your Starlink Mini and home Starlink system under the same account is convenient, but it also means you should label each service line clearly.
Use a simple naming system such as:
- Home Starlink
- Starlink Mini Travel Kit
- Office Backup Starlink
- Cabin Starlink
- RV Starlink Mini
This helps you avoid pausing, cancelling, or changing the wrong subscription. It is especially useful if you manage Starlink for family members, rental properties, job sites, or multiple business locations.
Check your billing page regularly so you understand which plan belongs to each device. Multiple Starlink subscriptions can become confusing when renewal dates and plan types are different.
Frequently Asked Questions
Can I activate Starlink Mini using my existing Starlink email?
Yes. Sign in with your existing Starlink account and add the Mini as a new subscription or service line. This lets you manage multiple Starlink devices from one dashboard.
Does Starlink Mini need a separate subscription?
In most cases, yes. Your Starlink Mini is separate hardware and normally needs its own active plan, even if you already have another Starlink dish at home.
Can I use Starlink Mini while traveling?
Yes, but you should choose a plan that allows travel or roaming if you plan to use it away from your primary address. Check your available plan details before activation because rules can vary by region.
Can I activate a used Starlink Mini?
Yes, but only after the previous owner has removed or transferred the hardware from their Starlink account. A used kit that is still assigned to another account cannot be activated by a new buyer.
How long does Starlink Mini activation take?
Account activation can be completed quickly once your kit information, address, plan, and payment details are accepted. The first internet connection may take additional time while the Mini powers on and connects to satellites.
Final Thoughts
To activate Starlink Mini on an existing account, sign in to your Starlink dashboard, add the Mini as a new Starlink subscription, enter the correct kit identifier, choose your service address and plan, then complete payment.
The biggest issue to watch for is used hardware that is still attached to another Starlink account. Confirm that a second-hand Starlink Mini has been properly transferred before you buy it or attempt activation.
Once your account setup is complete, use the Starlink app to check for obstructions, configure Wi-Fi, and confirm the Mini has a clear view of the sky. With the right plan and placement, Starlink Mini can be a practical portable internet solution for travel, backup connectivity, and remote locations.
ALSO READ:


