- Windows 11 users have reported encountering update error 0x8024a203, preventing installation of the latest update.
- Troubleshooting steps include running Windows Update Troubleshooter, restarting essential services, and running SFC and DISM scans.
- Manual installation of the update, resetting Windows Update components, and performing an in-place upgrade are additional solutions to resolve the error.
Users when trying to update Windows 11 have reported facing update error 0x8024a203. Due to this error, users are unable to install the latest update on their Windows 11 PC. Facing this issue isn’t something to be worried about, as it is quite a common issue. Windows 11 update error 0x8024a203 can be fixed by some troubleshooting steps, and if you are looking for the fixes for this issue, then you are at the right place.
Fix Update Error 0x8024a203 on Windows 11
In this article, we will be discussing how you can fix Windows 11 update error 0x8024a203.
Run The Windows Update Troubleshooter
If you are facing this issue on Windows 11, then you should try running the Windows Update Troubleshooter. Windows Update Troubleshooter helps fix issues you face while updating Windows 11. To run Windows Update Troubleshooter, follow the steps given below-
- Press the Windows + I key combo to open the Settings app on your PC.
- Head to the Troubleshoot option in the System tab.
- Next, click on Other Troubleshooters. After doing so, click on the Run button next to the Windows Update.
- Now follow the on-screen instructions, and you will be able to run the Windows Update Troubleshooter.
Restart Essential Services
Another thing to do is to restart the essential services. If there are some issues with the services required for updating Windows then you should try restarting the services. To do so, follow the steps given below-
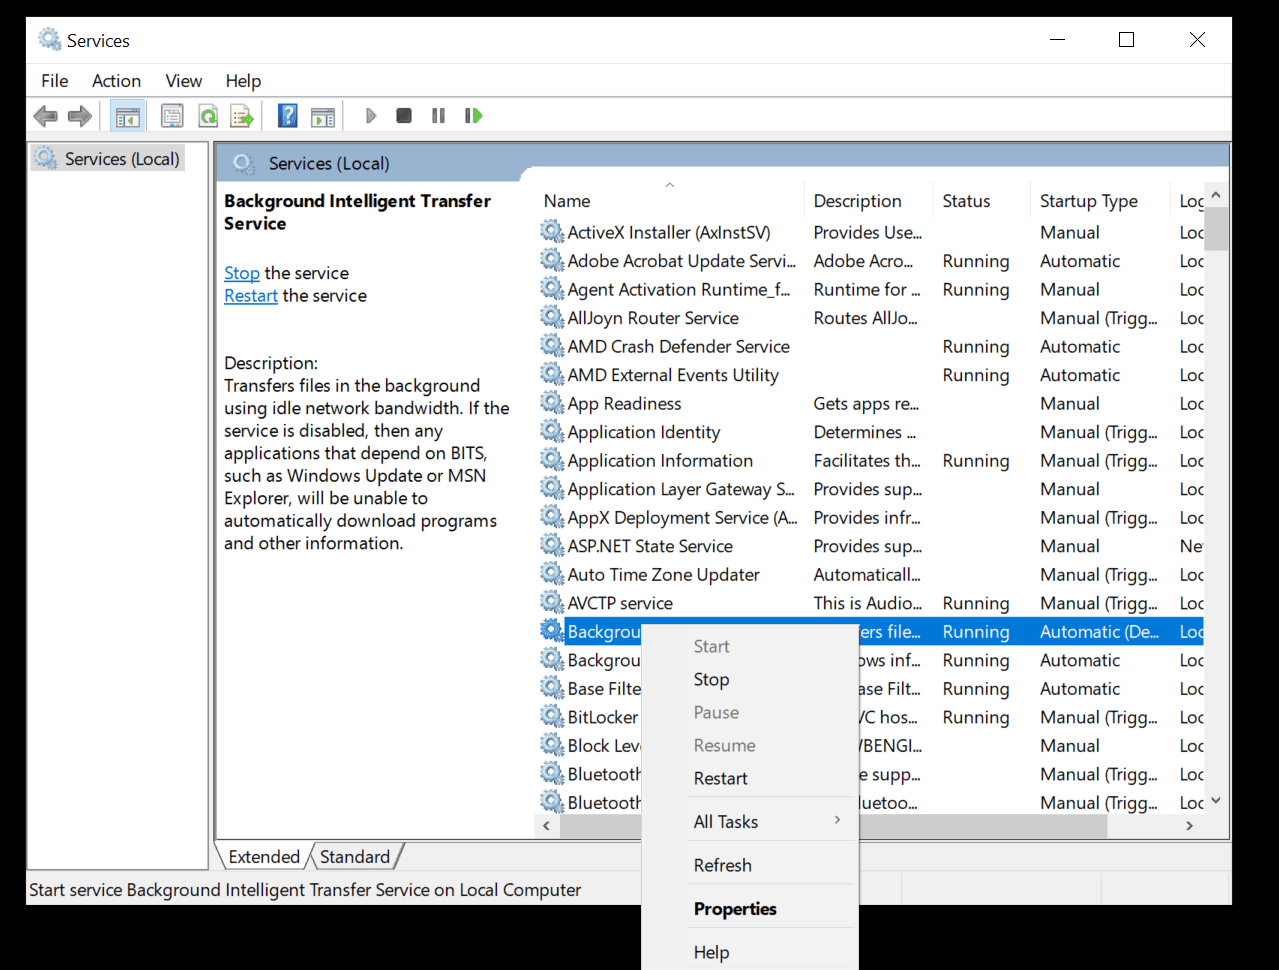
- Press the Windows key on your keyboard and in the Start Menu search for Services. Hit Enter to open the Services app on your PC.
- In the Services app, search for the Background Intelligent Transfer Service (BITS).
- Ensure the service is already running, if not then right-click on the service and then click on Restart.
- Now, click on the drop-down menu next to the Startup type and select Automatic.
- Next, click on Apply and then click on OK.
- Do the same for the Windows Update service.
- Once done, try updating your Windows and you should no longer face the issue.
Run SFC And DISM
You can also try running SFC and DISM. These tools help fix issues you face on your Windows PC. Firstly try running the SFC scan and then DISM if the SFC scan didn’t fix the issue. To run the SFC scan, follow the steps given below-
- Open the Start Menu on your PC by pressing the Windows key on your keyboard. In the Start Menu, search for CMD. Right-click on Command Prompt and then click on Run as administrator.
- Next, in the Command Prompt, type the command sfc /scannow and hit Enter to run the SFC scan.

- Wait for the process to complete, and then restart your PC to fix the issue.
If you still face the Windows 11 update error 0x8024a203 on your PC then you should try running the DISM. To run DISM, follow the steps given below-
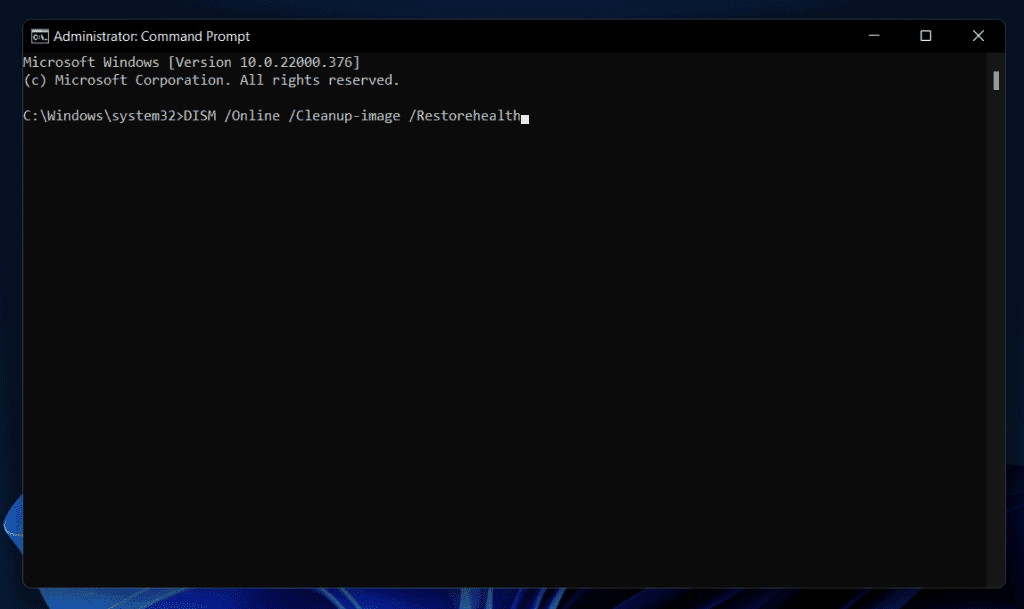
- Run the Command Prompt with administrative privileges by following the steps given above.
- In the Command Prompt, type and execute the given below commands-
DISM /Online /Cleanup-Image /CheckHealth
DISM /Online /Cleanup-Image /ScanHealth
DISM /Online /Cleanup-Image /RestoreHealth
- Once the process completes, restart your PC and the issue will be fixed.
Reset Windows Update Components
Another thing to do is reset the Windows Update Components. To update Windows Update Components, follow the steps given below-
- Click on the Start icon in the Taskbar and then from the Start Menu that opens up, search for Command Prompt. Right-click on Command Prompt, and then click on Run as administrator to run the Command Prompt with administrative privileges.
- Next, type and execute the following commands in the Command Prompt-
- net stop wuauserv
- net stop cryptSvc
- net stop bits
- net stop msiserver
- Now open the File Explorer on your PC by pressing the Windows + E key combo.
- In File Explorer, head to the following locations one by one-
- C:\Windows\System32\catroot2
- C:\Windows\SoftwareDistribution
- Delete the contents in these folders.
- Once done, type and execute the following commands in the Command Prompt-
- net start wuauserv
- net start cryptSvc
- net start bits
- net start msiserver
- Once done, restart your PC and the issue should be fixed.
Manually Install The Update
Manually installing the update can also help fix the issue you have been facing. To do so, follow the steps given below-
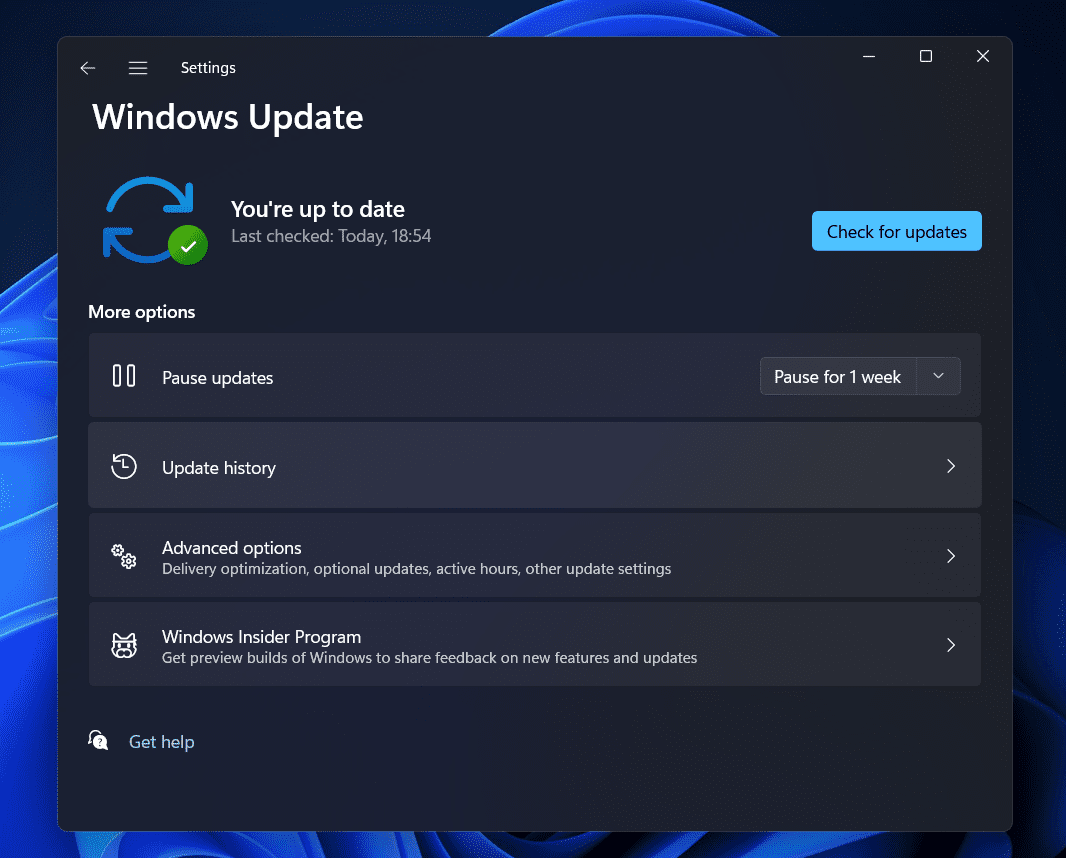
- Firstly, note down the KB Number of the update which failed to download. You can find the KB number of the update from the Windows Update section in the Settings app.
- Now, head to the Microsoft Update Catalog by clicking on this link.
- Here, search for the KB number in the search bar and click on Search.
- You will find various updates for the different devices/systems. Ensure you download the correct update for your system type.
- Click on the Download button to download the update and then install the update.
- Once you have installed the update, restart your PC and the issue should be fixed.
Perform In-Place Upgrade
If none of the above steps helped you solve the issue, then you should try performing an in-place upgrade. To perform an in-place upgrade, follow the steps given below-
- Click on this link to head to the official website of Microsoft Media Creation Tool. From here, download the Windows 11 Media Creation Tool.
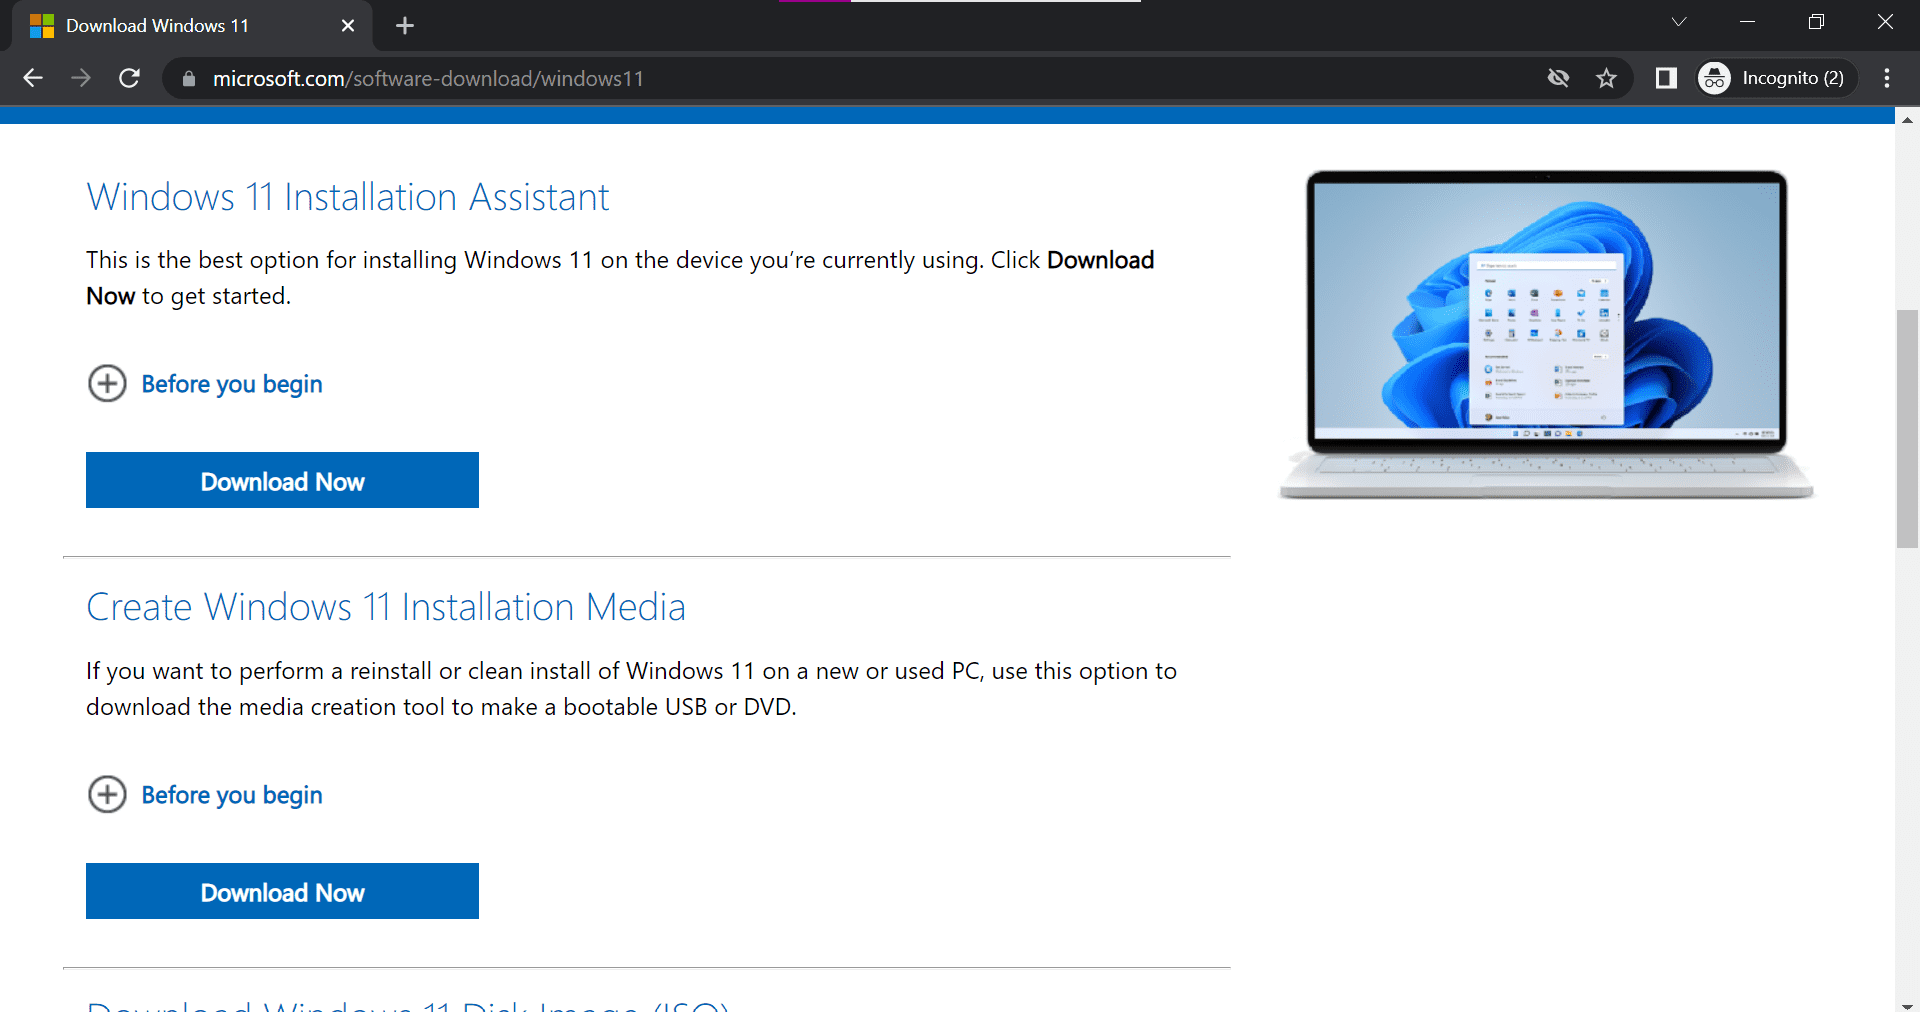
- Run the tool on your PC, and then click on Next when the terms and agreement page appears.
- Next, select the Upgrade this PC now option and then click on Next.
- Now, follow the on-screen instructions and you will be able to perform an in-place upgrade.
Conclusion
The above steps should most probably fix the issue you have been facing. If you face Windows 11 update error 0x8024a203, then you can follow the steps mentioned in this article, and you will find the fix for the issue.
RELATED GUIDES:


")


