- Error Code 0x80070490 is caused by corrupted files in component-based servicing and system component store, affecting Windows 10 and 11 updates.
- Solutions include scanning for viruses, disabling conflicting antivirus, running SFC scan, DISM scan, Windows Update troubleshooter, checking essential services, and deleting SoftwareDistribution folder.
- By following these steps, Windows users can effectively resolve Error Code 0x80070490 and successfully update their operating systems without encountering the issue.
Error Code 0x80070490 is a common error that you might encounter when trying to update Windows. This error is caused due to corrupted files in the component-based servicing and system component store. These two services are responsible for running all the operations related to Windows update. If you encountered error 0x80070490 in Windows 10 and Windows 11, then it is most probably due to corrupted files in the system component store and component-based servicing.
These two are not the only reason why you may face this error. You may also face this error due to conflicting third-party antivirus, viruses on your PC, and corrupted registry files. This is a common error that many users have reported facing in Windows 10 and Windows 11.
Fix Windows Update Error Code 0x80070490
If you are facing this issue, then this article will help you solve that. Here we will be discussing some troubleshooting methods to fix error code 0x80070490 in Windows 10 and Windows 11.
Fix 1: Scan Your PC For Viruses
You may encounter this error due to viruses. Viruses or malware on your PC may be causing this issue. If you are facing this issue, then you should check your PC for viruses. You should scan your PC using Windows Defender and remove all the viruses. If you use any third-party antivirus on your PC, then you should scan your PC with that.

Scan your PC for viruses using the antivirus. Remove or quarantine any viruses on your PC, and restart your system. After doing so, try restarting your PC, and you will not face this issue anymore.
Fix 2: Disable Antivirus
Many times third-party antivirus may conflict with your system, and you may face this issue. If you are using any third-party antivirus on your PC, then you are most likely to face this error. Disable any third-party antivirus on your PC, and then try updating your PC. This should most probably solve the error code 0x80070490 in Windows 10 and Windows 11.

However, if you still encounter this error, then you may try uninstalling the antivirus. Uninstall your antivirus, and restart your PC. Now try updating your PC again, and you will not face this error.
Fix 3: Run SFC Scan
If this error is caused due to some corrupted files on your system, you may prefer running an SFC scan. SFC or System File Checker scans your PC for corrupted files, and it fixes the corrupted files that it finds.
To run SFC Scan, follow the steps given below-
- In the start menu, search for the command prompt and right-click on it. Now click on the run as administrator. This will run the command prompt as an administrator and will give it all the administrator privileges.
- In the command prompt, type the command SFC /scannow and hit enter to execute it.

- Your system will be scanned for any corrupted files, and all the corrupted files that it finds will be fixed.
- After doing so, restart your PC, and you will no longer face the issue.
Fix 4: Run DISM
DISM scan is another troubleshooting method that you can opt for. If the SFC scan fails to fix the error for you, then you should try running a DISM scan on your PC. To run a DISM scan, follow the steps given below-
- Run the command prompt as the administrator.
- In the command prompt, type the command DISM.exe /Online /Cleanup-image /Restorehealth and hit Enter to execute it.

- This will fix all the errors. If DISM didn’t obtain any files online, then you should plug in the installation media drive on your PC.
- Now type in the command DISM.exe /Online /Cleanup-Image /restorehealth /Source:C:RepairSourceWindows /LimitAccess and hit enter to execute it. Ensure you replace C:RepairSourceWindows with the path of the installation media.
- Once done, restart your PC, and you will no longer face the issue when trying to update your Windows.
Fix 5: Run Update Troubleshooter
If you still encounter error code 0x80070490 in Windows 10 and Windows 11, then you may try running the update troubleshooter. A troubleshooter is a tool in Windows that can help you troubleshoot the problems you face on your PC.
- In the start menu, search for troubleshooter settings and open it.
- This will open the troubleshooter. Here you will find the Windows Update option. If it is not available, click on other troubleshooters, and here you will find Windows Update.
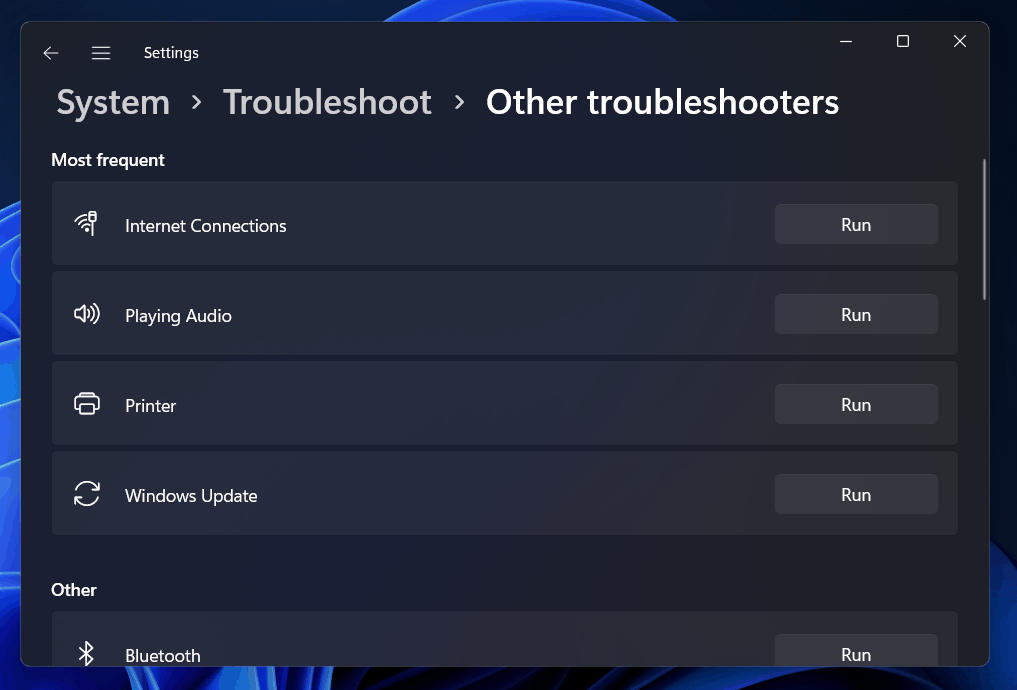
- Select Windows Update and click on the run to run the Windows update troubleshooter. Follow the on-screen instructions that the troubleshooter gives you.
This will find the problem with the Windows update and will fix it.
Fix 6: Ensure If Certain Services Are Running
If you still encounter this error, then you need to ensure whether BITS, Windows Installer, Windows Update, and Cryptographic services are running or not. If they are not running, then you will have to start them manually.
- Press the Windows + R key combo to open the run dialog box.
- In the run dialog box, search for services.msc and click on OK.
- This will open the Service window. Here search for these services – Windows Update, MSI Installer, BITS, and Cryptographic.

- Check whether these services are running or not. You can check whether these services are running or not under the stats tab.
- If these services are not running, double click on the service and click on start and click on OK. Start the service individually.
- Once done, try updating your Windows again, and you will no longer face the error 0x80070490.
Fix 7: Delete SoftwareDistribution Folder
The last solution that you can probably try is deleting the SoftwareDistribution folder. However, before that, you will have to disable the Windows Update service. To disable Windows Update service, follow the steps given below-
- Open the Run dialog box by pressing the Windows + R key combo. In the run dialog box, search for services.msc and click on OK.
- In the Services window, search for Windows Update. Right-click on Windows Update, and then click on properties.

- In the properties, click select startup type as disabled.
- After doing so, restart your PC.
Once you have disabled the Windows Update service, you will have to delete the SoftwareDistribution folder. To do that, follow the steps given below-
- Open the File Explorer on your PC and open the Local Disk C.
- Here open the Windows folder. In the Windows folder, search for the SoftwareDistribution folder.

- Select this folder, and rename it to SoftwareDistribution.OLD. You can either delete it or leave it by just changing its name.
- Once done, restart your PC again.
Next, you will have to enable the Windows Update service again. To do so, follow the steps given below-
- Head to the Services window as we did before.
- Search for Windows Update service. Right-click on it, and then click on properties.
- Change the startup type from disabled to manual.
- Restart your PC, and then try checking for Windows update again.
You will not now face the Error Code 0x80070490 in Windows 10 and Windows 11.
RELATED GUIDES:
- Fix Feature Update To Windows 10 Error 0x80080008
- Fix Pending Transaction Error In Steam
- Fix Revocation Information for the Security Certificate for this Site Error
- How To Turn Off Automatic Updates On Windows 11
- How to Fix 0x0 0x0 Windows Error Code Permanently
Final Words
If you get the error code 0x80070490 in Windows 10 or Windows 11, you can fix it by following the steps in this article. These were some of the steps to resolving the 0x80070490 error. We hope that this article aids you in resolving the issue you were having.


")


