- Windows 11 has a Find My Device feature for tracking lost or stolen devices by sending the device's location to your Microsoft Account.
- To enable Find My Device, open Settings, go to Privacy & Security, and toggle on the Find My Device option.
- To locate a listed device, open Settings, go to Privacy & Security, click Find My Device, and sign in to your Microsoft Account to locate your PC.
Windows 11 includes the Find My Device feature, which allows users to track down their stolen or lost devices. This feature integrates with Microsoft Account and sends your device’s location to your Microsoft Account. This article will walk you through how to enable or disable the Find My Device feature in Windows 11. We’ll go over how to enable or disable Find My Device in Windows 11 in this article.
How to Enable or Disable Find My Device In Windows 11
You can easily enable the Fine My Device in Windows 11 from the Settings app. If you don’t know how to do so, then you can follow the steps given below-
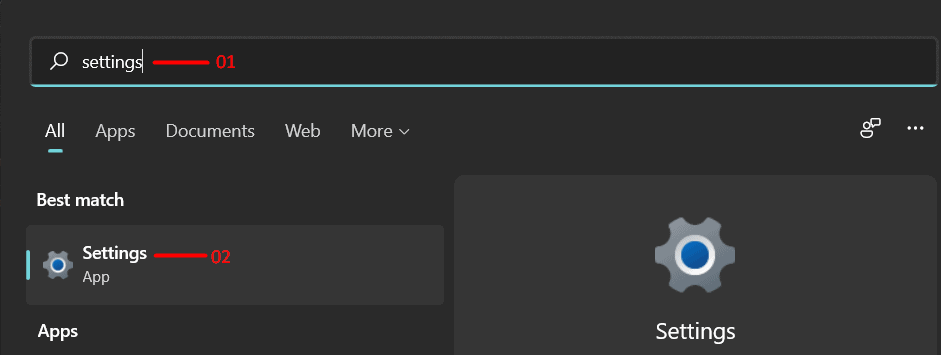
- Open the Settings app on your PC. You can do so by pressing the Windows + I key combo. You can either search for Settings in the Start Menu or hit Enter to open the Settings app on your Windows 11 PC.

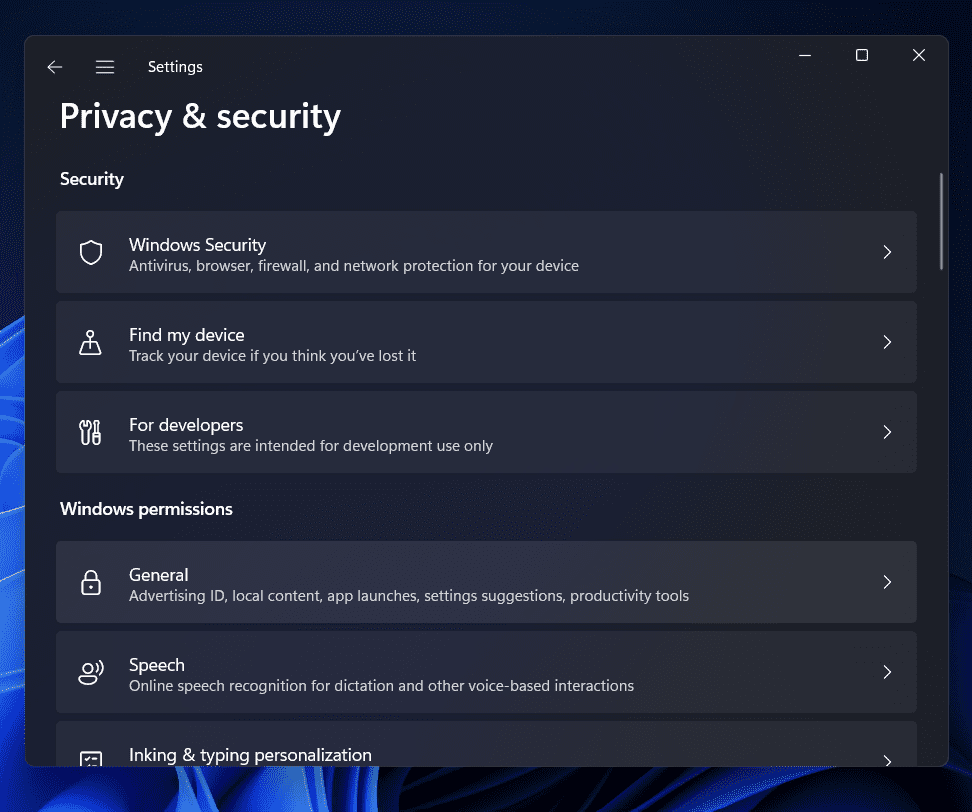
- On the left sidebar of the Settings app, click on the Privacy & security tab.

- Now, under the Security section on the right side, click on the Find My Device option.

- On the next window, turn on the toggle for the Find My Device. This will enable the Find My Device feature in Windows 11. Turning on this feature will send the location of your device to your Microsoft account which you can access anytime you want to.
Locating Listed Device On Windows 11
After you have enabled the Find My Device feature in Windows 11, you will be able to find the device listed in the Settings app. To locate the list device on Windows 11, follow the steps given below-
- Firstly, open the Settings app on your Windows 11 PC by pressing the Windows + I key combo (keyboard shortcut to open the Settings app).

- Head to the Privacy & Security tab on the left sidebar of the settings app.
- Now on the right side of the Privacy & Security tab, click on the Find My Device section.

- After doing so, click on the See all your devices linked to your account option. You will be headed to the Microsoft Account website.
- Here, you will be asked to sign in with your Microsoft Account (if you have already not done it). You will then have to enter the sign-in PIN for your PC.
- Here, under the Devices section, you will see all your PCs listed. Click on the Find My Device button under the PC or the device you want to find.

- You will be able to get the last known location of the device. If you want to find the current location, then click on the Find button. However, you will only be able to get the current location if your PC is connected to a network.
Disabling Find My Device On Windows 11
If you no longer want to use the Find My Device feature in Windows 11, then you can do that as well. Disabling Find My Device is as easy as disabling it. If you want to disable the Find My Device feature on Windows 11, follow the steps given below-
- Press the Windows + I key combo to open the Settings app on your Windows 11 PC.

- Here, head to the Privacy & Security tab on the left sidebar. On the right side of the Privacy & Security tab in the Settings, click on the Find My Device tab under the Security section.

- Next, turn off the toggle for the Find My Device. This will disable the Find My Device feature on Windows 11.
This is how you can use Windows 11 to enable or disable Find My Device. If your computer is lost or stolen, you can use this feature to locate it. By following the steps in this article, you can enable or disable this feature at any time.
Editor’s Recommendation:

