- Dwm.exe is a critical process in Windows 11 responsible for managing the graphical user interface, but it can cause high CPU usage issues and other problems.
- To fix Dwm.exe Windows 11 issues, you can adjust the system for best performance, scan your PC for viruses, run SFC and DISM scans, restart Explorer.exe, and disable hardware acceleration.
- Following these steps can help resolve the issues caused by Dwm.exe and improve the performance of your Windows 11 system.
Dwm.exe or Desktop Windows Manager is a critical process in Windows 11. Many users have reported that this process is Causing High CPU Usage issues in Windows 11 even though it is a critical Windows process. You cannot mess with the Dwm.exe process because it is quite an essential process unless it has caused some severe issues with Windows 11. There are some fixes that you can try to fix Dwm.exe Windows 11 issues. In this article, we will be discussing all the Dwm.exe processes and how you can fix the issues caused due to them.
What Is Dwm.exe?
Dwm.exe is a process in Windows that manages your PC’s graphical user- interface. The Dwm.exe process handles all the work involving graphics and visual effects.
When the Dwm.exe process uses a significant part of your CPU, then it may result in various issues with Windows 11. You may face Dwm.exe Windows 11 issues like high CPU usage, Windows crashes, as well as viruses.
Fixing Dwm.exe Windows 11 Desktop Window Manager
If you have been facing Windows 11 due to Dwm.exe, you can follow the steps given below to fix them.
Adjust The System For Best Performance
The very first thing that you can try doing is adjusting the system for the best performance. To do so, follow the steps given below-
- Press the Windows key to open the Start Menu.
- Search for View Advanced System Settings in the Start Menu and click on the relevant search result. This will take you to the Advanced tab in the System Properties.
![Dwm.exe Windows 11 Issues [High CPU, Crash, Virus]](https://itechhacks.com/wp-content/uploads/2021/12/Start-Menu.png)
- Here, under the Performance section, click on the Settings app.
![Dwm.exe Windows 11 Issues [High CPU, Crash, Virus]](https://itechhacks.com/wp-content/uploads/2021/12/System-Properties-1.png)
- On the next screen, tick the option saying Adjust for best performance.
![Dwm.exe Windows 11 Issues [High CPU, Crash, Virus]](https://itechhacks.com/wp-content/uploads/2021/12/Adjust-for-best-performance.png)
- Now, click on Apply and click on OK to save the changes.
Scan Your PC For Virus And Malware
If Dwm.exe is causing the issues in Windows 11, then it may be because of viruses and malware on your system. If you have been facing this issue on your PC, you should prefer scanning your PC for viruses and malware. You can use Windows Security to scan your PC for viruses. If you have a third-party antivirus app on your PC, you can also use that to scan your PC for viruses and malware. After doing so, the issue should be fixed.
Run SFC And DISM Scan
Try running the SFC and DISM scan to fix the DWM.exe Windows 11 issues. You should first try SFC, as it will scan and fix errors on your PC that are caused due to corrupted files. To run an SFC scan, follow the steps given below-
- Press the Windows key and in the Start Menu search for CMD. Right-click on the Command Prompt and then click on Run as administrator.

- In the Command Prompt, type SFC /scannow and hit Enter to run the command.
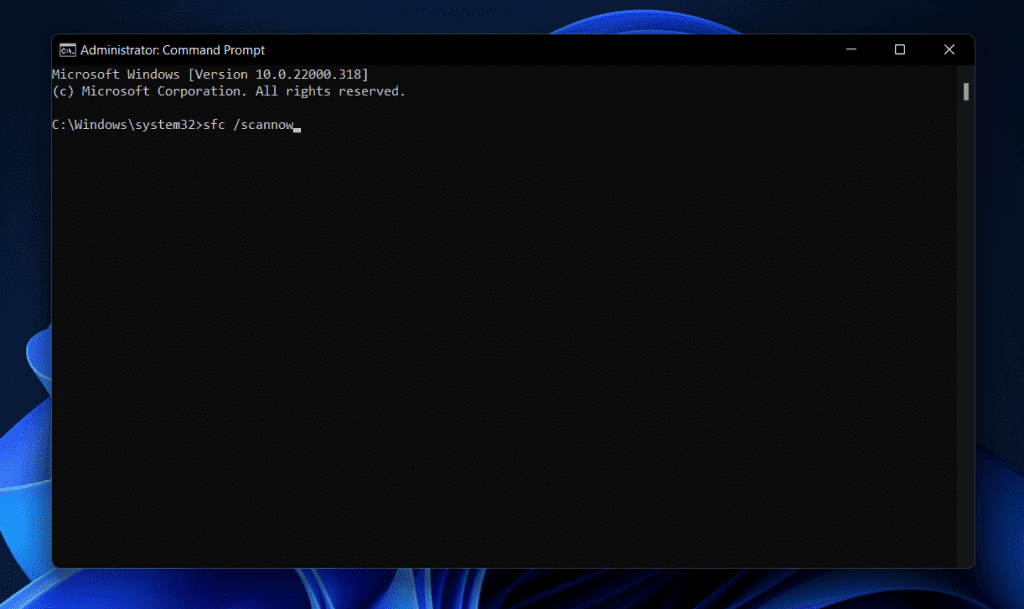
- Wait for the process to complete, and then close the Command Prompt and restart your PC.
If this doesn’t help you, you can try running the DISM. To run the DISM, follow the steps given below-
- Run the Command Prompt as administrator. You can do so by following the above steps.
- Type the command DISM /Online /Cleanup-Image /restorehealth in the Command Prompt and hit Enter to execute the command.
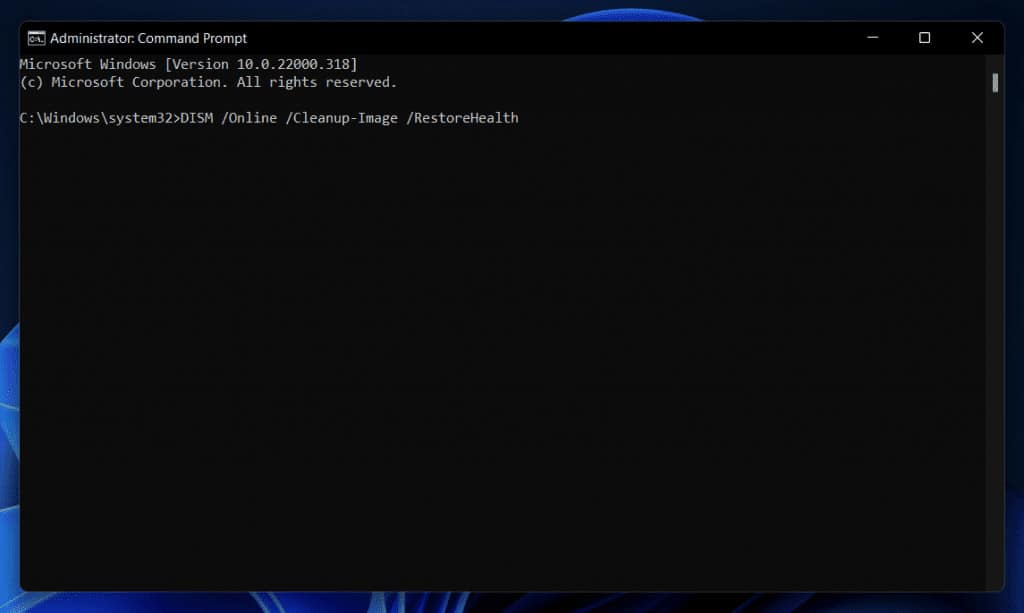
- The process will begin; wait for it to complete. Once the process is completed, close the Command Prompt and restart the PC. This should probably fix the issue that you have been facing.
Restart Explorer.exe
You can either try restarting Explorer.exe to fix Dwm.exe Windows 11 issues. To restart Explorer.exe, follow the steps given below-
- Press the Ctrl + Shift + Esc to open Task Manager on your PC.
- Go to the Details tab in the Task Manager.
- Here search for and select explorer.exe.
- Right-click on the process and then click on End Task.
![Dwm.exe Windows 11 Issues [High CPU, Crash, Virus]](data:image/svg+xml,%3Csvg%20xmlns='http://www.w3.org/2000/svg'%20viewBox='0%200%201010%20862'%3E%3C/svg%3E) Click on the File on the top right corner and click on Run new task.
Click on the File on the top right corner and click on Run new task.- Enter Explorer in the dialog box, and then click on OK.
![Dwm.exe Windows 11 Issues [High CPU, Crash, Virus]](https://itechhacks.com/wp-content/uploads/2021/12/Restart-Explorer.png)
This will run the Explorer.exe again, and the issue should be resolved by now.
Disable Hardware Acceleration
Another thing that you can do is disable the hardware acceleration. To disable the hardware acceleration, follow the steps given below-
- Press the Windows key and then in the Start Menu search for Regedit.
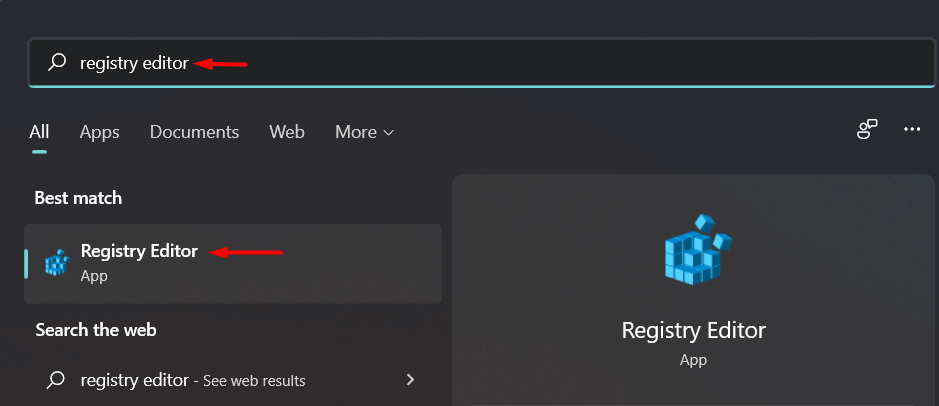
- Click on the Registry Editor from the search result.
- In the Registry Editor, head to the following address-
- Computer\HKEY_CURRENT_USER\Software\Microsoft\Office\Common
- On the left sidebar, right-click on the Common key. Click on New and then click on Key.
![Dwm.exe Windows 11 Issues [High CPU, Crash, Virus]](https://itechhacks.com/wp-content/uploads/2021/12/Registry-Editor.png)
- Enter the name of the key as Graphics.
- Next, right-click on the Graphics on the left sidebar. Click on the New from the menu and then click on DWORD (32-bit) value. Name the DWORD (32-bit) value as DisableHardwareAcceleration.
![Dwm.exe Windows 11 Issues [High CPU, Crash, Virus]](https://itechhacks.com/wp-content/uploads/2021/12/Graphics.png)
- On the right-side, double-click on the DisableHardwareAcceleration, and set the Value Data to 1.
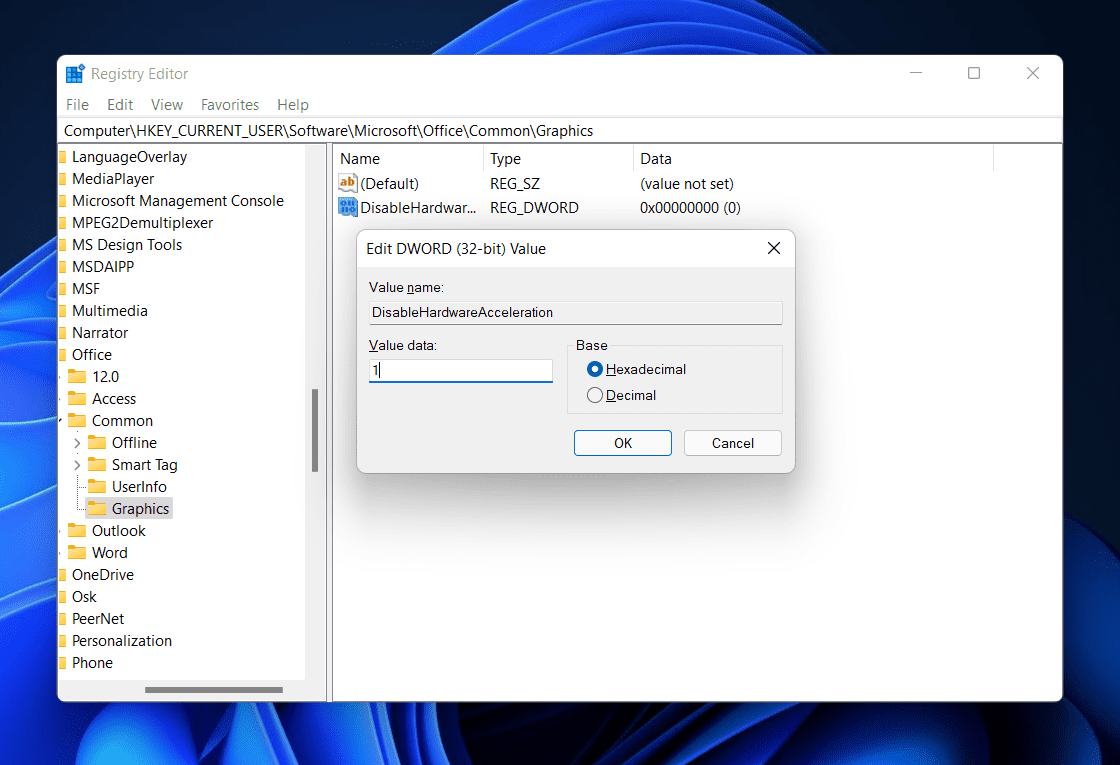
- Click on OK to save the changes and then close the Registry Editor and restart your PC. This should most probably fix the issue.
RELATED GUIDES:
- What is WSAPPX in Windows 11: Fix High CPU Disk Usage
- What Is LSASS.EXE? Fix Lsass.exe High CPU Usage Issue Windows 11
- How To Fix CPU Performance Issues and Lags In Windows 11
- How to Fix Two-Finger Scroll Not Working Issue on Windows 11
- How To Disable Or Turn Off OneDrive on Windows 11
We hope this article gave you enough information about DWM.exe and what it does. If you have been facing issues due to this process, this article will help you solve them. Following the above steps, you will be able to fix the issues that are caused due to DWM.exe.


")

