- VPN is essential for accessing blocked websites, but data security on Windows 11 PCs is crucial.
- Changing your network to private helps prevent breaches and unauthorized connections.
- In Windows 11, you can change your network to private via Wi-Fi or Ethernet settings, Registry Editor, or using the Taskbar.
Several websites and services have been blocked in different parts of the world. VPN has come to aid in letting us access restricted sites and services, but your data is not secured yet on Windows 11 PCs. It is essential to take the necessary steps to change public VPN to Private in Windows 11 machines and prevent any data leakage.
Why You Should Change the Network from Public VPN to Private VPN in Windows 11?
VPN’s purpose has always been to protect your identity online and block any sort of surveillance from the equation. Turning on VPN doesn’t secure your identity completely because the operating system has information saved based on your location, time zone, and other configurations.
Consider a private network as a masterstroke to prevent any program, service, or outgoing connections from checking our operating system settings. Thus, you are saving yourself from further breaches, and it will prevent other devices from connecting without permission.
A private network doesn’t allow any other device or machine to connect with your consent, and that will give you the ultimate power to identify loopholes.
Change Public VPN To Private In Windows 11
However, you should keep in mind that the machine is discoverable on the network, but you can choose to allow or disallow the devices.
Find the Current Wi-Fi Network Status
Laptop consumers have increased in the past two years, and Wi-Fi is the preferred choice connection. Let us find the current wireless network status and change it to “Private”, if necessary.
- Click on the “Windows” icon to get started.

- Type “Settings” then click “ENTER” on the best match icon.

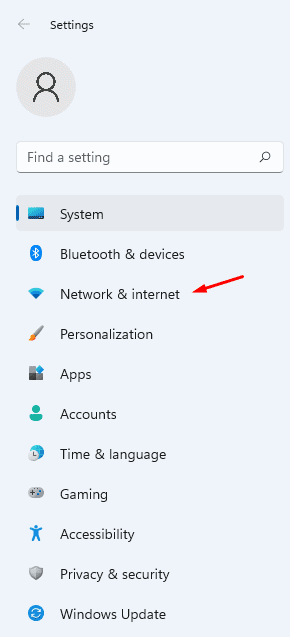
- Click on “Network & internet” available in the left-hand side menu, then click on “Wi-Fi”.

- Click and select “Wi-Fi properties” available in the “Network & Internet” option.
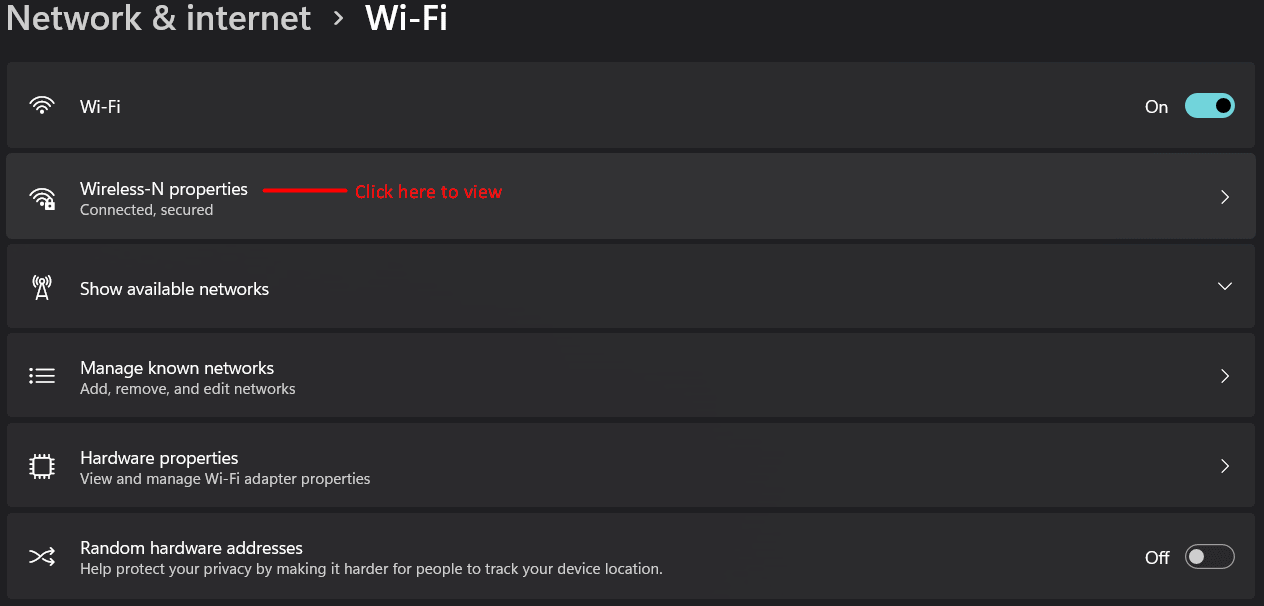
- Change the network profile type from “Public” to “Private”.

Reboot your Windows machine and end the session, which will dump all temp files, and then launch the drivers again.
Find the Current Ethernet Network Status
Almost all desktops are connected to the internet via Ethernet cable, and why not because it offers superior speed and lowest ping. Let me show you how you can find out and change the Ethernet network to “Private” in Windows 11.
- Click on the “Windows” icon to open the Start menu.
- Step 2: Click on the “Settings” icon to open it.

- Click on “Network & internet” available in the left-hand side menu.
- Click on “Ethernet” on the Windows 11 PC.

- The network by default is in “Public” mode, and it is what Windows prefer.

- Choose “Private”, and it will be saved instantly or in a few moments.

Now, restart your desktop to end the session and launch the network driver again in the next boot sequence. You have successfully changed the network from Public to Private in Windows 11.
ALSO CHECK: How to Change Servers In NordVPN
Change the Values in Registry Editor
A registry is a powerful tool in the Windows 11 machine and you can use it to change a public network to a private network instantly.
Step 1: Click on the “Windows” icon to get started.

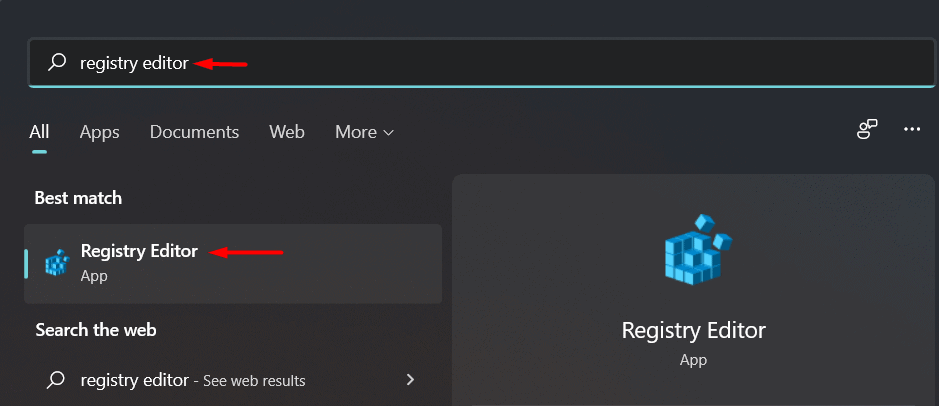
Step 2: Type “Registry Editor” then click “ENTER” on your keyboard.
Step 3: Click on “HKEY_LOCAL_MACHINE” then expand “Software”.

Step 4: Scroll down, then select “Microsoft” available in the “Software” option.

Step 5: Scroll down then click and expand “Windows NT” then select “Current Version”.

Step 6: Click and expand “NetworkList” then select “Profiles” and choose your profile name.

Step 7: Click on “Category” and change value data from “0 to 1”

Step 8: Reboot the Windows machine to save new changes, and it will relaunch all drivers, services, and programs in the system.

Now, you can find out whether the network is private or public, and then move on to the next solution.
Change the Network Settings Using the Taskbar
Yes, even I don’t prefer to switch between Public and Private networks manually, and we are living in a world of automation. Let me show you a quick way to access the Wi-Fi adapter settings and change the network status in a couple of clicks.
Step 1: Click on the “Wi-Fi” icon to be available in the bottom right taskbar.

Step 2: Click on the “Available Wi-Fi” icon to view the new interface.

Step 3: Right-click on the connection, then select “Properties”.

Step 4: Click and select “Wi-Fi properties” available in the “Network & Internet” option.
Step 5: Change the network profile type from “Public” to “Private”.

The taskbar is an iconic part of the Windows interface system, and I’m happy that Microsoft did not remove any particular function from it. You can switch between network statuses using the taskbar function, and it is indeed a quick toggle for someone who wants to avoid manual work.
ALSO READ: How to Fix WiFi Not Working in Windows 11
Conclusion
Virtual Private Network (VPN) is a complex technology that has changed the landscape in the world. Switching the VPN Public network to the VPN Private network in Windows 11 is easy, and you should contact the service provider for custom settings. Let us know what you think about the Windows 11 security system in the comment section below.


‘private’ means computer treats the network as home network and reveals more of its resources and you write the opposite! :OOOO
moreover, the article does not tell how to set vpn connection type from ‘public’ to ‘private’…