- Windows 11 Wi-Fi issues stem from outdated/corrupted drivers, software problems, and incorrect configurations
- Updating network drivers through Device Manager can resolve Wi-Fi connectivity problems
- Automating WLAN configuration or resetting network logs can also help fix Windows 11 Wi-Fi issues
The wireless connectivity may stop working in Windows 11 due to several aspects resulting in it. Many users keep complaining that Wi-Fi works fine at first, but eventually it won’t connect to the network anymore after a few hours of usage. Wi-Fi is the go-to connectivity option that I cannot live with, and it almost shuts down connection with the rest of the devices such as printers, hotspots, etc. If you encounter a similar issue, follow our lead to fix non-working Wi-Fi in Windows 11.
Why is My WiFi Not Working in Windows 11?
Windows 11 is fairly a new software in the market, which takes a lot of time to polish the existing packages. Meanwhile, the manufacturers have to work on the drivers, which have lots of bugs and glitches that you have to put up with. It is going to take a while for the manufacturers to optimize the drivers with newer updates.
- Outdated drivers.
- Corrupted drivers.
- Software problems.
- Incorrect configuration.
Fix WiFi Not Connecting in Windows 11
One minor error can trigger Wi-Fi problems in Windows 11, so do not worry about the existing issue and focus on solving it by following the solutions below.
Update Network Driver
The 11th edition launched in 2021, and Microsoft is supporting the older drivers in the latest software. But they cannot provide maximum support for all Wi-Fi drivers in existence due to technology limitations. You can update the Wi-Fi driver using Windows Update, so you don’t have to hunt for the drivers manually.
- Click on the “Windows” icon to get started.

- Type “Device Manager” and then press the “Enter” key.
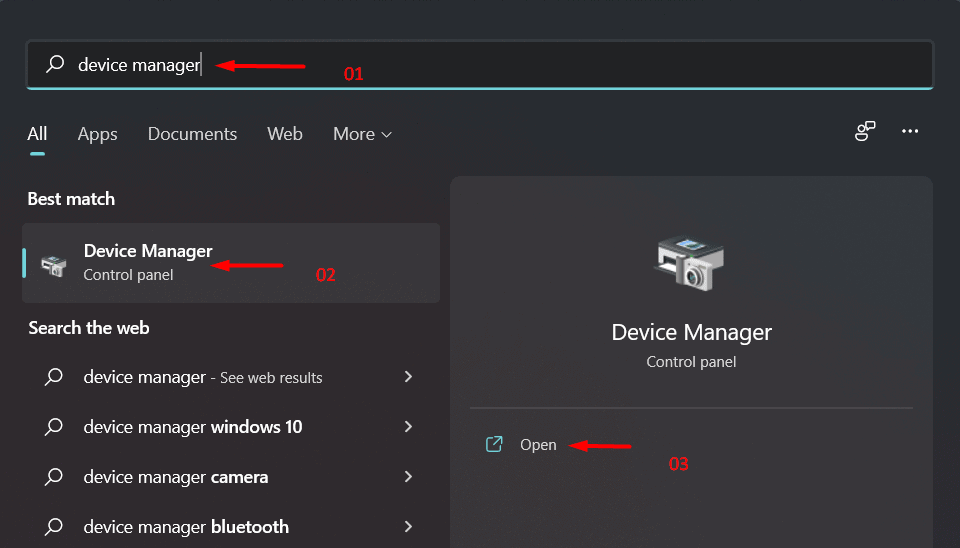
- The device manager interface will pop up on the screen.
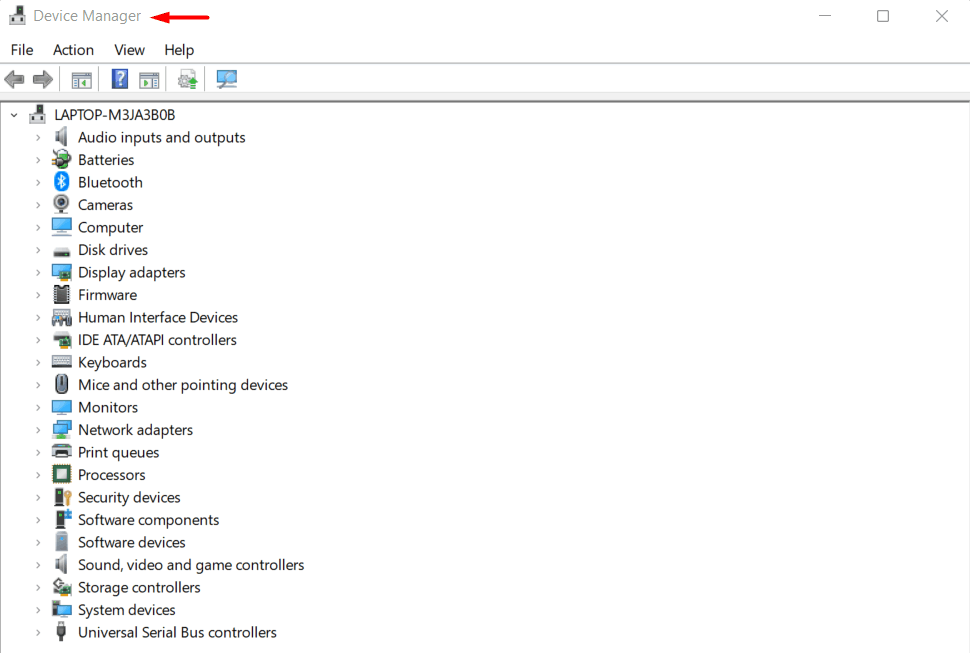
- Scroll down and click on “Network adapters”.
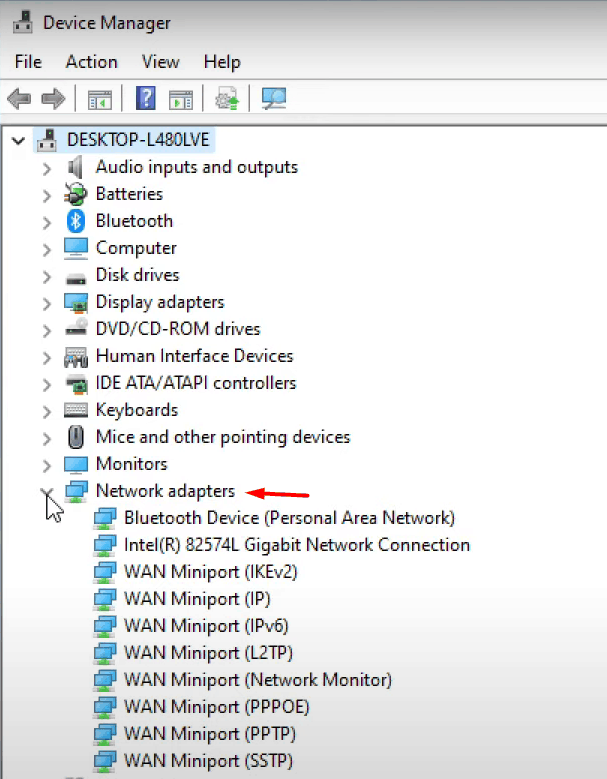
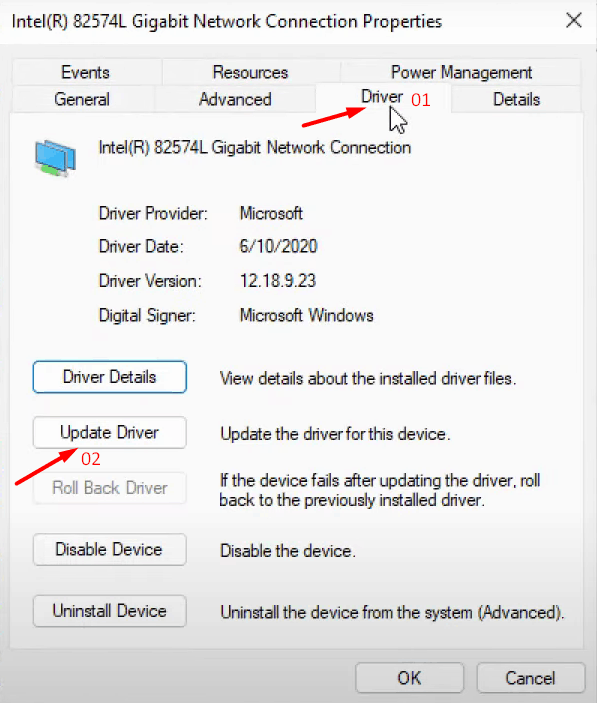
- Right-click on “Intel® 82574L Gigabit Network Connection” using the mouse, then select “Properties”.
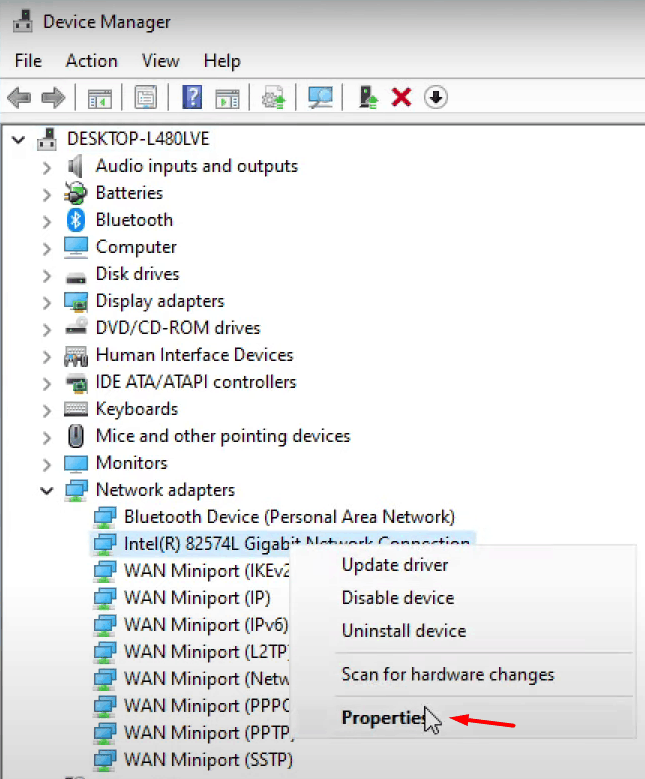
- Click on the “Driver” section the click on “Update driver”.
- Click on “Search automatically for drivers”.
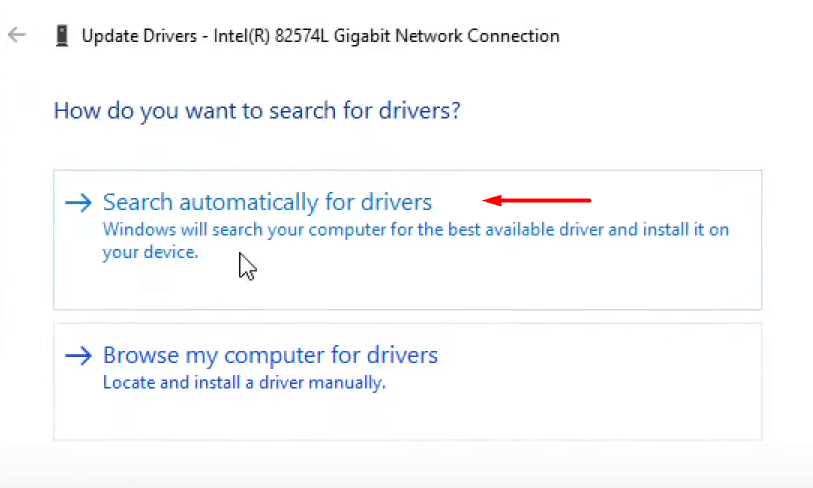
Note: Necessary drivers will start installing for your device.
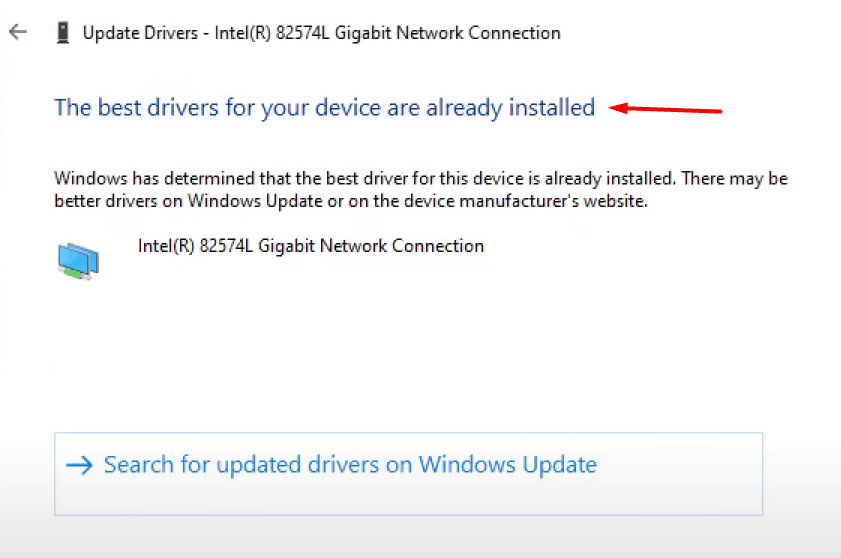
- The best drivers for your device will be installed.
Windows 11 is new, so is my laptop, so you have to wait for a while to let the manufacturers release new drivers. Meanwhile, you can depend on an external USB Wi-Fi dongle or uninstall the drivers on the PC and utilize Microsoft basic drivers.
Automate WLAN Configuration
Many PC consumers have complained that Windows is not able to connect to the home network. In such cases, you can force the Wi-Fi chip to restart and try again, which resolves the problem.
- Click on the “Windows” icon to get started.

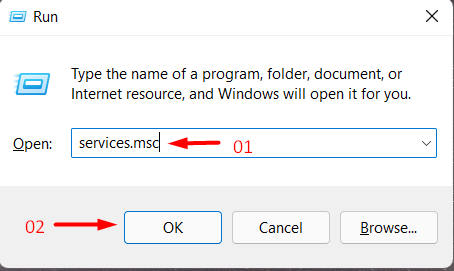
- Type “Run” then press the “Enter” key to open the “Run” application.

- Type “services.msc” in the empty field and then click “OK”.
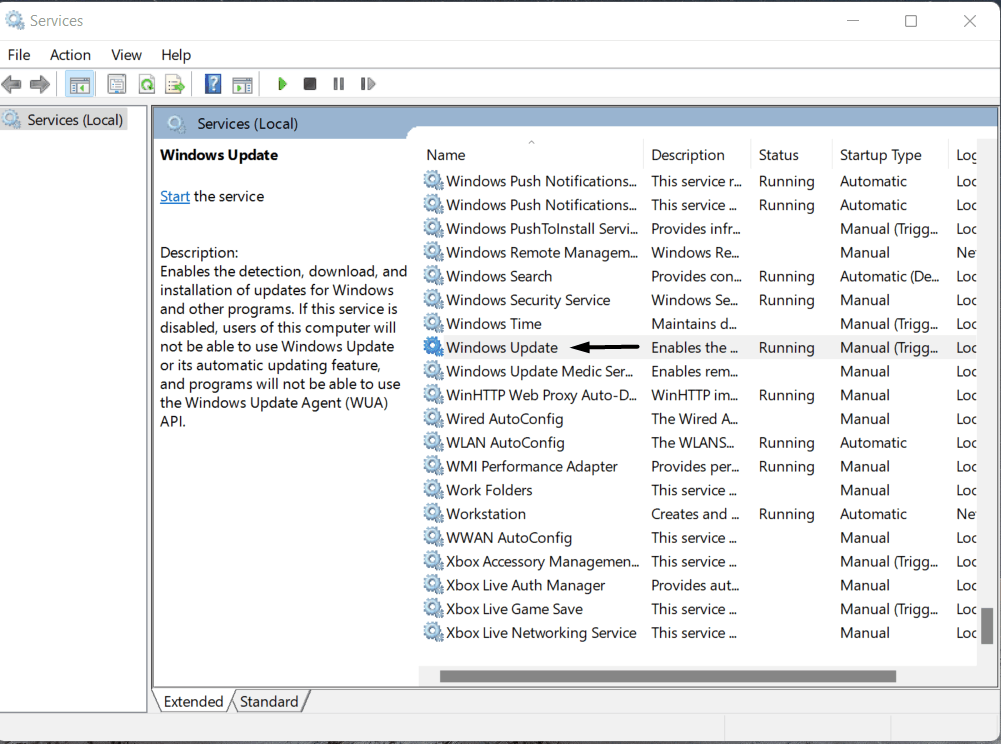
- Scroll down and search for “WLAN AutoConfig”
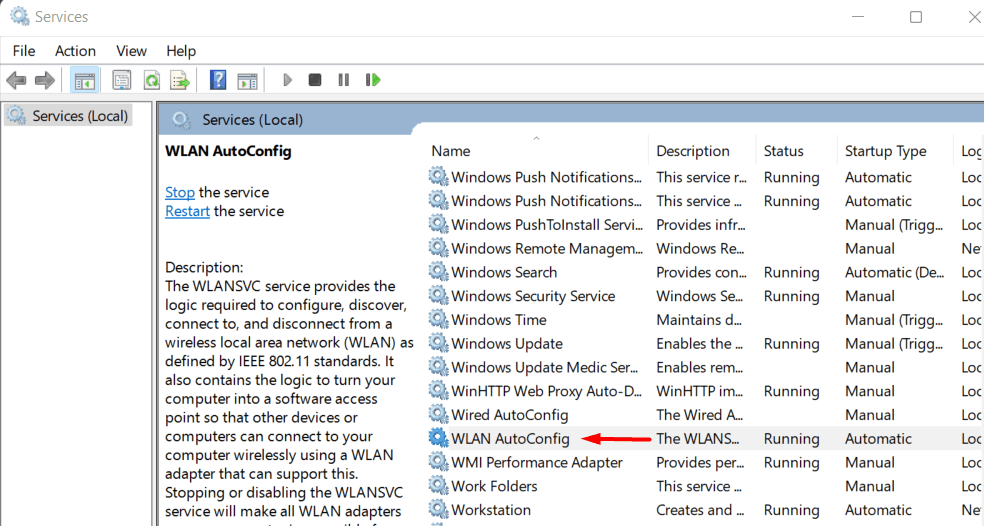
Note: The services are in alphabetical order.
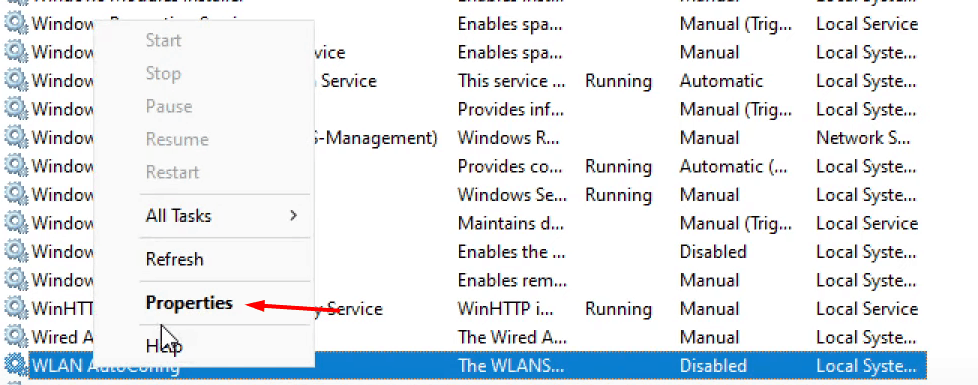
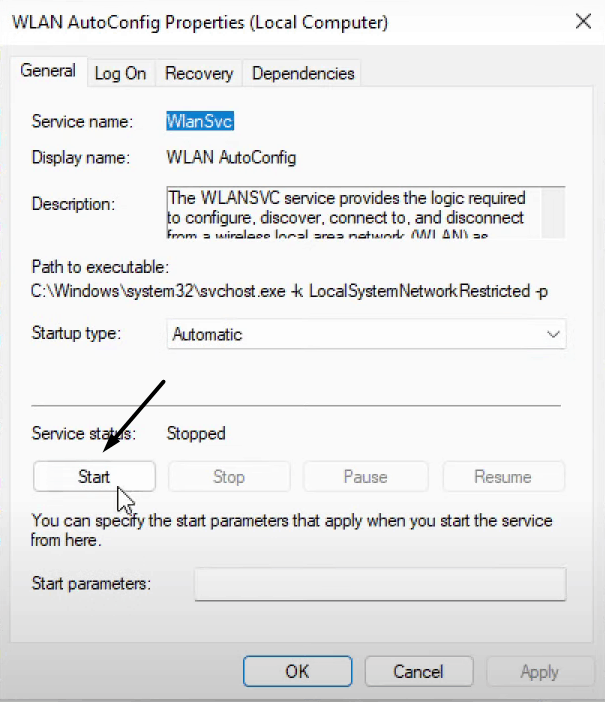
- Right-click on “WLAN AutoConfig” using the mouse, then select “Properties”.
- Change the “Startup type” from disabled to “Automatic”
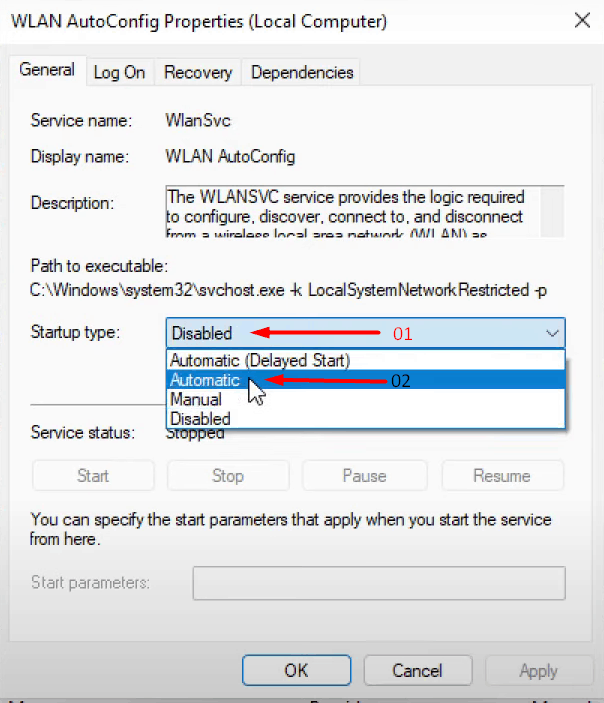
- Click on “Apply”.
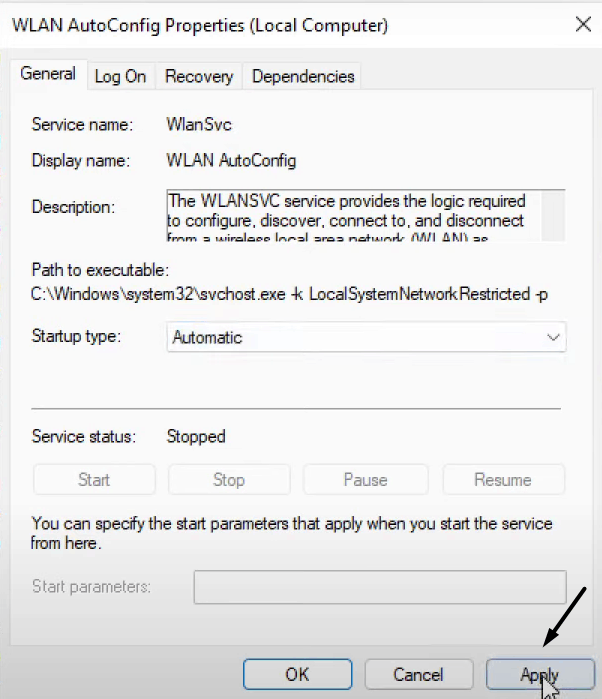
- Click on “Start” from the service status section, then wait until the program runs then hit “OK”.
- Go back to the services interface, then search for “Windows update”.
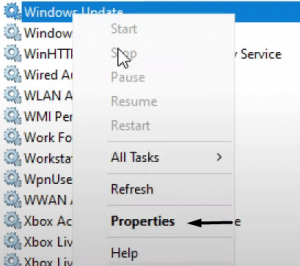
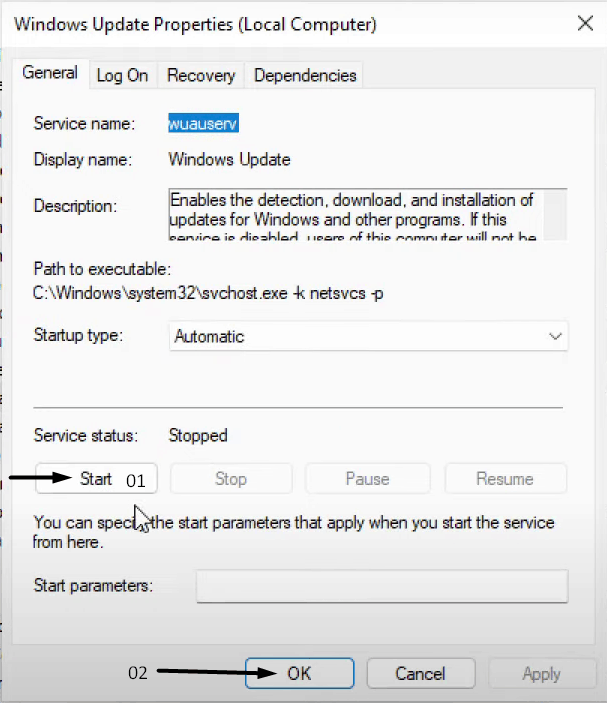
- Right-click on “Windows update” using the mouse, then select “Properties”.
- Change the Startup type from disabled to “Automatic” then click on “Apply”.
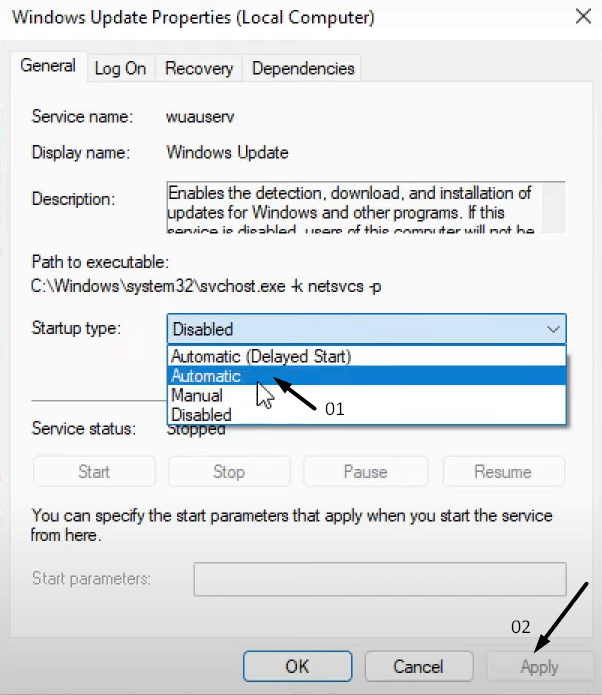
- Click on “Start” from the service status section, and then wait until the program runs then hit “OK”.
You can restart the Windows PC, which will force the services to start again during the boot process.
Reset Network Logs
Windows software accumulates lots of temporary files over some time. We download several unknown files from the internet, which could lead to connectivity issues. You can dump all network-related files in the trash, which lets the software create a secure internet connection again.
- Click on the “Windows” icon to get started.

- Type “CMD” in the search bar. “Command Prompt” will appear in the “Best Match”.
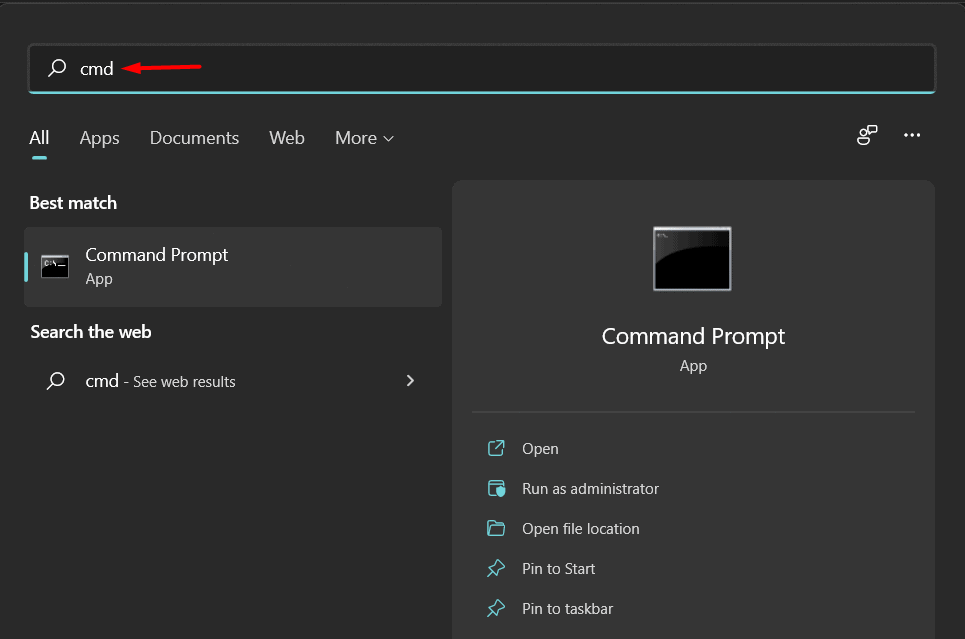
Note: The search bar is available on the top blank field.
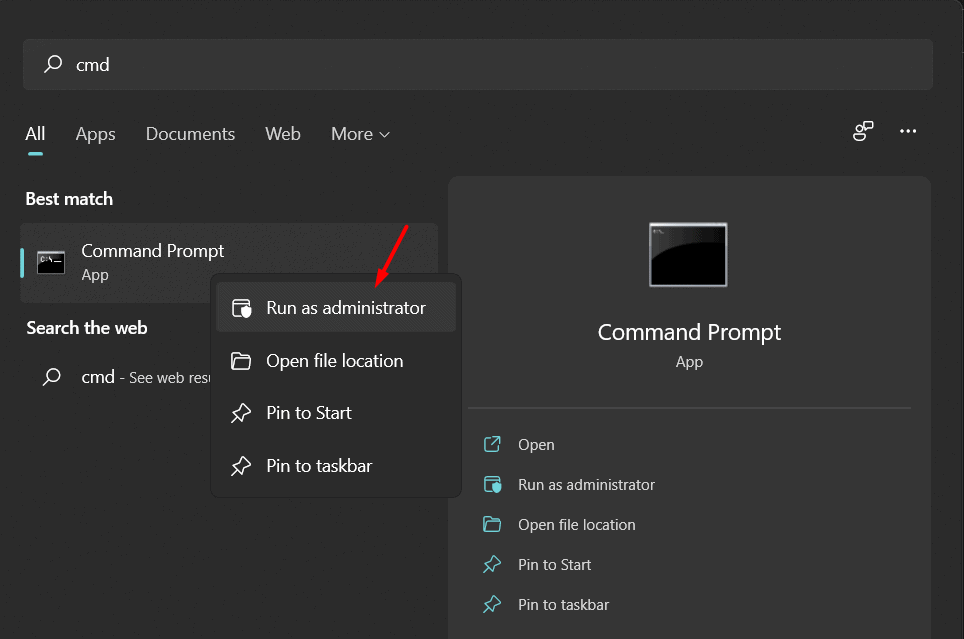
- Select “Run As Administrator” on the command prompt by right click on your mouse.
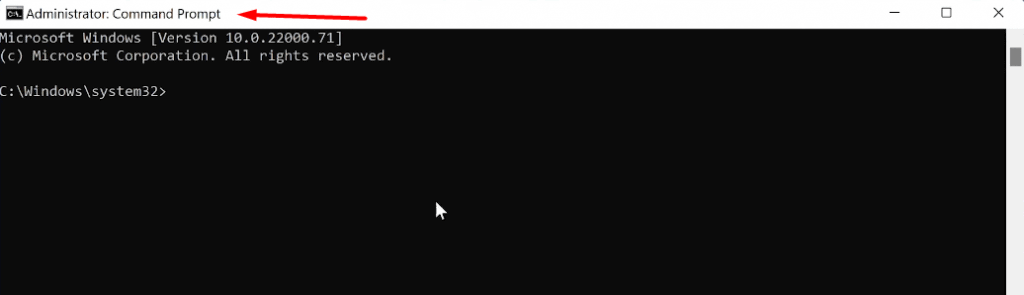
- Command Prompt will pop up on your screen.
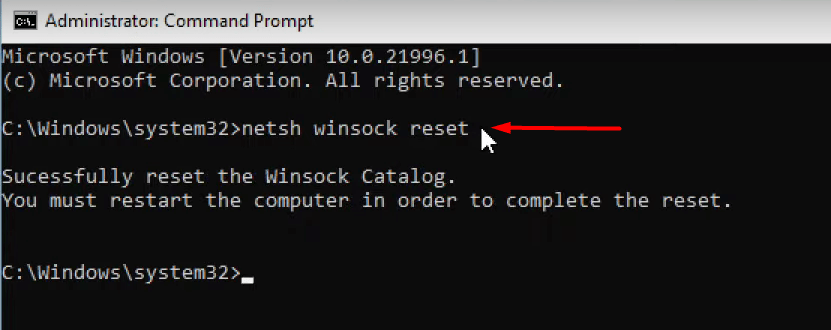
- Type “netsh winsock reset” then press the “Enter” key.
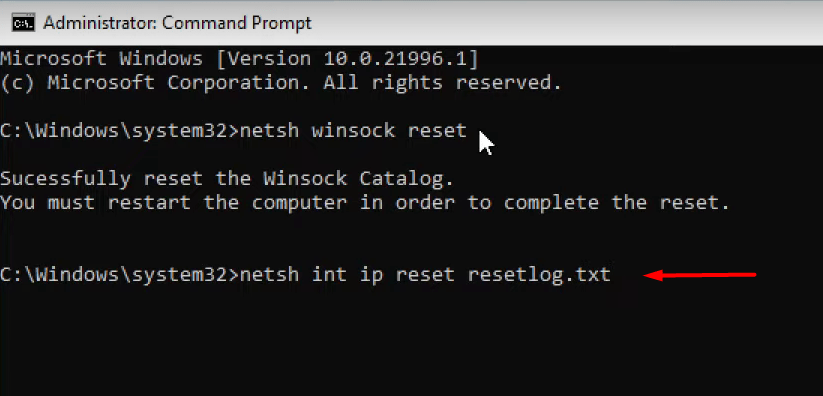
- Type “netsh int ip reset resetlog.txt” then press “Enter”.
- Type “Exit” then press “Enter” to close CMD.
Restart your computer and try connecting the machine to the internet.
RELATED GUIDES:
- Windows 11 Sound Not Working? Here’s How To Fix
- How To Fix WiFi Connected But No Internet Access
- 192.168.1.1 Login Page, Username, Password, and WiFi Settings
- DirectX 12 for Windows 11 (64-Bit) Free Download and Install
Conclusion
Wi-Fi is a necessity that is connecting millions to the internet wirelessly and I have a laptop that doesn’t have a LAN port. Several premium segment laptops are missing out on the LAN port and waiting for the drivers’ update is indeed a risky bet. You can purchase an external USB Wi-Fi dongle to make it work with Microsoft’s basic network drivers. Let us know which solution helped you to solve Wi-Fi connectivity problems in the comment section below.


")


")
