- Private DNS can block ads permanently on Android devices, providing a solution to avoid unwanted content and banners while browsing.
- Users can manually change their phone's DNS to a private DNS like AdGuard to eliminate ads, following step-by-step instructions from the Settings menu.
- Alternatively, third-party apps such as DNS Switch offer a convenient way to switch DNS without rooting, showcasing different options like AdGuard and Mullvad DNS to block ads effectively on Android.
Nobody wants ads on their phone while browsing the internet or using some app. These banners are not only disturbing but can often have unwanted content that we don’t want to skip. Well, there’s always the option to close these ads, but the manual way of doing it can be time-consuming. If you choose to close these ads manually, then this will be done temporarily while you are on the website or the app.
Fortunately, there’s a way to block these ads permanently on your phone, and that’s by using private DNS. There are private DNSs like AdGuard that block ads on your Android device. You can switch the default DNS of your phone to this private DNS to get rid of the annoying ads.
With Android Pie, changing DNS and setting your custom DNS was allowed in the Android. But the main question is how? This article will guide you on how you can block ads on Android using private DNS.

Ways to Block Ads on Android Using Private DNS
You will have to change the default DNS of your phone to a private DNS to block the ads. There are many private DNS that you can use to block ads on your Android phone which we will be listing later, but for this guide, we will be using AdGuard.
There are two ways by which you can change the DNS on your Android to AdGuard or any other DNS to block, i.e., manually changing it from Settings or using a third-party app to switch DNS. Here are both the ways to do so-
1. Manually Changing DNS
The first way to change DNS is from the Settings. You can switch your phone’s DNS to AdGuard or some other private DNS from the Settings to block ads. Here are the steps to do so-
- Open the Settings app on your phone.
- Here, tap on the Connections option.

- Now, tap on the Private DNS option.

- Select Private DNS Provider Hostname.
- Enter the DNS as dns.adguard.com and press Save.


Note- The steps listed above work for Samsung and may be different for other Android manufacturers.
Once you are done with the above steps, your phone will no longer show the ads. You will be able to use the apps and browse websites ad-free without any subscription.
2. Using Third-Party App
Another way to switch the DNS on your Android phone is through third-party apps. There are many third-party apps available on Play Store that you can download on your phone to change DNS without any root required. For this guide, we will be using the DNS Switch app but you can use some other app as well. Follow the steps given below to use a third-party app for switching the DNS of your Android phone-
- Open the Play Store on your Android phone.
- Search for the DNS Switch app and open it from the search results.
- Tap on the Install button to install the app.

- Open the app once it opens up, and then tap the OK button on the pop-up window.


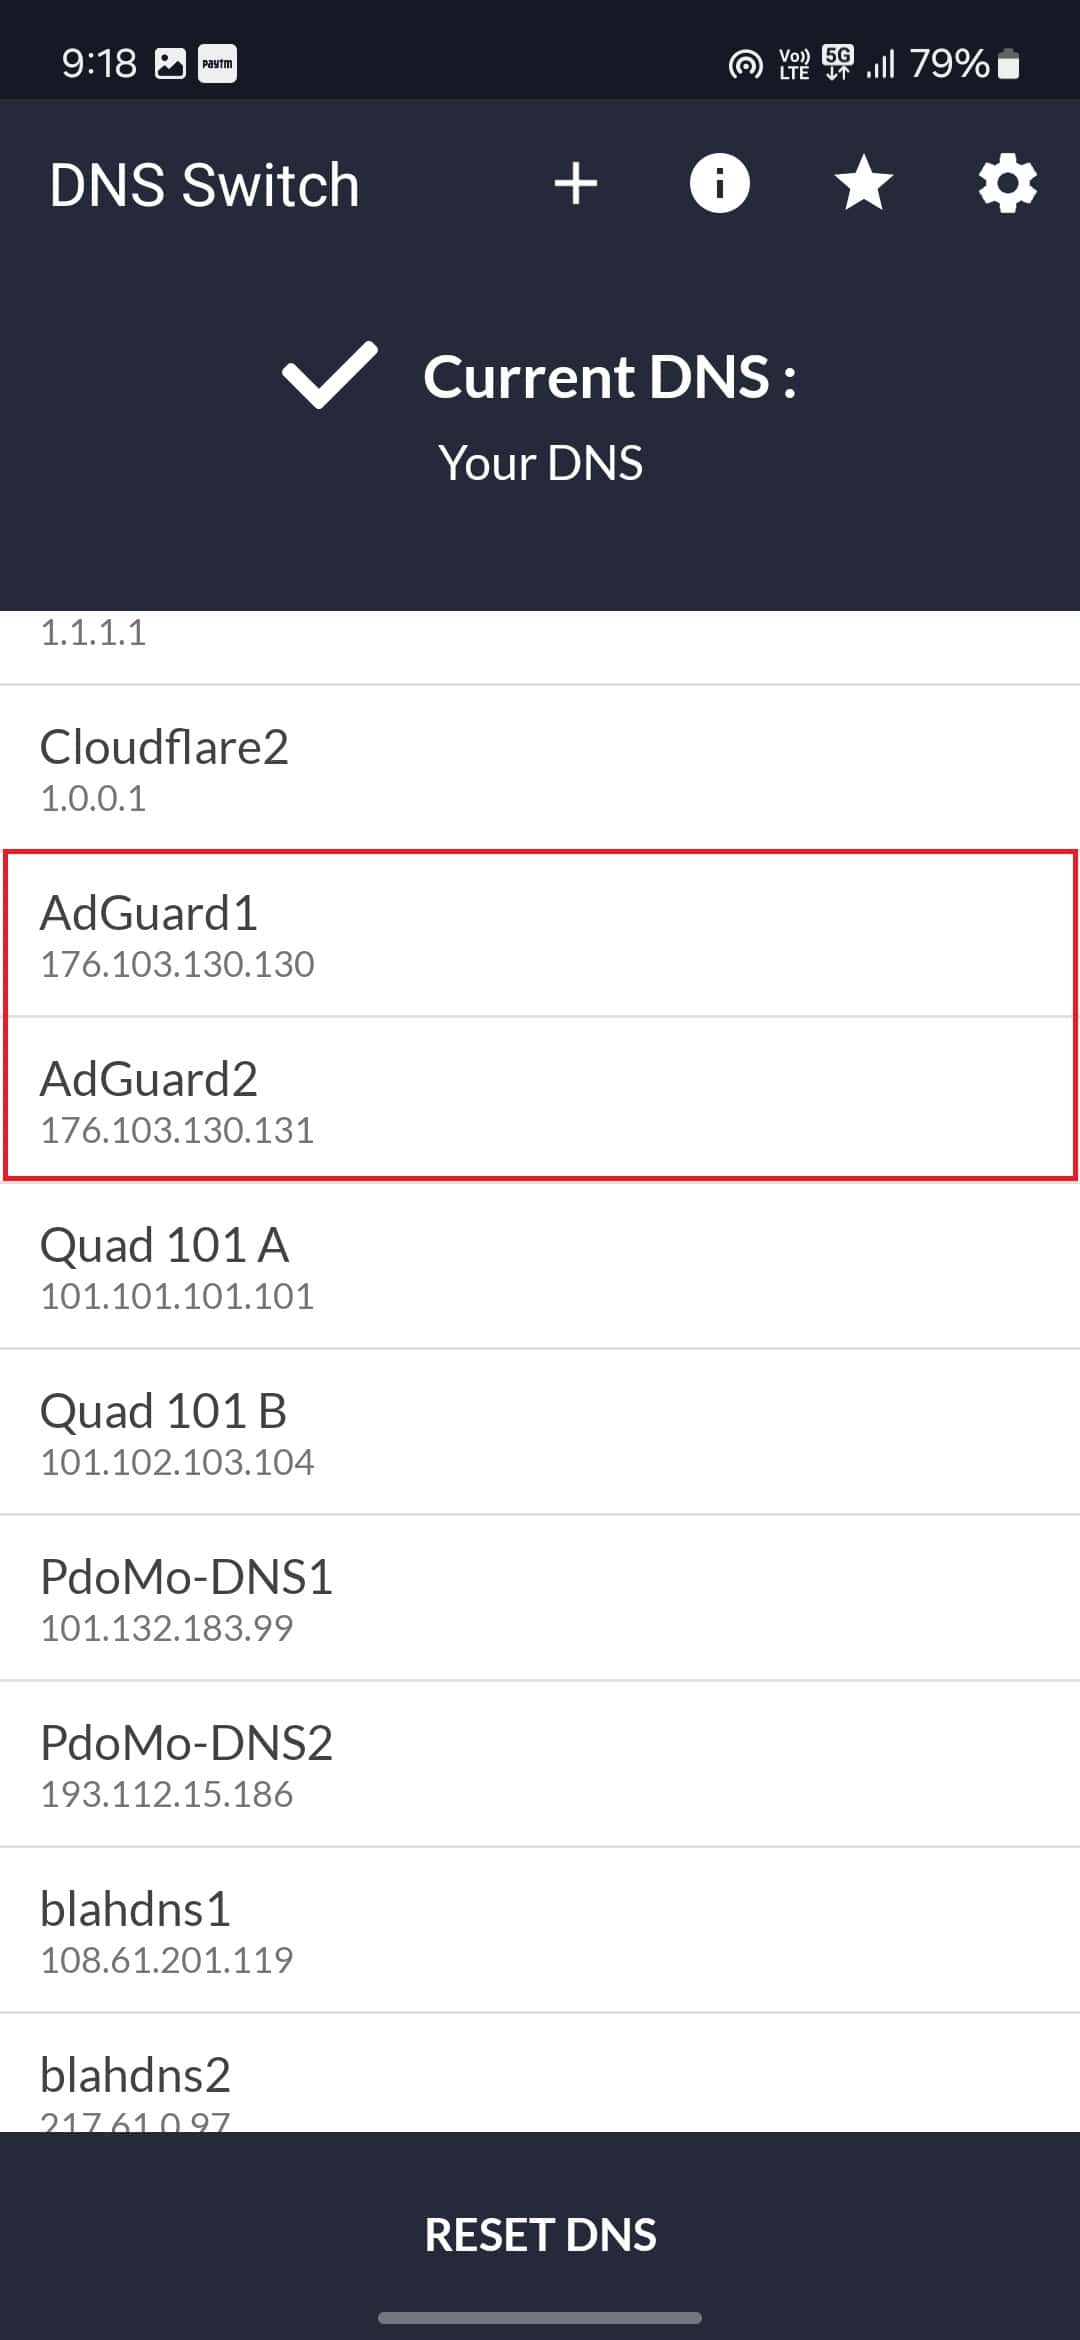
- Once the app opens up, you will see a lot of DNS here. From the list tap on AdGuard 1 and then tap on AdGuard 2.
- You will see a VPN connection request on the app; tap on OK to allow the request.


Best Private DNS to Block Ads on Android 2024
There are many private DNSs that you can use on your Android phone to block ads completely. Some best private DNS to block ads on Android are-
1. AdGuard
The first DNS that we recommend you go for if you are looking for a private DNS to block ads is AdGuard. This is one of the best private DNS that you can use if you are looking for features like ad blocking, privacy protection, as well as browsing security.
DNS- dns.adguard.com
2. Mullvad DNS
Another DNS that you can use is Mullvad DNS. Mullvad is known for protecting users’ privacy from online trackers. Their DNS is free to use and completely blocks ads on your device. Also, they have no logs policy, so no record of your browsing history will be saved in their logs.
DNS- adblock.dns.mullvad.net
3. LibreDNS
LibreDNS is another DNS that you can go for if you are looking for complete privacy online as well as ad blocking. They offer encrypted DNS service to the public which not only blocks the trackers on the websites but also the ads.
DNS– noads.libredns.gr
4. NextDNS
NextDNS claims itself to be the new firewall for the modern internet. Its claim is based on its online privacy features like ad and tracker blockers, content filtering, and malicious website blockers. This DNS is free as well as paid, but the best part is the free version has all the features offered by the paid version. However, you are limited to 300,000 queries a month with the free version.
DNS– 67c4ec.dns.nextdns.io
5. Control D
Control D aims to provide complete privacy of users on the internet. Just like Mullvad DNS, they have a no-log policy. Having Control D set as the DNS of your network, you can be assured that it will block the majority of the ads that you come across.
DNS– p2.freedns.controld.com
Bottom Line
If you are annoyed by the ads on your phone, then you can block ads on Android using private DNS by following the above steps. For this guide, we have used AdGuard, but you can use some other DNS listed in this guide to block ads on Android.
READ MORE:


