- Backing up files in Windows 11 is crucial to safeguard data and restore lost information in case of system crashes.
- Windows 11 provides options to backup data to OneDrive or local storage, offering flexibility to users based on their preferences.
- Detailed steps for backing up data to OneDrive or storage on Windows 11 are provided, ensuring easy implementation and understanding for users.
When making some changes to Windows, one must ensure that they take the backup of their files. This is to ensure that in case of data loss, you will have your data safe. Moreover, this also helps with restoring the data in case your system crashes. Having a backup of your system is essential, and you must do it frequently to overcome any system crashes or data loss.
How to Create Full System Backup in Windows 11
If you don’t know how to backup in Windows 11, this article will help you. In this article, we will be discussing how you can backup in Windows 11.
Process To Backup Data In Windows 11
You can choose what you want to backup from a number of options. It is entirely up to you whether or not you backup all of your data. You have the option of backing up what you want and leaving it to be backed up. You may backup any type of file, including documents, emails, photos, videos, and other media. You’ll also be able to back up your system settings, applications, and other important data.
In Windows 11, you can backup to OneDrive as well as the local storage on your PC. It’s on you. We will be discussing both of them, how you can backup in Windows 11 on OneDrive and the storage.
Method 1: Backup System Image Tool On Windows 11 To OneDrive
OneDrive is cloud storage by Microsoft, which gives you 5GB free space when you sign up for it. However, you can upgrade the plan to get more storage, but 5GB is what you get with the free one. Follow the steps given below to back up the data to OneDrive-
- Firstly, you need to have a OneDrive account. Sign up for a OneDrive account using the Microsoft account linked to your Windows. To sign up for OneDrive, click on this link, and you will be redirected to the OneDrive sign-up page.
- After registering for the OneDrive, head to the settings. You can search for settings in the start menu and open it, or you can press the Windows+I key combo to open the settings on your PC.
- By default, you will be on the system tab in the settings. If you are not on the system tab, then you can visit it by clicking on the system on the left sidebar.
- Head to the storage in the system tab.
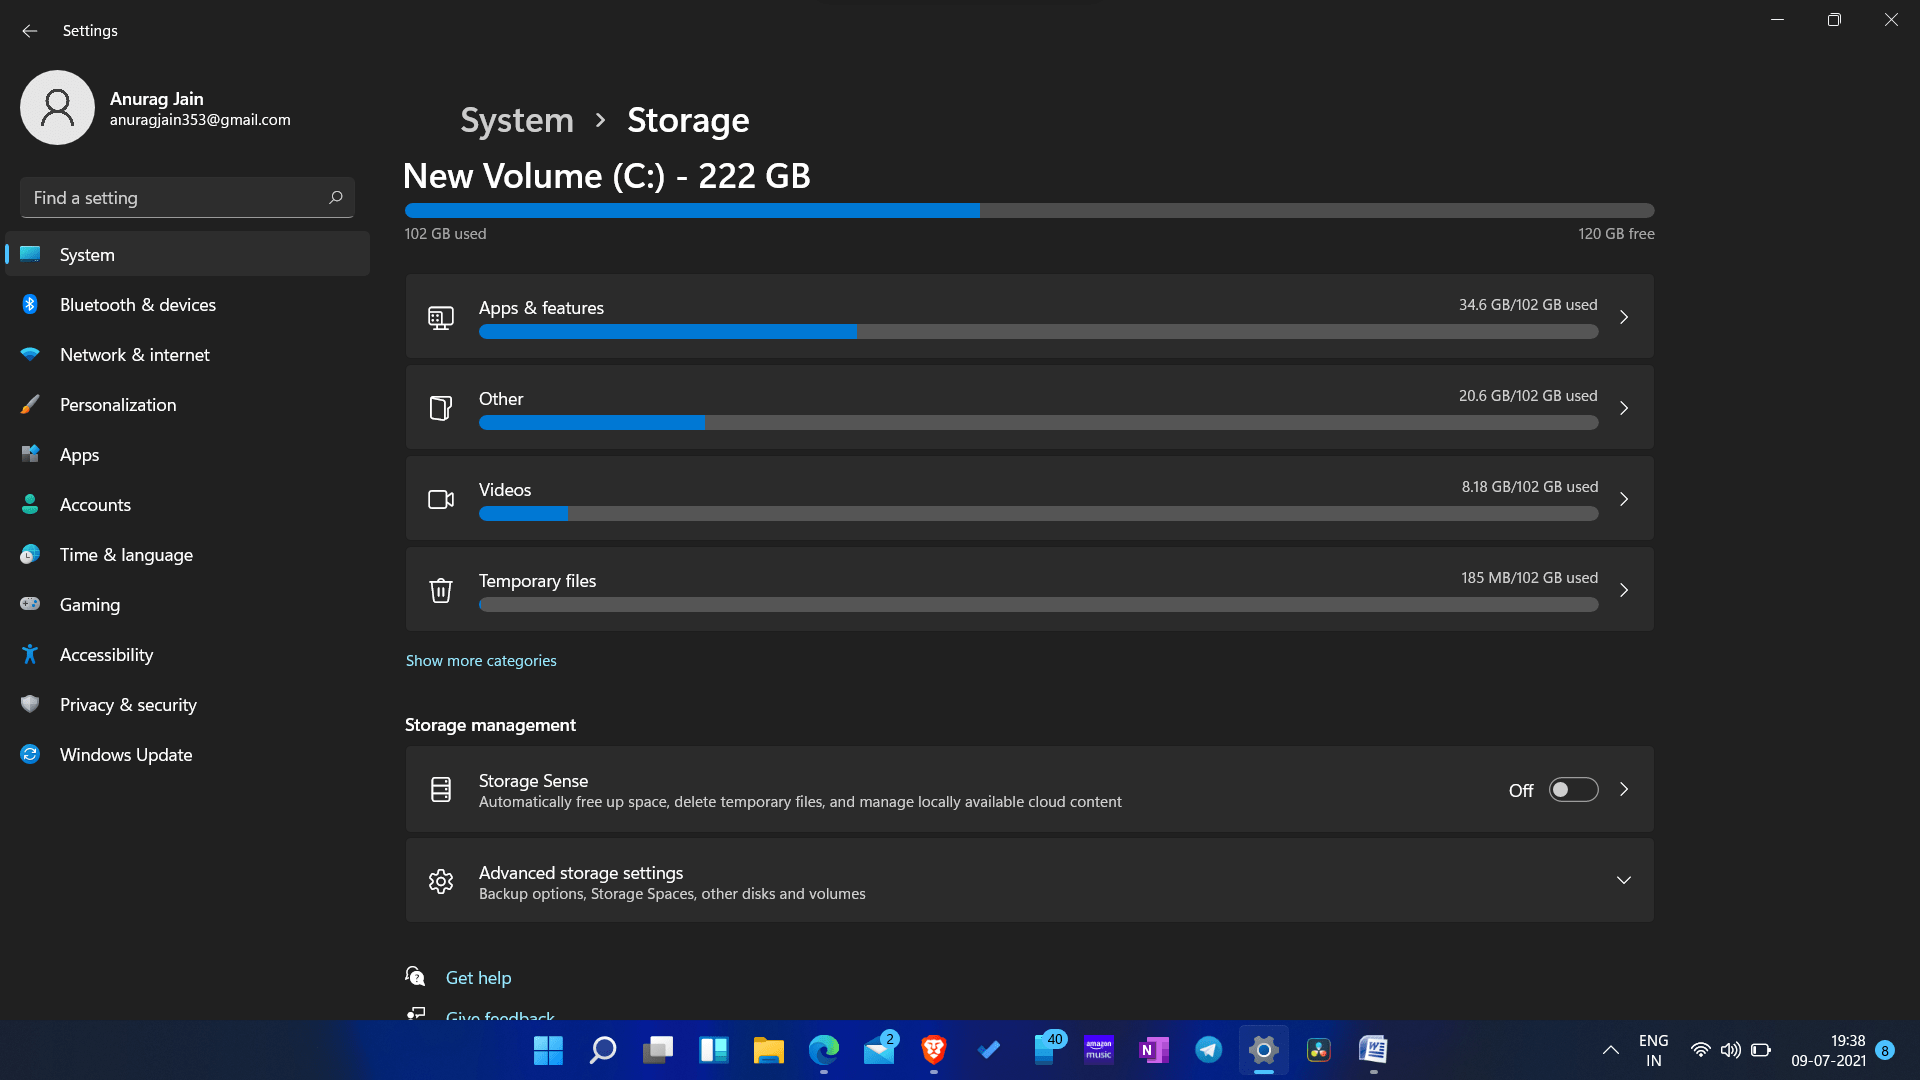
- Now click on backup options that you will find under the advanced storage settings.
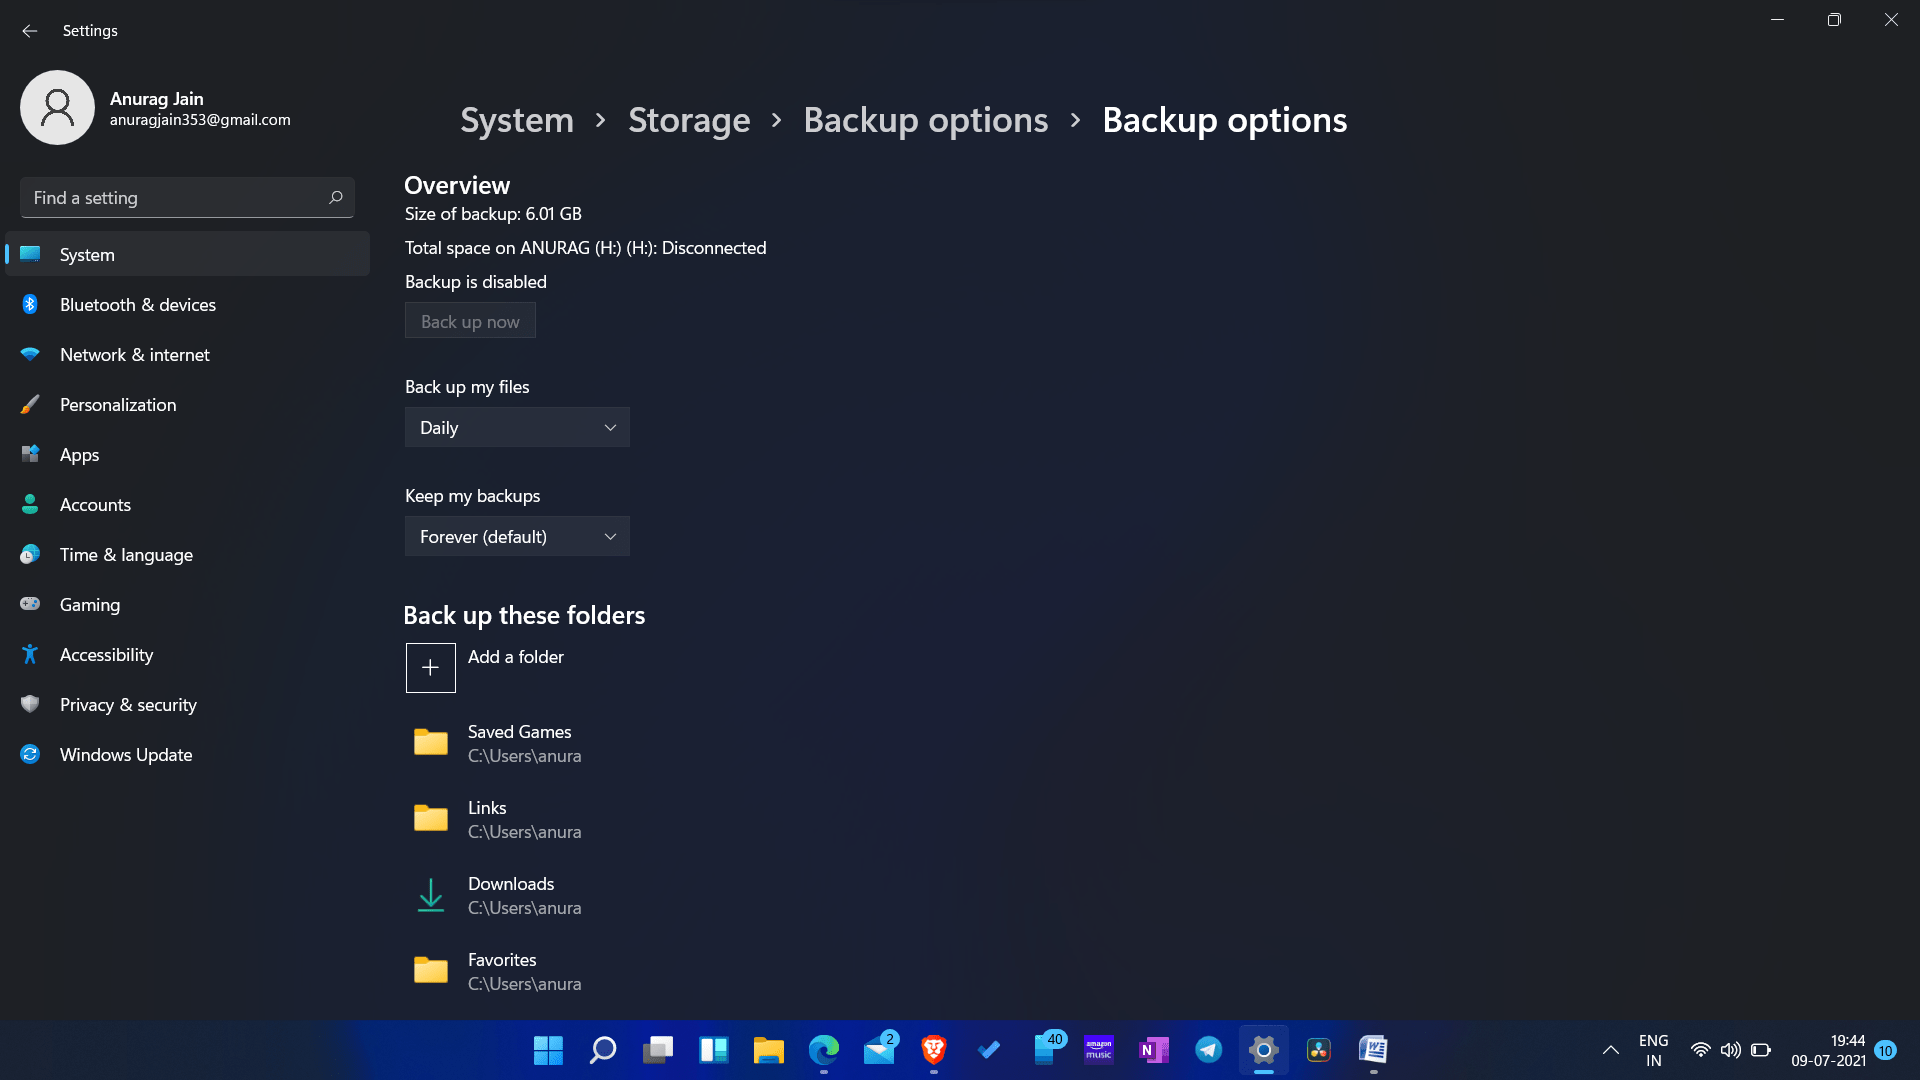
- Here you will have two options- Backup Files In OneDrive and Back Up Using File History.
- We are discussing the backup procedure for Onedrive, so click on the first option, i.e., Back-Up Files In OneDrive.

- Then you will be asked to sign in to OneDrive. If you do not already have an account, then click on the create account option. However, if you have created the account, you can sign in to your account by entering your Email address.
- After you are signed in with the account, you will be asked to set it up to be able to back up your data to OneDrive. Follow the on-screen instructions to set up OneDrive and be able to backup data on it.
- Once done, you will see a window stating- ‘Your OneDrive is ready for you.’ Click on the open my OneDrive Folder.
- This is how you can backup in Windows 11 on the OneDrive.
Method 2: Backup To Storage
5GB is very little to store your data. Therefore, OneDrive may not be an option for you if you do not have an account on OneDrive. If you do not want to create an account on OneDrive, then you can create backup your data to your storage. We have already discussed how you can backup in Windows 11 using OneDrive; let’s discuss how you can do the same on the storage of your PC.
- To back up to storage on your PC, follow the same steps as above. In the settings, head to the System tab. Then select storage, and then under the advanced backup options, select backup options.
- This will give you two options. We selected the Back Up Files In OneDrive option in the above method as we have to backup data on OneDrive. Select the Back Up Using File History option if you want to backup your data to storage.
- Click on add a drive under the backup using the file history option.
- You will be asked to select a drive on which you want to backup your data. You can even plug in an external drive to back up your files to the external drive. Select the drive to which you want to backup your data.
- If you want your system to take backups automatically, then you can enable the automatic backup my files toggle.
- If you want to change what files to backup, then you can click on more options.
- You can then add what folders to backup.
- Once done, save and exit the settings, and you are good to go.
Method 3: Create A System Image Using Control Panel
Another way to backup your system is by creating a system image. The backup and restore feature is an old feature that allows users to create a system image of the entire system. To do so, follow the steps given below-
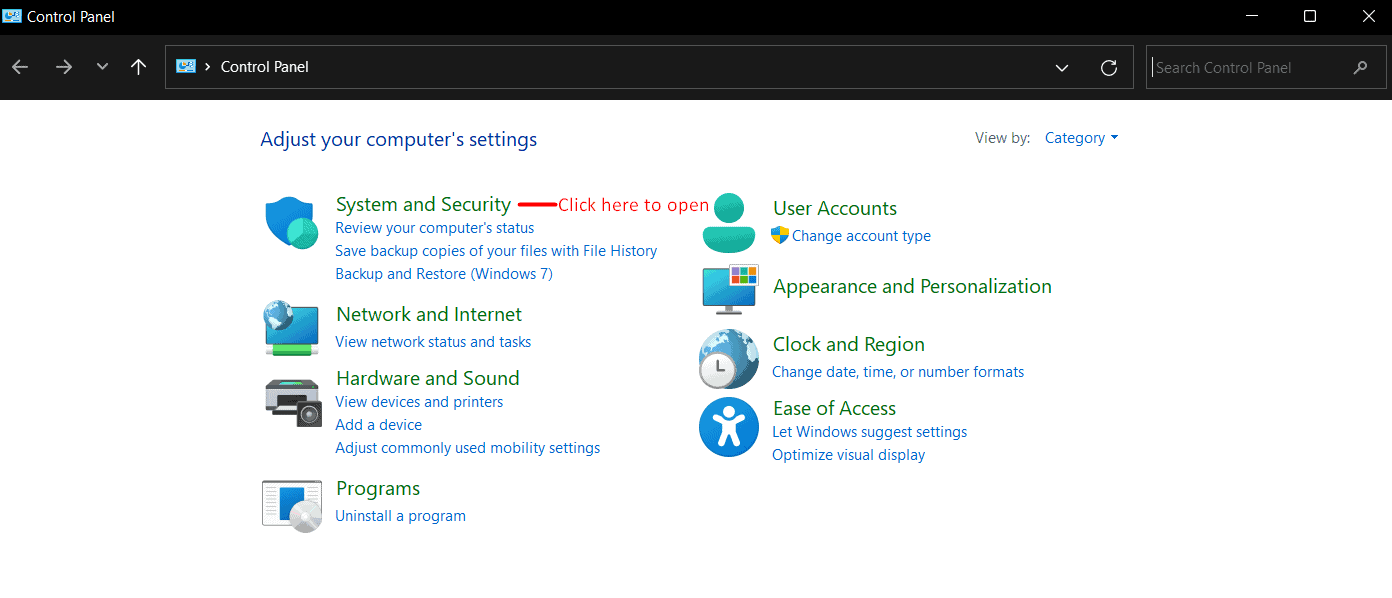
- Open the Start Menu and search for Control Panel. Click on the Control Panel from the search results in the Start Menu to open it.
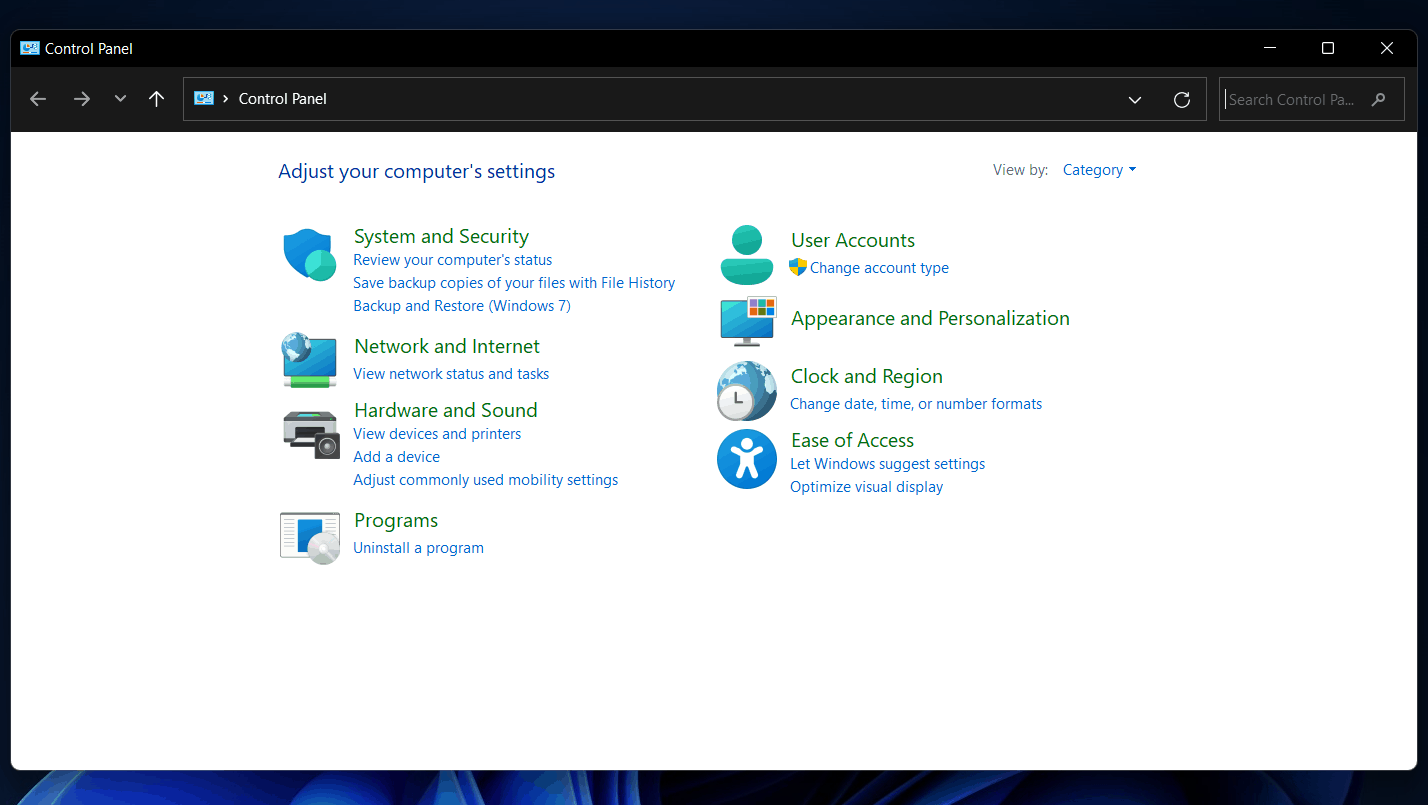
- Click on the System and Security section in the Control Panel, and then on the next window, click on the File History.
- Now, click on the System Image Backup on the left sidebar of the File History section in the Control Panel.
- Next, click on the Create a system image from the left sidebar.

- In the next window, you will get three options- backup on a hard disk, on one or more DVDs, or a network location. Select an option, and then click on Next.
- You will be asked to select the appropriate location for your system to create an image of itself on the next screen. After doing so, click on Next.
- Now on the next screen, you will see what drives are being backed up and to what location. Once done, click on the Start Backup button to get ahead.
- Once the backup has been completed, you can close the window and create a system image of Windows successfully.
Visit the following articles for more helpful guides and answers to frequently asked questions about Windows 11:
- How to Downgrade Windows 11 to Windows 10
- How To Change Windows 11 Virtual Memory Size
- How to Create Task Using Windows 11 Task Scheduler
Summary
That’s the complete process to make backup in Windows 11. You have two options to make backup of your files on Windows 11: OneDrive and on the storage. You can backup your data using any option, and we have already mentioned the steps to do so in the above article. These methods have minimal steps that are easier to understand and implement. If you have any queries or know of any more helpful methods, please share them in the comments area below.


")


The option to backup to an external hard drive isn’t available in Windows 11 home edition. I have 710 GB used on my C drive, there is no way I could back that up using my hotspot with 7.1 Mbs. It would take over a day and greatly exceed my 45 GB monthly limit.
If you type Control Panel into the Search 🔎 you can get to the good old Windows 7 Restore and Backup settings.
Used it successfully yesterday.
The removal of this facility on W11 Home is nothing short of blackmail. Forcing users to use One Drive needs to be condemned by all users of Windows 11 Home
I had a backup on D drive on Windows 10 but in Windows 11 there is no option to include a folder or file to my previous backup . There is only option to recover and exclude folders not to include folder . There is only one drive option . If someone can help then please do reply .
If you’ve got Home Edition then you can still use the backup under Control Panel / System & Security / Backup & Restore. It comes up Windows 7 but I’ve backed my whole Windows 11 PC using it.
I’ve tried multiple times to select my cloud drive for backup. That option is nowhere to be found. This had better change.
The ‘Back Up Using File History’ option isn’t available in my Windows 11 Pro; only OneDrive. Here’s my attempt at a workaround (NB: External drives must be in NTFS format]:
[Open:] Control Panel > Select ‘Recovery’ > Select ‘Create a recovery drive’ > Click ‘Next’ [Please wait] > ‘Select the USB drive’ [where recovery files will be copied to] > Click ‘Next’ > Click ‘Create’ [Wait for copying to finish]. [Done]
Whilst this saves recovery files to the external drive you select, after my 1st try, Windows changed the format of my USB flash drive from NTFS back to FAT32 and I’ve read that Windows won’t recognise FAT formatted drives during the recovery boot sequence (?). Problem could have been caused by my not optimizing the drive (in properties) ‘…for performance’ first, so trying again.