- Xvdd SCSI Miniport is crucial for virtual system software, and issues may arise due to driver incompatibility or corrupt system files
- Restarting the system, updating drivers, and running SFC and DISM scans can help resolve Xvdd SCSI Miniport issues in Windows 10/11
- Uninstalling the Xbox app, checking the disk for issues, and scanning for viruses/malware are additional steps to troubleshoot the problem
Facing issues with Xvdd SCSI Miniport issues on your Windows PC? Xvdd stands for Xen Virtual Disk D. These are virtual storage drives that are used by games and software in the virtual environment. Unlike external storage devices and internal hard drives, Xvdd is not physically connected to a system but is virtually present.
Xvdd is often required when using virtual system software. When Xvdd faces mounting issues, your system will throw the Xvdd Miniport issue. So, how do I fix this issue? Given below is a step-by-step guide that you can follow to fix Xvdd SCSI Miniport issues in Windows 10 and 11.

Fix Xvdd SCSI Miniport Issues in Windows 10/11
If you are facing the Xvdd SCSI Miniport issue, then incompatible or outdated device drivers will be blamed for that. You can also face this issue due to corrupt system files, corrupt virtual files, issues with virtual system software, etc. Here are all the methods to help you fix this issue-
Restart your System
The first thing to do if you are stuck with the Xvdd SCSI Miniport issue is to restart your system. If the issue is being caused due to temporary glitch or some random bug, then a system restart will solve the issue. If this doesn’t help, then you can move to the next step in this article.
Update Driver
One of the major reasons that can result in the Xvdd SCSI Miniport issues is outdated Xvdd and related drivers. The system requires device drivers to work properly and to utilize all the functions of the hardware connected. If the device drivers are outdated or corrupted then your system may start throwing some issues. Follow this guide to update drivers on Windows. Once all the drivers are updated, check if you still face this issue.
Update Windows
Another thing that we recommend you to do is update the Windows. You can check for the latest Windows update from Settings and install the updates if available. The steps to do so are-
- Open the Settings app on your Windows PC using the Windows + I keyboard shortcut.
- Click on the Windows Update tab on the left pane.
- On the right side, click on Check for Updates.
- Settings will list all the available updates.
- Click on Download & Install next to the update you want to install. Make sure you install all the essential updates.
Run SFC Scan
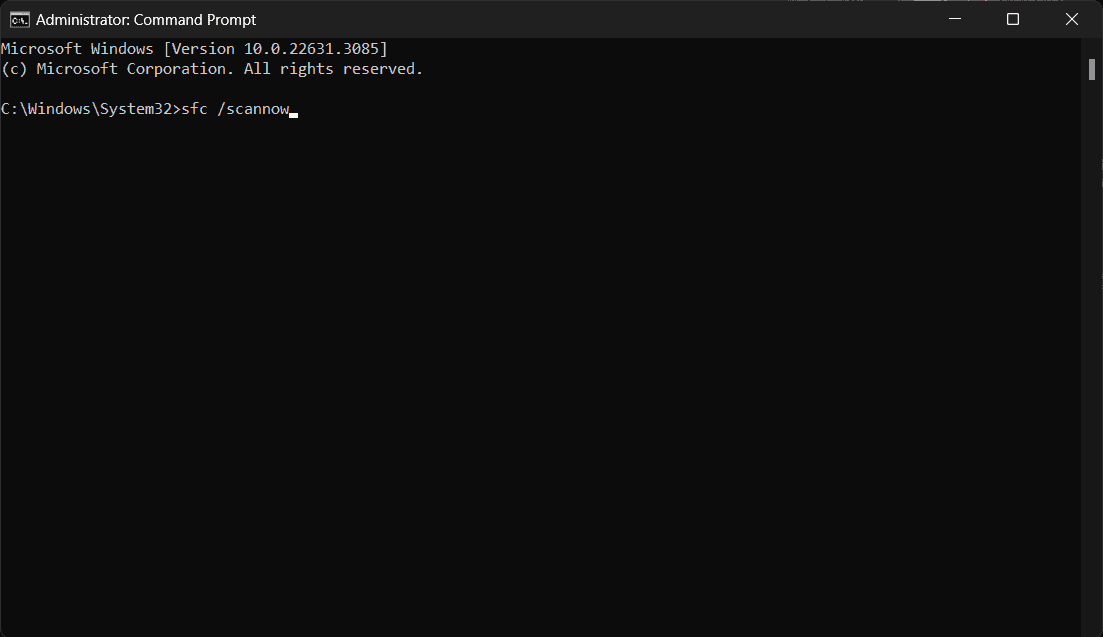
Xvdd SCSI Miniport issue can often be encountered due to corrupted system files. The way to solve this is by running the SFC scan. SFC or System File Checker is an in-built tool on Windows to scan for corrupted system files and fix them. Here are the steps to run the SFC scan-
- Press the Windows key and type CMD in the Start Menu. Select Command Prompt and then click on Run as Administrator.
- A UAC prompt will open up; click on Yes.
- Now, type the following command in the terminal window and execute it-
- sfc /scannow
- Wait for the process to be completely executed and then restart your PC.
Run DISM Scan
If you have tried the SFC scan method but are still facing the issue then continue with the DISM scan. DISM scan will check issues with Windows images and virtual hard disk and fix them. To run the DISM scan, follow the steps given below-
- Open the Run Dialog Box by pressing the Windows + R keys together.
- Type CMD in the Run Dialog box and press Ctrl + Shift + Enter keys together. This will launch Command Prompt as administrator.
- After this execute the following commands one by one in the Command Prompt-
- DISM /Online /Cleanup-Image /CheckHealth
- DISM /Online /Cleanup-Image /ScanHealth
- DISM /Online /Cleanup-Image /RestoreHealth
- Once done, close Command Prompt and reboot your system.
Uninstall Xbox App
Xbox that comes preinstalled on Windows 11 and Windows 10 can also cause the Xvdd SCSI Miniport issue. Many users have said that uninstalling the Xbox app fixed the issue on their PC. Try uninstalling the Xbox app by following the steps given below to fix this issue-
- Press the Windows + I key combo to open the Settings app.
- Now, click on Apps on the left pane and then on Installed Apps.
- Using the Search bar at the top, search for Xbox.
- Click on the three dots next to Xbox and click on Uninstall. Click on Uninstall again to uninstall the game.
- Do the same for all the Xbox-related apps like Xbox Live, Xbox Game Bar, and Xbox Console Companion.
- Once you have uninstalled the apps, reboot your system.
Check Issues with the Disk
The error can be encountered if there’s some issue with the disk. You can run the chkdsk command in the Command Prompt to scan your disk for issues and fix the issue. Below are the steps to do so-
- Open the Start Menu, and search for Command Prompt. Right-click on Command Prompt from the search result and click on Run as Administrator.
- In the Command Prompt, run the following chkdsk command-
- chkdsk /f
- Wait for the command to be executed and then restart your PC.
Scan your System for Virus and Malware
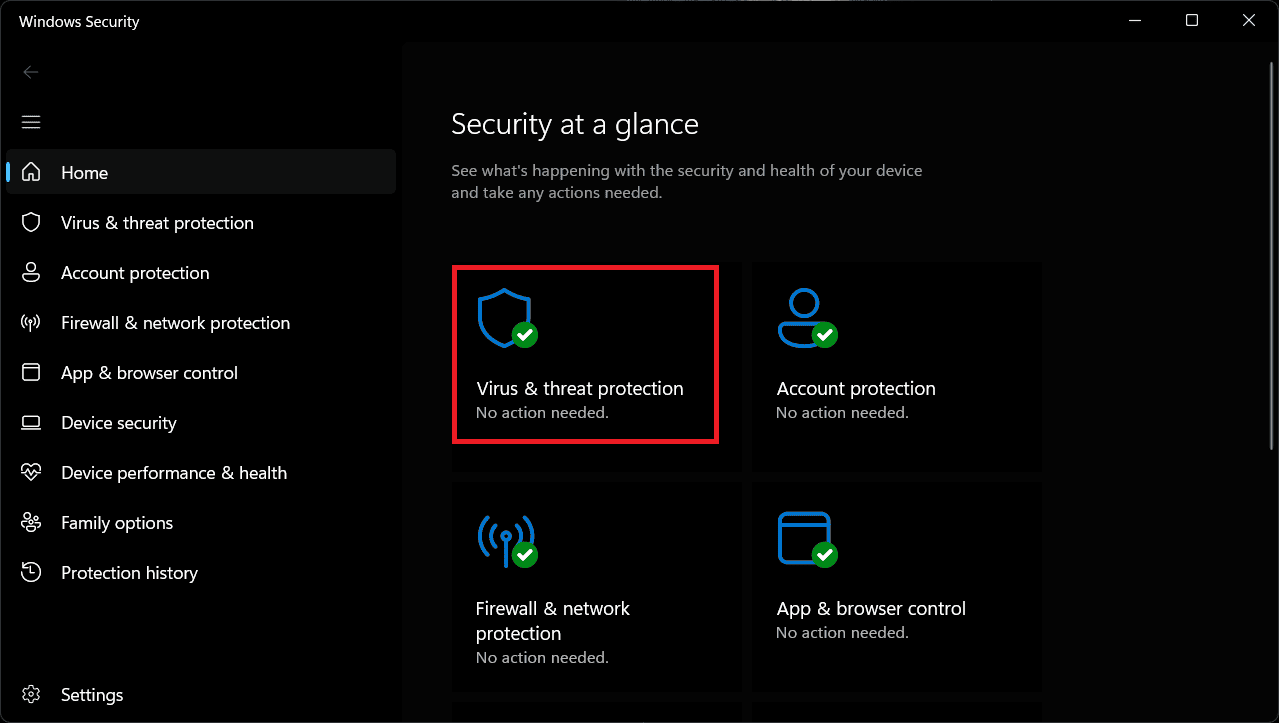
Viruses and malware can corrupt the system files and cause the Xvdd SCSI Miniport issue. Scan your system for viruses/malware to fix it. If you have third-party antivirus software on your system then use that to run the virus scan. Else, you can run a Windows Security scan to check your system for viruses. Below are the steps to do that-
- Press the Windows key on your keyboard, type Windows Security and press Enter.
- Now, click on the Virus & Threat Protection option.
- After this, click on Scan Options.
- Select Full Scan and click on Scan Now.
Note- Full Scan runs a deeper check on your system and can take a few hours sometimes depending on the number of files on your system.
Bottom Line
The above steps should help you fix the Xvdd SCSCI Miniport issues on Windows 10/11. In case, you are still facing the issue even after following the above steps then probably it’s due to the virtual system software (Hyper-V, VMware, or any other) on your system. Try updating the virtual system software you are using on your PC or reinstalling it.
READ MORE:
- What is BlueScreenViewer? How to Use Blue Screen View on Windows 11/10
- Top 12 Ways to Fix Steam Disk Write Error for Windows
- How to Download and Install Windows 7 Games for Windows 11
- 6 Ways to Fix Valorant Not Opening or Working In Windows 11
- How to Fix Windows 11 Not Detecting Second Monitor (5 Ways)


