- Minecraft is a popular game with unique gameplay, but its graphics are a drawback compared to other games.
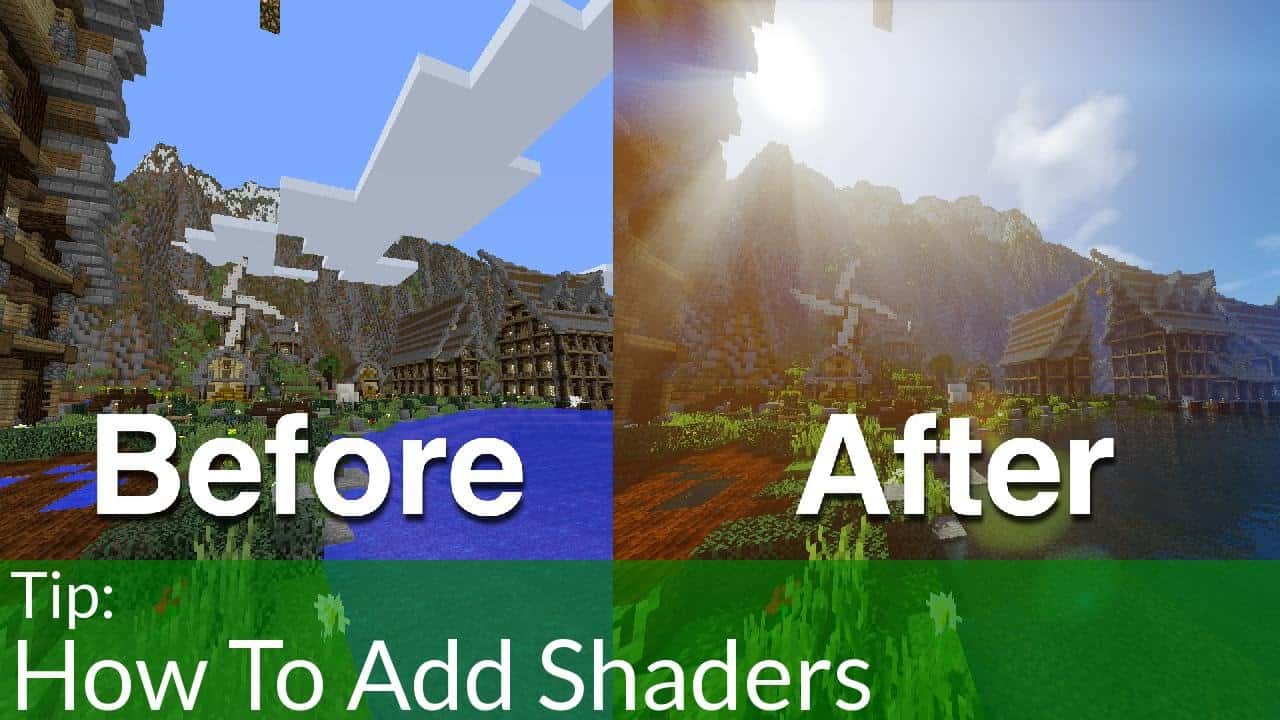
- Shaders can modify Minecraft's graphics to give a more realistic touch, improving the overall gaming experience.
- Two ways to install shaders in Minecraft: Direct download method from websites like mcpedl.com or using OptiFine to enhance the graphics.
It has been months since the global pandemic has impacted our daily lives. We are confined within our houses to ensure our safety. However, it is important to ensure the well-being of our minds during this time of lockdown. You can do it by engaging your mind in various activities such as exercising, reading, gaming, etc.
There are several games which you can play to spend a couple of hours. Minecraft is one such game that has unique gameplay and numerous players all around the world. The only drawback of Minecraft is its graphics. The graphics of Minecraft cannot be compared to the graphics of other games in its competition.
Fortunately, there is a solution to this problem. Various shaders are available for Minecraft which can modify its graphics and give a realistic touch to it.
To help you with the process of using the shaders, here we are providing you with a complete guide on how to download, install, and use shaders in Minecraft.
READ MORE: How To Repair a Bow in Minecraft
How to Install Shaders in Minecraft (2 Ways)
Method 1: Direct Download
You can directly download and install shaders on your PC. The steps involved in this method are listed below.
Step 1- On your PC, launch a web browser and go to ‘mcpedl.com‘ on this website.
Step 2- Use the ‘Search‘ option to find your favorite Minecraft Shader.
Step 3- Once you find the shader you are looking for, click on ‘Download‘ to initiate the downloading process. You can download it in zip as well as McPack format.
Step 4- When the shader is completely downloaded. Launch Minecraft on your PC.
Step 5- On the homepage of Minecraft, click on the ‘Play‘ option.
Step 6- On the dialog box which appears on your screen, click on ‘Create New‘ and then, click on the ‘Create New World‘ option.
Step 7- Finally, click on the ‘Resource Packs‘ option, followed by ‘My Packs‘ to display the list of shaders available on your PC.
Step 8- Click on the shader you wish to install from the list which appears on your screen. Then, click on ‘Activate‘ and confirm the installation of the shader on Minecraft.
Step 9- Click on the ‘Create‘ option after making all the adjustments to your shader.
Now when you start playing Minecraft, you will notice that the features provided by the shader have been applied.
READ MORE: Free Premium Minecraft Accounts & Passwords
Method 2: Using OptiFine
You can make use of OptiFine to install your favorite shader on Minecraft. The steps involved in this method are listed below.

Step 1- Download and Install OptiFine on your PC.
Step 2- Now, download the shader you wish to install on your PC.
Step 3- Launch Minecraft by using OptiFine and from the main menu, click on the ‘Options’ menu.
Step 4- Then, click on the ‘Video Settings’ option, followed by the ‘Shaders’ option. You will find the ‘Shaders Folder’ option at the bottom left of your screen. Click on it and a window will open on your screen.
Step 5- Select the shader which you have downloaded and install it on your game using OptiFine.
These are the methods and the steps which you can use to download, install and activate shaders in Minecraft.
Some of the best Minecraft shaders which you can use are:
#1 Naelego’s Cel Shaders-
Naelego’s Cel Shader adds bold colors and distinct black outlines. You, Vann, say that this shader is almost flawless.
#2 Continuum Shaders-
This is one of the best Minecraft shaders as it provides photo-realistic lighting effects, color gradients, etc. However, this shader can be used on a high-end PC only.
#3 Sildurs Vibrant World-
This shader has gained its popularity as one of the most customizable and flexible Minecraft shaders. It can run on any graphics card and computer.
#4 KUDA Shader-
On using this shader, the graphics look glossier and refined. The water looks shiny, shadows increased, light rays added, etc.
#5 BSL Shaders-
On using this shader, almost everything looks prettier, with a realistic atmosphere. The only drawback of this shader is that Minecraft might not run very smoothly.
#6 Chocapic13’s Shaders-
This shader adds an ambient look to the Minecraft world. This shader adds features such as fog, shadows, and lighting.
#7 Sonic Ethers’ Unbelievable Shaders (SSUS)-
This shader for Minecraft gives it a much realistic look. It adds shadows and lighting to the game.
A drawback of this shader is that it does not provide a lot of customizations.
READ MORE: Best Minecraft Mods (v1.14.4, 1.13, 1.12)
Conclusion:
These are the methods that you can use to Install & turn on shaders in Minecraft. These shaders will definitely improve the user experience of Minecraft on your PC. We have also listed some of the best Minecraft shaders that you can use on your PC. If you know of any better method to turn on shaders in Minecraft, then please let us know about it in the comments section below.


")

