- Both the Host and Client PCs must use a Private network profile with network discovery and file and printer sharing enabled. Leaving the network as Public is the most common reason shared printers never appear.
- Errors like 0x0000011b happen because PrintNightmare protections prevent clients from pulling printer drivers from the Host. Installing the printer driver locally on the Client before connecting bypasses this safely without registry hacks.
In the modern home office or small business environment, efficiency is everything. Yet, many of us are still stuck in the “Stone Age” of printing: physically unplugging a USB printer from a desktop, carrying it across the room (or carrying a laptop to the printer), plugging it in, and hoping the drivers load before the deadline hits.
It is inefficient, it is frustrating, and frankly, it is unnecessary.
Why buy multiple printers or constantly swap cables when you can turn your main computer into a Print Server? By mastering the settings for sharing printer windows 11, you can share a single high-quality USB printer with every laptop, desktop, and tablet on your local Wi-Fi network.
However, setting this up in 2025 isn’t as simple as checking a box. With the increased security protocols in Windows 11 (and the legacy of the “PrintNightmare” security patches), the process of sharing printers in Windows 11 requires navigating through firewalls, network profiles, and advanced sharing permissions.
This comprehensive, step-by-step guide will teach you exactly how to execute sharing printer windows 11 setups successfully. We will cover the prerequisites, the configuration, the connection process, and crucially, how to troubleshoot the stubborn errors that often plague this process.
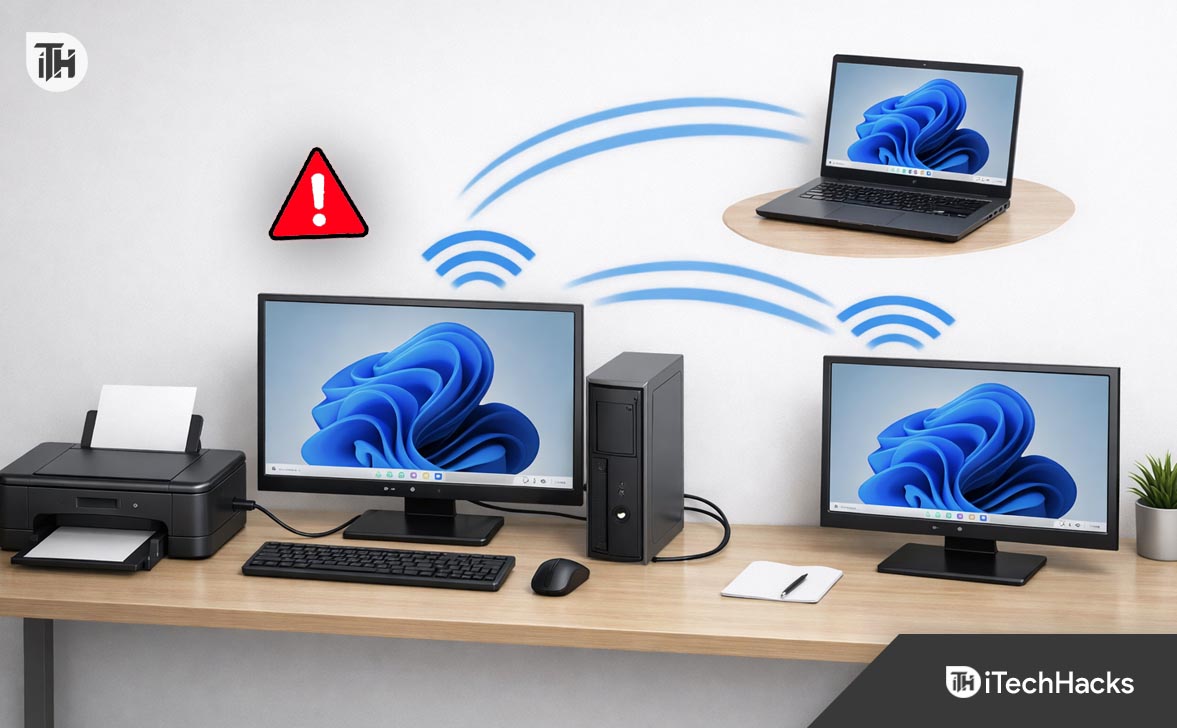
Understanding the Setup (Host vs. Client)
Before we start clicking buttons, it is vital to understand the architecture we are building. Unlike a modern “Network Printer” that plugs directly into your router via Ethernet or connects to Wi-Fi independently, a Shared Printer relies on a computer.
The Host PC (The Server)
- This is the computer physically connected to the printer via the USB cable.
- Crucial Rule: The Host PC must be Turned On and Awake for the printer to work. If the Host PC goes to sleep or is turned off, the printer becomes invisible to everyone else on the network.
The Client PC
- This is any other computer on the network (your laptop in the bedroom, your kid’s PC for homework) that wants to send print jobs to the printer wirelessly.
- The Client sends the data to the Host > The Host processes it > The Host sends it to the Printer.
The Network Foundation (Do Not Skip This)
By default, Windows 11 treats new Wi-Fi connections as “Public.” On a Public network, Windows builds a digital wall around your PC to hide it from hackers at coffee shops or airports. While this is great for security, it makes printer sharing impossible. You must tell Windows that you trust your current network.
Step 1: Set Network Profile to “Private”
You must perform this step on BOTH the Host PC and the Client PC.
- Open the Settings menu by pressing
Windows Key + I. - In the left sidebar, click on Network & internet.
- Click on Wi-Fi (if you are wireless) or Ethernet (if you are wired).
- Click on the properties of your current connection (often labeled with your Wi-Fi name, e.g., “Home_WiFi_5G”).
- Under the “Network profile type” section, you will see distinct options: Public network and Private network.
- Select Private network.
- What this does: It opens the necessary ports (TCP/UDP) in the Windows Firewall to allow other devices in your home to “see” your computer.
Step 2: Configure Advanced Sharing Settings
Even on a Private network, specific sharing protocols might be turned off by default in Windows 11.
- Go back to Settings > Network & internet.
- Click on Advanced network settings near the bottom.
- Click on Advanced sharing settings.
- Expand “Private networks”:
- Toggle Network discovery to On. (Check the box “Set up network connected devices automatically”).
- Toggle File and printer sharing to On.
- Expand “All networks”:
- Public folder sharing: You can leave this Off (unless you want to share files too).
- Password protected sharing:
- Option A (Secure): Leave it On. When you try to print from the Client PC, you will have to type in the Username and Password of the Host PC one time.
- Option B (Easy): Toggle it Off. Anyone on your Wi-Fi can print without typing a password. For most home users, Off is the preferred setting to avoid authentication headaches.
Configuring the Host PC
Now that the digital roads are open, let’s configure the Host PC to broadcast the printer signal. This is the core step in enabling sharing printer Windows 11 functionality.
- Navigate to Printer Settings: Press
Windows Key + Ito open Settings. Go to Bluetooth & devices > Printers & scanners. - Select Your Printer: Click on the printer you wish to share (e.g., “Canon PIXMA” or “Brother HL-L2350”).
- Open Printer Properties: This is the tricky part. Windows 11 has a modern settings menu, but Printer Sharing still lives in the old code. Scroll down and find the link that says Printer properties.
- Note: Do not click “Hardware properties.” Look specifically for “Printer properties.” A smaller, older-looking window will pop up.
- The Sharing Tab: Click the tab labeled Sharing.
- Activate Sharing: Check the box: Share this printer.
- Name Your Share: Windows will suggest a name. It is highly recommended to change this to something short, simple, and without spaces.
- Bad Name: “Dad’s Canon Printer in the Office”
- Good Name: “OfficeCanon” or “HomePrinter”
- Why? Shorter names with no spaces are easier for older devices and command-line scripts to recognize.
- Render Print Jobs: Ensure the box “Render print jobs on client computers” is checked. This offloads the processing work to the laptop sending the file, which keeps the Host PC running smoothly.
- Finalize: Click Apply and OK.
Your printer is now “live” on the network.
Connecting the Client PC
Now, walk over to the laptop (Client) that needs to print. There are three ways to connect, ranging from automatic to manual.
Method A: The Automatic Discovery (The Happy Path)
If your network is configured perfectly, this is all you need to do:
- On the Client laptop, go to Settings > Bluetooth & devices > Printers & scanners.
- Click the blue Add device button.
- Windows will scan the network. After a few seconds, you should see your shared printer appear in the list, usually labeled as: “PrinterName on ComputerName” (e.g., “OfficeCanon on Desktop-PC”).
- Click Add device.
- Windows will connect to the Host, download the necessary drivers silently, and install the printer. You are done!
Method B: The Manual Directory Path (If Discovery Fails)
If Windows keeps spinning and says “No printers found,” don’t panic. We can force the connection using the specific network address.
Step 1: Find the Host Name
- Go to the Host PC.
- Open Settings > System > About.
- Look for Device name. Let’s say it is
Dad-Desktop.
Step 2: Connect on Client
- Go to the Client PC.
- Go to Settings > Bluetooth & devices > Printers & scanners.
- Click Add device.
- Wait for the “The printer that I want isn’t listed” link to appear manually. Click Add manually.
- Select Select a shared printer by name.
- In the text box, type the path using this format:
\\HostName\ShareName- Example:
\\Dad-Desktop\OfficeCanon
- Example:
- Click Next.
- Windows will reach out directly to that address and attempt to install the printer.
Advanced Troubleshooting (When It Doesn’t Work)
Sharing printer Windows 11 processes are notorious for errors like 0x0000011b, Access Denied, or Windows cannot connect to the printer. Here is how to fix the most common 2025-era problems.
Fix 1: The “PrintNightmare” Error (0x0000011b)
A few years ago, a major security vulnerability called “PrintNightmare” was discovered. Microsoft patched it, but the patch often blocks legitimate printer sharing because it prevents the Client from downloading drivers from the Host.
The Solution: Install Drivers Locally First Instead of trying to pull the driver over the network, install it manually on the Client.
- Go to the printer manufacturer’s website (HP, Canon, Brother, etc.) on the Client laptop.
- Download the driver for your specific model.
- Run the installer.
- When it asks how to connect, select “My printer is not connected yet” or “Install software without connecting printer.” (If this isn’t an option, just install the basic driver files).
- Once the driver is installed on the Client laptop’s hard drive, try Method B (Manual Directory Path) again.
- Because the driver is already there, Windows won’t need to download it from the Host, bypassing the security block.
Fix 2: The SMB 1.0 Legacy Issue
If you are trying to share a very old printer (10+ years old) or connecting from a Windows 7 machine, you might need to enable an older sharing protocol.
- Click Start, type Turn Windows features on or off, and hit Enter.
- Scroll down to SMB 1.0/CIFS File Sharing Support.
- Check the box and click OK.
- Restart your PC.
- Warning: Only do this if absolutely necessary. SMB 1.0 is less secure than modern standards.
Fix 3: The Antivirus Firewall
If you use third-party antivirus software (Norton, McAfee, Bitdefender, Kaspersky), their firewalls are often stricter than Windows. They might see the incoming print request as a “hack attempt” and block it.
- Test: Temporarily turn off the Firewall in your antivirus software on the Host PC. Try to connect the Client.
- Result: If it works immediately, you know the antivirus is the culprit. You will need to go into your antivirus settings and set the Network Trust Level to “Private” or “Trusted Home Network.”
Fix 4: Restart the Print Spooler
Sometimes, the background service that handles printing just gets confused. Restarting it is the “Have you tried turning it off and on again?” of the printer world.
- Press
Windows Key + Ron your keyboard. - Type
services.mscand hit Enter. - Scroll down the list until you find Print Spooler.
- Right-click it and select Restart.
- Do this on both the Host and the Client PC.
An Alternative Solution (Router Sharing)
If the hassle of sharing printer Windows 11 from a desktop PC that you have to keep turned on annoys you, there is one other way: Through your Router.
Many modern Wi-Fi routers (from brands like ASUS, Netgear, and TP-Link) have a USB port on the back.
- Plug your printer’s USB cable into the router’s USB port.
- Log in to your router’s admin panel (usually
192.168.1.1or192.168.0.1). - Look for “USB Application” or “Print Server” settings.
- Enable the Print Server.
- On your PC, you will add the printer using the router’s IP address (TCP/IP Port).
This method allows any computer to print as long as the router is on (which is always), removing the dependency on a Host PC.
Conclusion
Sharing a printer on Windows 11 can feel like a daunting task due to the hidden menus and security layers. However, the convenience is worth the effort. By ensuring your network is set to Private, configuring the sharing printer windows 11 settings correctly, and knowing how to bypass the Driver Download blocks, you can create a seamless printing environment for your home or office.
No more emailing documents to yourself just to print them from the “main computer.” With a few clicks, you can print that report from the comfort of your couch.
ALSO READ:
- How to Connect HP Printer to New WiFi Network Without Reinstalling
- How to Fix HP Printer Not Showing Up on Network
- How to Fix Windows 11 Printer Spooler Error
- Fix HP Printer Connection Issues After Upgrading to macOS Sonoma
- How to Delete Printer Driver In Windows 11
- How to Install Windows 11 Printer Drivers Easily


