- CAB files are compressed files used for organizing installation files in Windows 11.
- Developers use CAB files for app installers, and Microsoft distributes standalone updates using these files.
- To install a CAB file on Windows 11, use the DISM command-line tool in Command Prompt, following specific commands to add the package and restart the PC if necessary.
CAB file, also known as the cabinet file, is usually a single file with a .cab extension. These files contain several compressed files as a file library and are used to organize the installation files to be co-ed to the user’s system. A single compressed file can be spread over different CAB files. In this post, we will learn how to install a CAB file in Windows 11.
Developers often use these cabinet files to build app installers, and Microsoft also uses these files sometimes to distribute stand-alone updates for Windows. If you also want to install a CAB file in Windows 11, you can use the DISM command-line tool.
Installing the CAB file on Windows 11
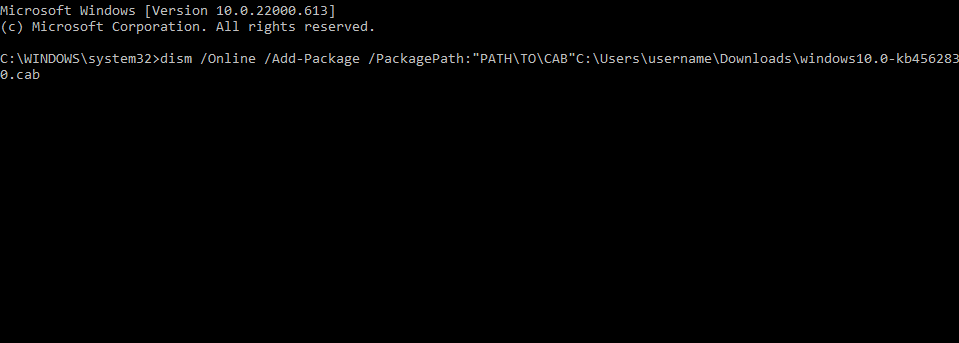
Here is how you can install a .cab file using Command Prompt:
- Click on Start, search for Command Prompt and select Run as Administrator.
- Type in the following command to install the .cab file and hit enter.
dism /Online /Add-Package /PackagePath:"PATH\TO\CAB"
- Once done, the package will be installed on your device. If it was an update, it is recommended that you restart your PC.
Wrapping Up
This was how you can install CAB file on Windows 11. We hope that the steps mentioned above were able to help you. If you still have any issues feel free to drop a comment below.
ALSO READ:


