- Taking a screenshot on a Dell laptop is quick and easy, and this guide provides different methods to do so depending on the Windows operating system you are using
- For Windows 8 and 10 laptops, use the Print Screen key along with the Windows key to capture and save the screenshot automatically
- Snipping Tool is a built-in application for capturing custom screenshots, and third-party applications like Snagit can also be used for this purpose on Dell laptops.
You may find yourself in situations where you need to capture what is displayed on your Dell laptop’s screen while using it. Taking a screenshot is one of the most effective solutions, and it only takes a minute to do so. If you’re not familiar with how to take a screenshot on a Dell laptop, read this guide to learn how.
How to Screenshot on Dell Laptop
Method 1: On a Windows 8 and 10 laptop.
If your Dell laptop is using the Windows 8 or Windows 10 operating system, follow the steps listed below to take a screenshot of it.
Step 1- Locate the ‘Print Screen‘ key on your keyboard. They are labeled differently on different models. Some of the most common abbreviations of this key are ‘PrtSc‘ and ‘Prnt Scr‘.
Then, locate the Windows key, which has a Windows logo on it. It is found in the bottom row of your keyboard.
Step 2- Once you have located both the keys, press them simultaneously on your keyboard. The screen of your laptop will dim for a second to indicate that a screenshot has been taken.
If you do not notice any such indication, repeat this step firmly.
Your captured screenshots will be automatically saved in C:\Users\[YOUR COMPUTER’S NAME]\Pictures\Screenshots this location. You can go to this location to access all your screenshots.
ALSO READ: Dell Warranty Check: How to Check Dell Laptop Warranty Status
Method 2: On Windows XP, Vista, and 7 laptops.
If your Dell laptop is using the Windows 8 or Windows 10 operating system, follow the steps listed below to take a screenshot of it.
Step 1- Locate the ‘Print Screen‘ key on your keyboard. Some of the Dell laptop models have the ‘PrtSc‘ or ‘Prnt Scr‘ abbreviation on them.

Step 2- Press the Print Screen key on your keyboard. A screenshot of your laptop will be laptop will be saved on the clipboard.
Step 3- Launch ‘Paint‘ on your laptop and then, press the Windows key and V simultaneously on your keyboard. This command will paste the screenshot in Paint.
You can edit the screenshot using the features provided by Paint, before going ahead and saving it on your laptop.
Step 4- Click on the ‘File‘ button on the top left corner of Paint. Then, click on ‘Save as‘ and then, follow the on-screen instructions to save the screenshot on your Dell laptop.
Method 3: Using Snipping Tool.
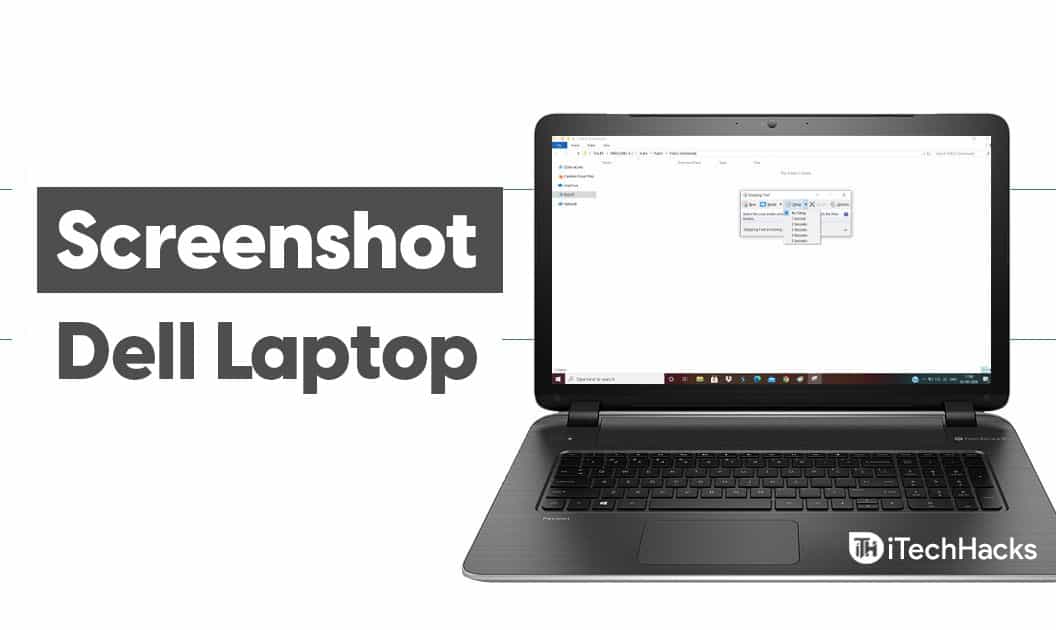
Snipping Tool is an application that can be used to capture a custom screenshot on any Dell laptop. This application is available on every Dell laptop by default.
Follow the steps listed below to use the Snipping Tool for capturing screenshots on your Dell laptop.
Note: Make sure that you are already on the screen which you wish to capture, before launching Snipping Tool on your PC.
Step 1- Press the Windows Key and type ‘snipping tool‘ in the search box.
Step 2- Double-click on the Snipping Tool icon to launch it on your Dell laptop.
Step 3- Click on the downward arrow next to the ‘New‘ option. A drop-down box will appear on your screen with a list of all the screenshot shape options.

1. Free-form Snip- This option allows users to draw any shape with their mouse. The area inside that shape will be captured for the screenshot.
2. Rectangular Snip- This option provides the default shape. It allows users to draw a rectangle of any proportion as the screenshot.
3. Window Snip- This option allows users to capture the screenshot of a specific window. The users can be select the window which they wish to capture, out of the other windows.
4. Full-screen Snip- This option allows users to take screenshots of the entire screen. But, without the Snipping Tool window so that nothing gets hidden behind it.
Step 4- Select a shape that is most preferable and then, clicks on the ‘New‘ option. Your mouse will turn into a crosshair.
Step 5- Click and drag your mouse across the screen. Then, release the mouse to select the part of your screen to be captured in the screenshot.
However, if you have selected the ‘Full-screen Snip‘ then, a screenshot of your screen will be captured automatically.
Step 6- Now, click on the ‘File‘ option on the Snipping Tool window and then, click on the ‘Save as‘ option to save the screenshot.
Then, follow the on-screen instructions to successfully store the screenshot you have just captured in your desired location.
ALSO READ: How To Take a Screenshot On HP Laptop
Method 4: Using Third-party applications.
There are many applications available on the internet for free, which can capture, edit, and share screenshots on your Dell laptop.
Snagit and Markup Hero are some of the many such third-party applications which you can use on your Dell laptop to capture screenshots.
Conclusion:
If you have a Dell laptop and unable to capture a screenshot, follow the methods listed above to do so! However, you must determine the operating system of your Dell laptop before you start executing the methods listed above. If you know of any such method to capture screenshots on a Dell laptop, then do let us know about it in the comments section below.


