- Windows 11 PC not going into sleep mode is a common issue affecting users.
- Troubleshooting methods include restarting the device, checking mouse settings, resetting power plans, running power troubleshooter, checking network adapter settings, updating Windows, and resetting the device.
- Additional steps such as disabling third-party antivirus, hybrid mode, and checking power requests using Command Prompt can also help resolve the issue.
Windows 11 is the latest update to the Windows OS by Microsoft. But despite being the newest update, it still troubles its users with petty issues sometimes. Recently many people have complained that their Windows 11 PC won’t go into sleep mode. If you’re also facing this issue, keep reading to know how you can fix it.
The sleep mode is among the most important features of Windows. This mode puts the Windows 11 device in a low-power state by turning off the display. You can then resume from exactly where you left off. Windows PC not going into sleep mode is a very common issue users face these days. Below we have compiled a list of some troubleshooting methods to solve this problem.
Fix Windows 11 PC Won’t Go Into Sleep Mode
You can try these troubleshooting methods mentioned below if your Windows 11 PC doesn’t go to Sleep mode.
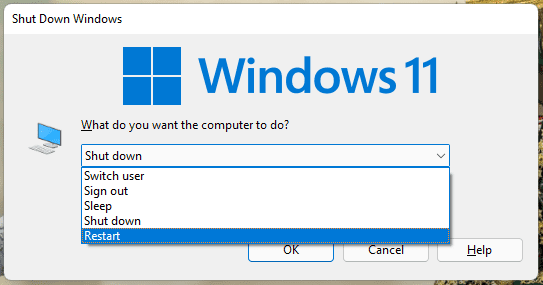
Restart Your Device
Before starting with different troubleshooting methods to fix this issue, restart your device. Restarting your device can help get rid of small bugs and errors.
Check if you have a Sensitive Mouse
Your PC may not go into sleep mode if you have a sensitive mouse, as the vibration can wake up your PC. Turn off your mouse after you put your PC into sleep mode. You can also do this by following the steps mentioned below:
- Click on Start and search for Device Manager.
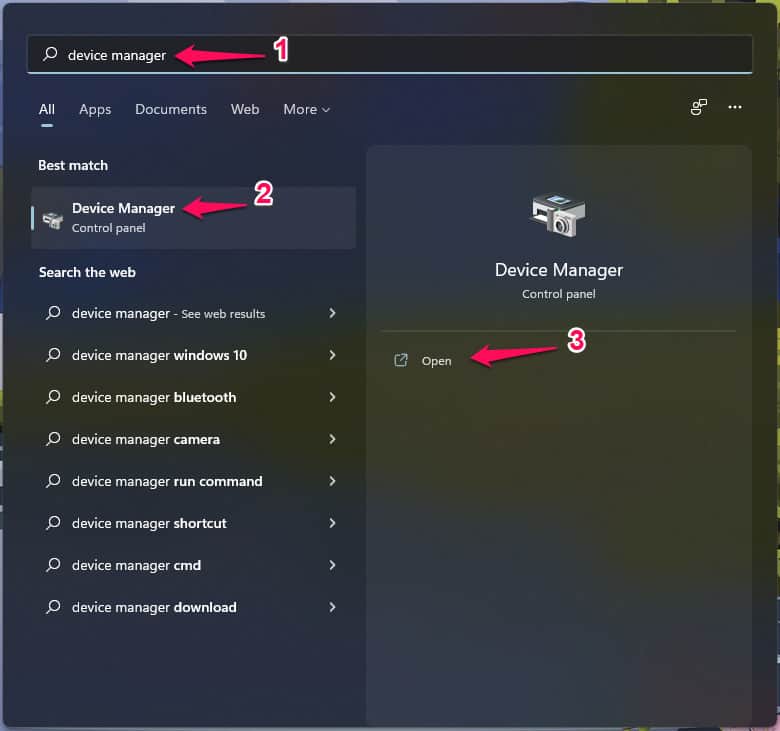
- Click on Mice and Other Pointing Devices.
- Now right click on Mouse.

- Select Properties > Power Management Tab and uncheck Allow this device to wake the computer.
- Then click Ok.
Reset Power Plans to Default
You can fix this problem by correctly configuring Windows Power Plan settings. Here is how you can do it:
- Open Control Panel.
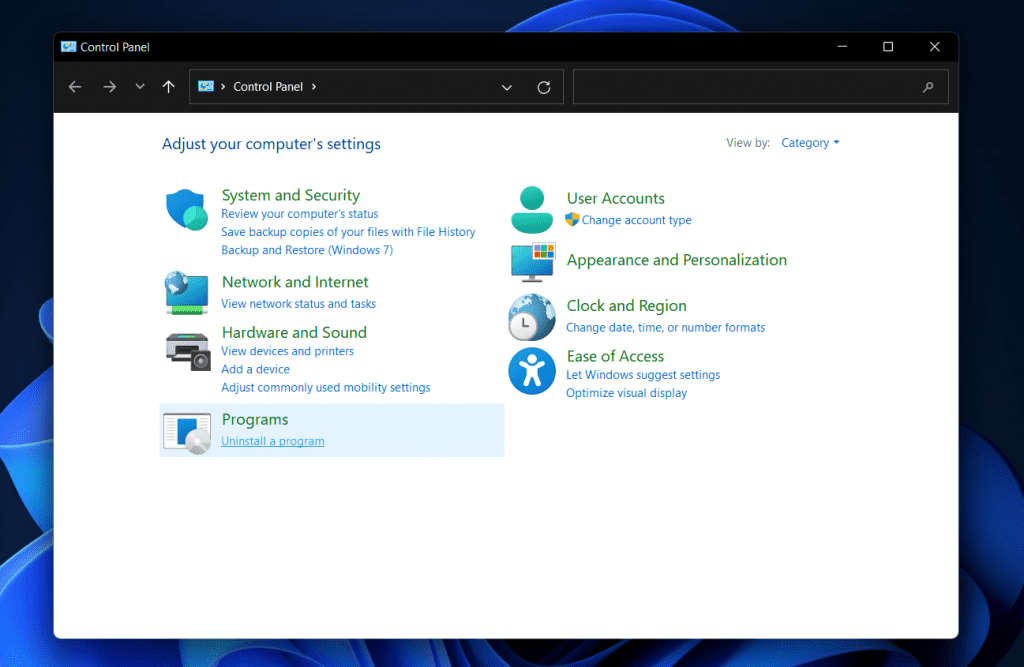
- Click on Hardware and Sound > Power Options > Edit Plan Settings > Change Advanced Power Settings.
- Click on Restore Plan Defaults.

Run Power Troubleshooter
Diagnose and solve the problem using Windows troubleshooter. It is a default program in Windows 11 that automatically scans and fixes bugs and errors, making the Sleep option function properly. Here is how you can do it:
- Click on Start and open Settings.
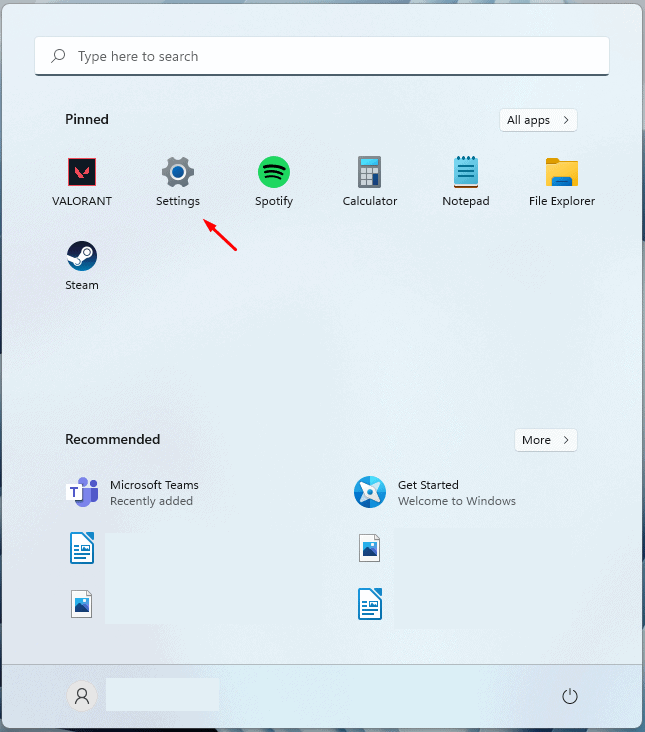
- Click on System and navigate down to Troubleshoot.
- Select Other Troubleshooters.
- Click on Run beside Power.

Check Network Adaptor Settings
Here is how you can do it:
- Open Device Manager.
- Double click on Network Adapters.
- Right-click on each adapter one by one.
- Navigate to Power Management and uncheck Allow this device to wake the computer.

Disable Third-Party Antivirus
Third-party antivirus software installed on your device can also be responsible for Windows 11 PC won’t go into sleep mode. Disable the antivirus software and check if this error is solved. If disabling the software doesn’t work, uninstall the antivirus software temporally and check for the same.
Disable Hybrid Mode
Disabling hybrid mode on your Windows 11 PC can sometimes fix this issue. Here is how you can do it:
- Open Control Panel.
- Click on Hardware and Sound > Power Options > Edit Plan Settings > Change Advanced Power Settings.
- Now tap on Sleep to view the expanded set of options.
- Select Allow hybrid sleep and turn it off.

- Now scroll down in the same window and click on Multimedia Settings.
- Under When sharing media, select Allow the computer to sleep for both On Battery and Plugged in options.

- Click on Ok to save the changes.
Check for Power Requests Manually using Command Prompt
Using command prompt, you can check if applications or systems send power requests. These power requests can keep waking up your device from sleep mode. Here is how you can do it:
- Click on Start and search for Command Prompt.
- Click on the Run as Administrator.
- Type the following command and press Enter.
powercfg/requests

- Restart your device once the procedure is complete and check if your device goes into Sleep mode or not.
Update Your Windows
If you haven’t updated your device for a long time, you might face this error. Update to the latest version of Windows 11 and check if the error is fixed.
Reset Your Device
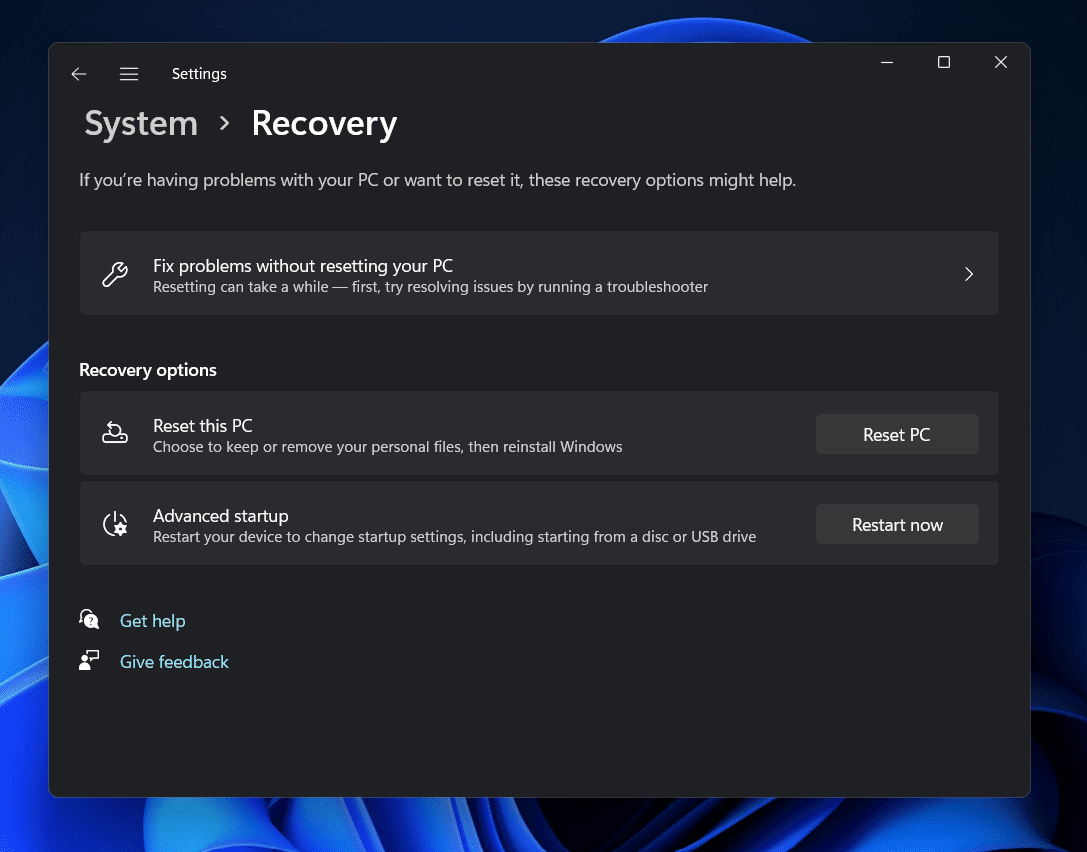
If none of those mentioned above steps solved your problem reset your Windows 11 device. Sometimes there is a problem with Windows core files that you cannot verify manually. Follow these steps to reset your device:
- Click on Start and go to Settings.
- Next, click on Windows Update and select Advanced Options in the right pane.
- Scroll down and click on Recovery.
- Finally, click on Reset this PC and follow the instructions on the screen.
FAQs
Why is Sleep mode not working in Windows 11?
The sleep mode is among the most important features of Windows. This mode puts the Windows 11 device in a low power state by turning off the display. Check if the sleep timer is set properly on your Windows 11 device or not.
How do I enable sleep mode in Windows 11?
The sleep mode is among the most important features of Windows. This mode puts the Windows 11 device in a low power state by turning off the display. Click on Start > Settings > System > Power & Battery > Screen and Sleep to adjust power and sleep settings in Windows 11.
Why won’t my PC go into sleep mode?
There are many reasons why your PC won’t go into sleep mode. Read the troubleshooting methods mentioned above to get rid of this issue.
Wrapping Up
This was all about how to fix Windows 11 PC won’t go into sleep mode. It’s a very common problem Windows 11 users face. We hope that the troubleshooting methods mentioned above were able to fix this issue. Still, if you have any problems, don’t hesitate to drop a comment below.
ALSO READ:

