- Ntoskrnl.exe BSOD error on Windows 11 is a common issue caused by memory, drivers, or hardware problems, leading to sudden crashes and restarts.
- Troubleshooting methods like checking RAM for errors, running SFC and DISM scans, checking Windows Update service, and running CHKDSK can help resolve the error.
- Additional steps like cleaning boot, disabling overclocking, and resetting the device can also be effective in fixing the ntoskrnl.exe BSOD error on Windows 11.
Every Windows user must have experienced the Blue Screen Of Death (BSOD) error. Most times, this error is caused due to ntoskrnl.exe. This error appears out of nowhere and requires a sudden restart. It could be annoying as you might have some important work you haven’t saved yet, and it could vanish once this error appears. If you also face this issue, continue with this guide to fix the ntoskrnl.exe BSOD error on Windows 11.
It is a very common error that Windows 10 users also face. This issue mainly occurs due to problems with memory or defective drivers. However, it could also appear due to other hardware or software issues. Below we have compiled a list of some troubleshooting methods that may help you fix this issue.
Fix NTOSKRNL.EXE BSOD Error Windows 11
ntoskrnl.exe is a system file, and if the file is damaged in any way, it could make your Windows 11 PC crash. Follow the troubleshooting methods mentioned below to fix this issue:
Check your Devices RAM for Errors
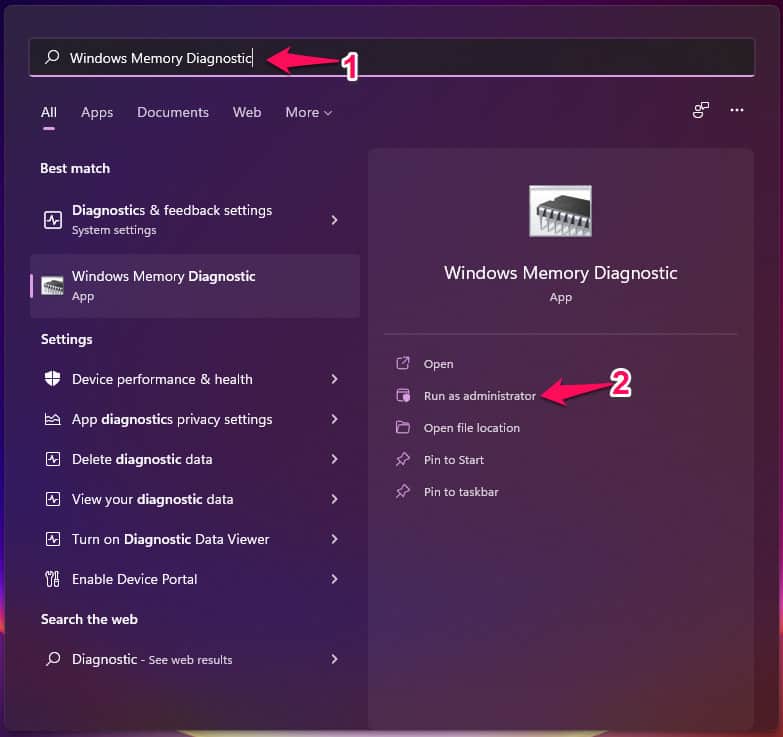
Before starting with different troubleshooting methods to fix this issue, check if your system’s RAM is working properly. Your system’s RAM may have some errors due to which your face this issue. Run the Windows Memory Diagnostic tool to ensure the RAM is working correctly. Here is have you can do it:
- Click on Start and search for Windows Memory Diagnostic and open it.
- Click on Restart now and check for problems (recommended) option. Make sure you save your work and close any open programs before restarting your device.
- Once you click on the option, your device will restart and boot into the Windows Memory Diagnostic tool and automatically search for any problems associated with RAM.
- If any errors are detected, try reseating your RAM sticks if possible. If not, take your device to its manufacturer’s service center.
Run SFC Scan
Corrupted files on your Windows 11 device can also be responsible for this issue. Run SFC or System File Checker scan to get rid of these corrupted files. Here is how you can do it:
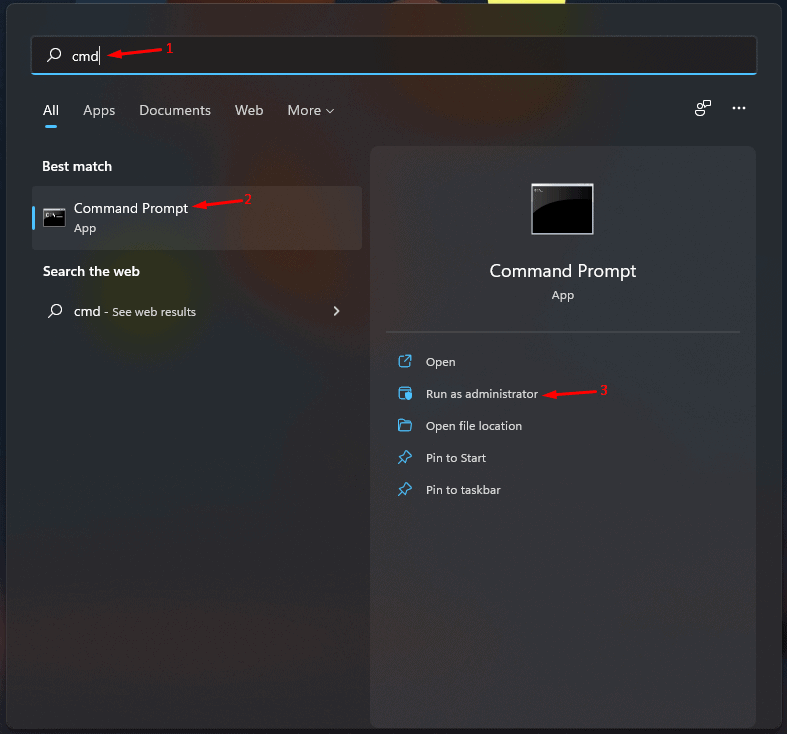
- Click on Start and search for Command Prompt.
- Click on Run as Administrator.
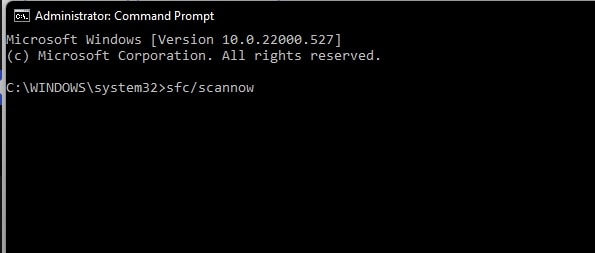
- Type the following command and press Enter.
sfc/scannow
Run a DISM Scan
System image corruptions are also known to cause this issue in Windows devices. Running a DISM Scan will find and repair system image corruptions. Follow these steps to get the work done:
- Click on Start and search for Command Prompt.
- Click on Run as Administrator.
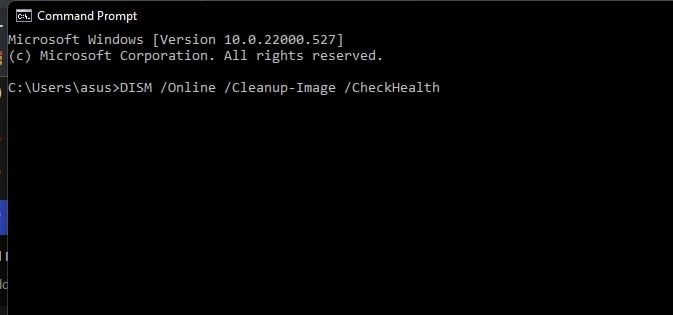
- Type the following command one by one and press Enter.
DISM /Online /Cleanup-Image /CheckHealth
DISM /Online /Cleanup-Image /ScanHealth
DISM /Online /Cleanup-Image /RestoreHealth
Check if Windows Update Service is Disabled
Windows won’t update to its latest version if you turn off the Windows Update service on your System. Sometimes, Windows automatically disables this feature without any user interaction and this could lead to the BSOD error. Here is how you can check ok if the service is disabled or not:
- Press Windows key + R to open Run.
- Type services.msc and press Enter.
- Scroll down and search for Windows Update and check if it is running or not.
- If the option is disabled, right-click on Windows Update and select Start.
Run CHKDSK Scan
CHKDSK is a utility by Windows that scans and repairs system disk errors. It confirms if the file’s size, location, and other information matches the data on the hard disk. It also checks if any parts of the hard drive are corrupted, which may cause the Blue Screen of Death issue. Here is how you can run a CHKDSK Scan:
- Click on Start and search for Command Prompt.
- Click on Run as Administrator.
- Type the following command and press Enter.
CHKDSK C:/f/r/x
- The command won’t start running as your device’s root drive is already in use. Instead, it will ask you to begin scanning when you restart your PC.
- Type Y, press Enter and then reboot Windows.
- The CHKDSK command will now start doing its work automatically. Wait for the procedure to complete.
Clean Boot Your Device
Third-party applications installed on your device can also cause the ntoskrnl.exe issue on your Windows device. Clean boot your PC to restrict all third-party applications. Here is how you can do it:
- Click on Start, search for System Configuration and open it.
- Navigate to the General tab.
- Check the Selective Startup option and the Load System Services Option under it.
- Then navigate to the Services tab and check the option Hide all Microsoft services.
- Then click on Disable all at the bottom right corner and hit Apply then Ok to save changes.
Disable Overclocking
This issue could also trouble you if you have overclocked your device’s GPU. Performance-enhancing tools like these put your device under load, trying to run them above their recommended load. Doing so can create many problems with your device. Disable the overclocking software and check if the ntoskrnl.exe BSOD error on Windows 11 is fixed.
Reset your Device
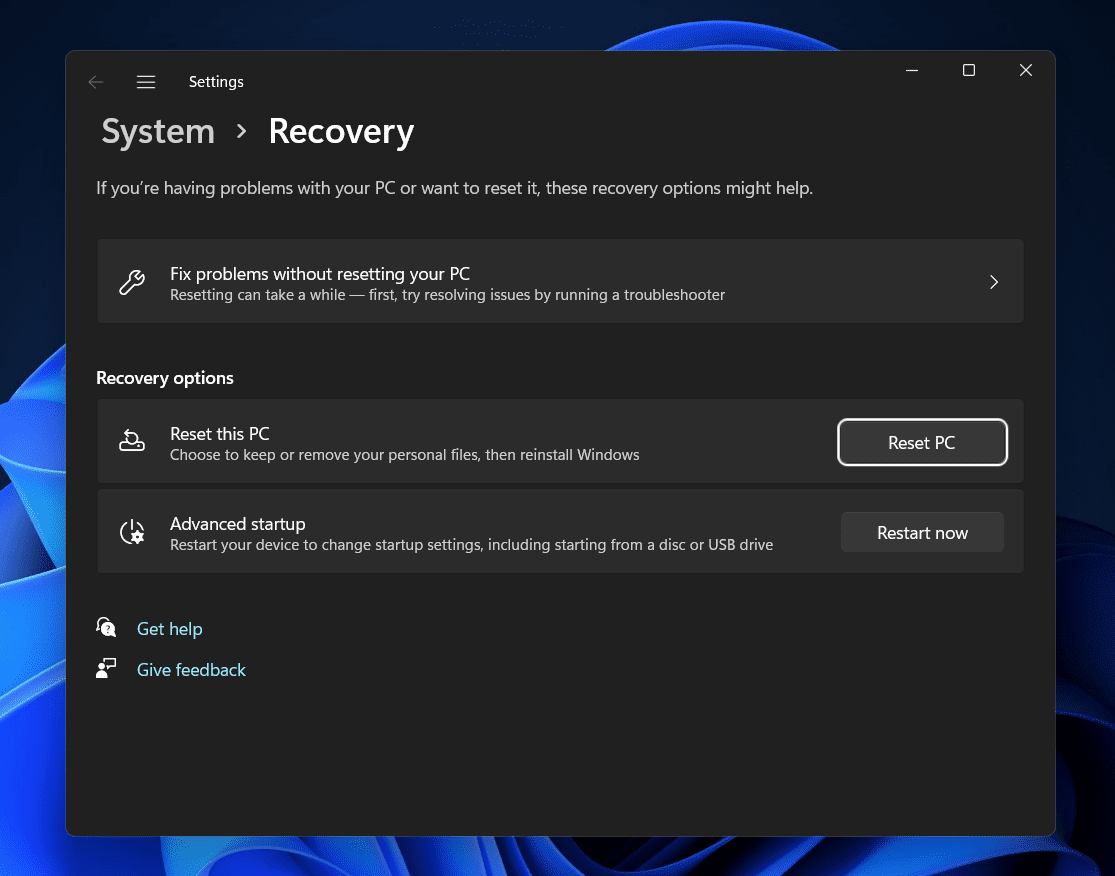
If none of the above mention steps were able to help you, the last thing you can try is resetting your device. Sometimes the problem lies within the system’s core files that cannot be resolved manually. Here is how you can do it:
- Click on Start and go to Settings.
- Next, click on Windows Update and select Advanced Options in the right pane.
- Scroll down and click on Recovery.
- Finally, click on Reset this PC and follow the instructions on the screen.
Wrapping Up
This was how you can fix the ntoskrnl.exe BSOD error on Windows 11. We hope that the troubleshooting methods mentioned above were able to help you. If you still have any issues, feel free to drop a comment below or contact Microsoft Support.
RELATED GUIDES:


