- The code 43 error in Windows is a device manager error caused by various factors such as outdated drivers or faulty USB devices, leading to BSOD.
- Restarting the computer can help solve the code 43 error by ending the session and dumping temporary files, allowing software to communicate with hardware.
- Using the Hardware and Devices Troubleshooter in Windows 11 can identify core problems with connected devices, leading to effective troubleshooting.
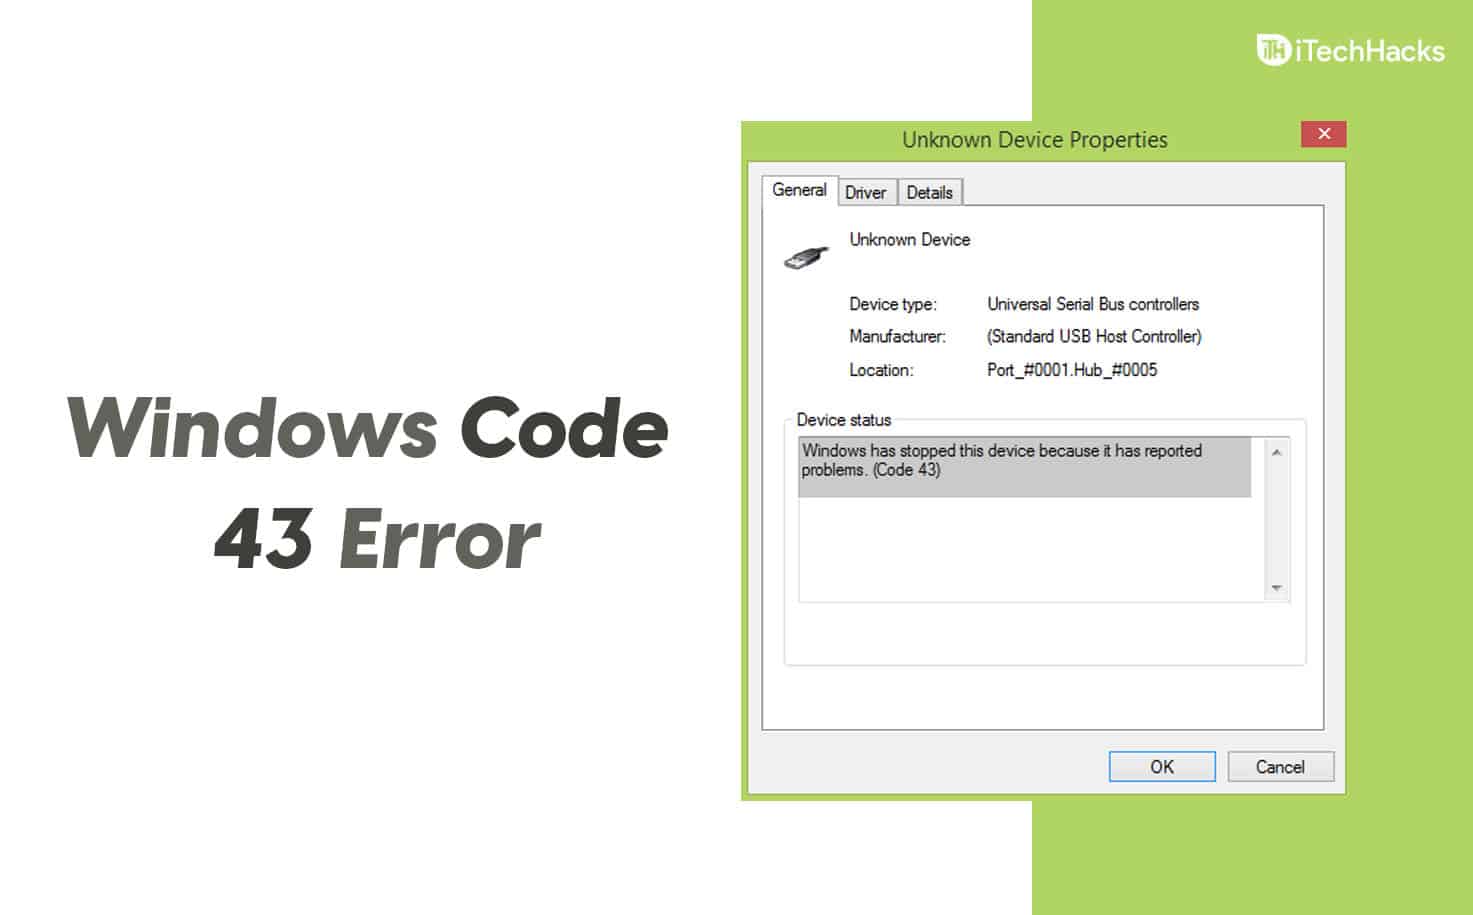
Have you seen the error message: “Windows has stopped this device because it has reported problems. (Code 43)” pop up on your screen? Don’t worry you don’t need a certified technician to fix it. This common Device Manager error can usually be resolved with a few practical steps. In this guide, we’ve listed updated and working solutions for 2026 that apply to Windows 11 and earlier versions, so you can get your device up and running again without the headache.
What Is Code 43 Error In Windows?
The “Code 43” error is a Device Manager error, where it has been reported that a device is not working properly. The error occurs because the system cannot detect connected devices in the computer. Errors like these are usually due to outdated drivers, faulty USB devices, or devices that haven’t been configured correctly, or true hardware failure. It is one of the contributing reasons for BSOD (Blue Screen of Death).
Windows Has Stopped This Device Because It Has Reported Problems. (Code 43)
We will explore the solutions and find out whether this is a software-level problem or if it’s an indication of failing hardware.
Restart your Computer
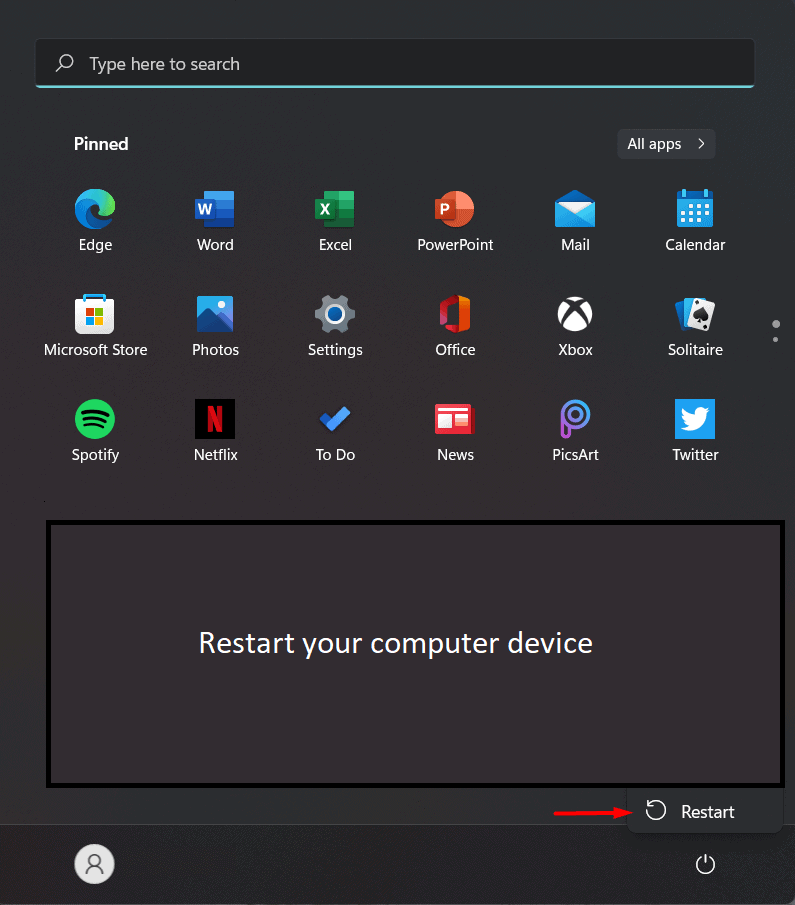
A quick reboot does wonders in your scenario because it will end the session and dump temporary files in the machine. You should take leverage of the restart and find out, whether if it will solve the problem or not. Code 43 indicates the software is not able to communicate with the hardware, which is resulting in the error. Let me show you how you can reboot Windows 11 PC quickly.
- Click on the “Windows” icon to get started.
- Click on the power icon to view more options.
- Select the “Restart” option, and it will appear at the bottom-right of the Start menu.
If you have restarted the machine multiple times and haven’t resolved the Code 43 error permanently, then you can explore other solutions.
Use Hardware and Devices Troubleshooter
Microsoft made some changes in recent Windows 11 builds, and the traditional method of accessing the “Hardware and Devices Troubleshooter” from Settings is no longer available directly in the user interface. But don’t worry—it’s still there, just hidden. You can still run it with a simple command.
- Press Windows + R on your keyboard to open the Run dialog.
- Type the following command and press Enter:
msdt.exe -id DeviceDiagnostic
- The Hardware and Devices Troubleshooter will launch in a new window.
- Click Next and let it run a complete scan to detect any hardware or device issues.
Adjust Power Management
Microsoft developers have worked on the power management algorithms over the years, and they have tweaked the Windows to limit the connected device’s energy. Let me show you how you can turn off USB devices automatically in Windows 11.
- Click on the “Windows” icon to get started.

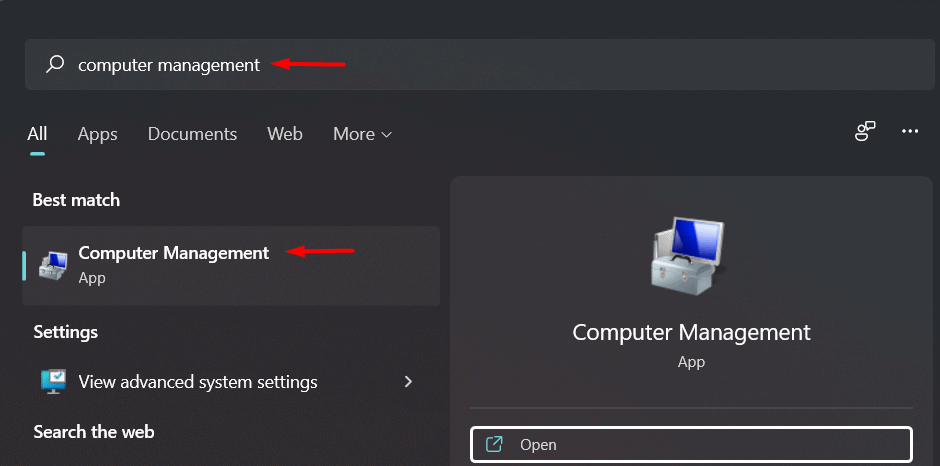
- Type “Computer Management” in the search bar, then press “Enter” on your keyboard.
- Click on “Device Manager” then scroll down and expand “Universal Serial Bus Controllers” to view “Generic USB Hub”.
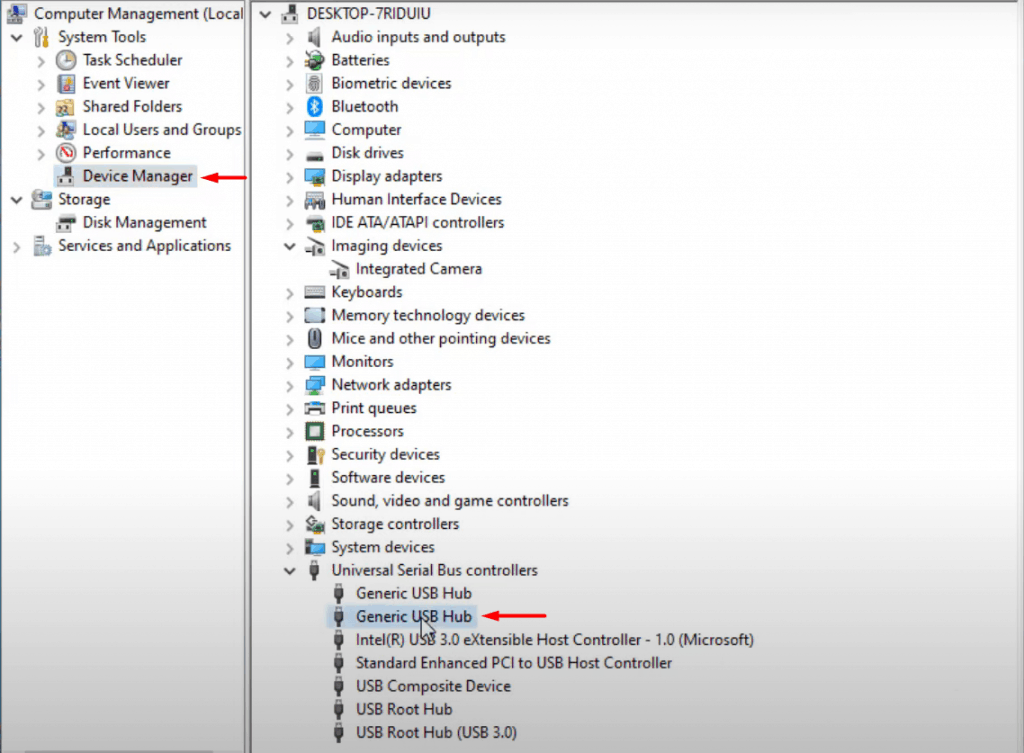
- Right-click on “Generic USB Hub” then click on “Properties”.

- Choose “Power Management” then deselect the “Allow the computer to turn off this device to save power” and then click on “OK”.
Now, you can implement the same process in the rest of the Generic USB Hubs. You can always revert the changes by following the same method, and no harm will come from making applying the solution.
Disable USB Selective Suspend Settings in Windows 11
Windows 11 is inspired by the earlier versions, and you have the advanced feature to suspend USB devices. Windows will disable the USB devices that are inactive for more than 3 MS. Meanwhile, other USB ports will be functional and won’t interfere with other USB ports.
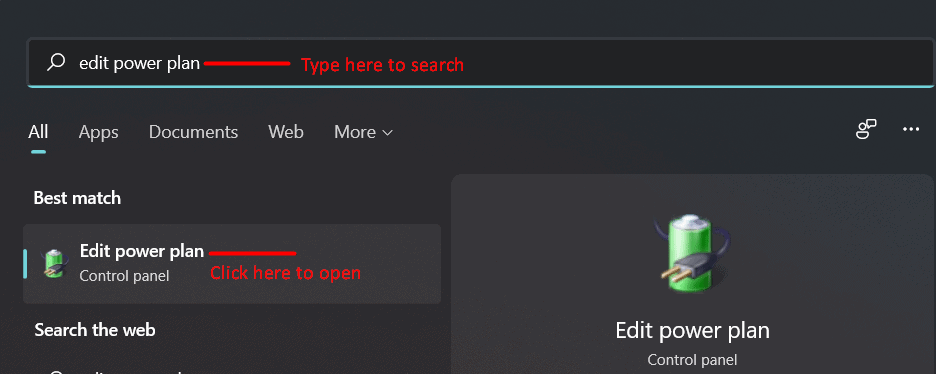
- Click on the “Windows” icon to get started.
- Type “Edit power plan” in the search bar, then press “Enter” to open it.
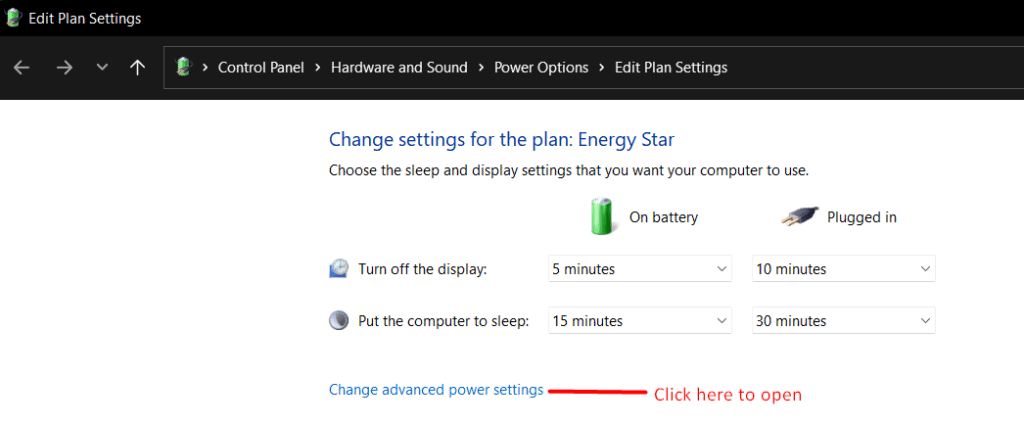
- Click on “Change advanced power settings” to continue.
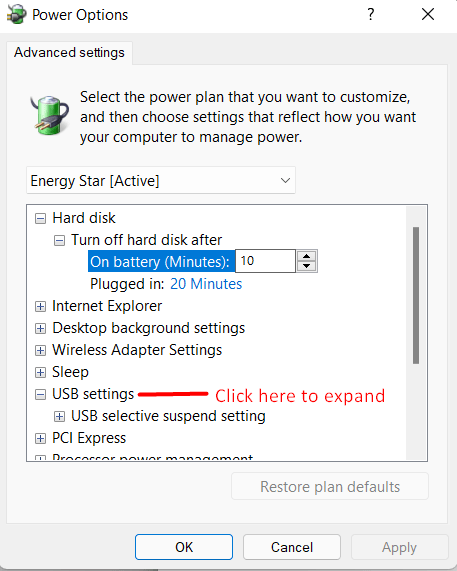
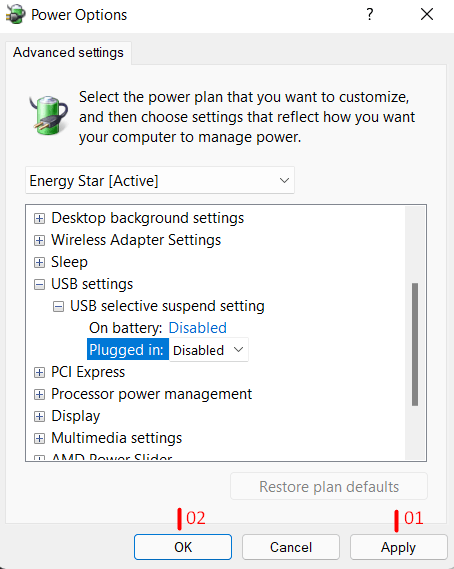
- Click to expand “USB settings”.
- Click and expand “USB selective suspend setting”.
A. Choose “Disabled” in the “On battery” option.
B. Choose “Disabled” in the “Plugged in” option.
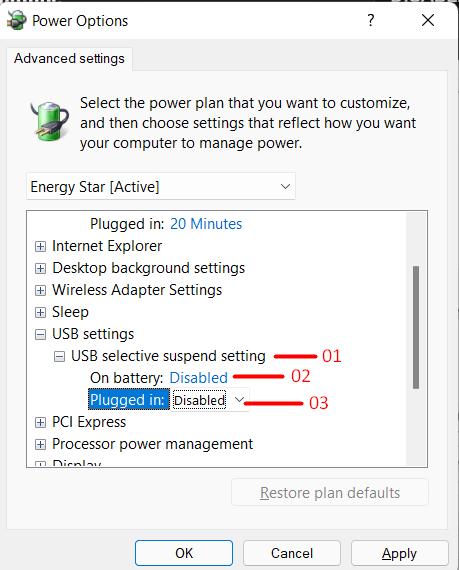
- Click “Apply” and click on “OK”.
Do not worry about the non-working USB devices because Windows 11 will manage them efficiently. You can always revert the changes made in the battery section, and it is worth trying the setting to resolve the Code 43 error.
Uninstall and Reinstall the Problematic Device
Sometimes the best way to fix a misbehaving device is to give it a fresh start. Instead of just disabling and re-enabling the device, uninstalling it completely allows Windows to reload the correct drivers from scratch.
- Right-click on the Windows icon and choose Device Manager from the list.
- Find the device that’s showing the Code 43 error.
- Right-click on it and select Uninstall device.
- In the pop-up window, confirm the uninstallation by clicking Uninstall.
- Once done, restart your computer.
After reboot, Windows will automatically detect the missing hardware and reinstall the drivers for it. This method works especially well for USB controllers, external GPUs, and wireless adapters.
Use Event Viewer to Dig Deeper
If nothing else is helping and you want to understand what’s happening behind the scenes, you can use Event Viewer to spot what went wrong when the device stopped working.
- Press Windows + X and select Event Viewer.
- In the left panel, expand Windows Logs and click on System.
- On the right-hand side, click Filter Current Log.
- In the filter box, set the Event sources to
Kernel-PnPand click OK.
Look for events that happened around the time the Code 43 error appeared. This can tell you whether it was a hardware fault, driver crash, or power failure.
This method is more of a diagnostic tool, but it can point you in the right direction, especially if the same device keeps failing over and over.
RELATED GUIDES:
- How To Install Bluetooth Driver Windows 11
- How To Fix The Windows 11 DNS Server Unavailable Error
- How To Fix Windows Update Error 0x80070490 in Windows 11
- How to Setup & Enable Windows 11 Text-To-Speech Voice Typing
- Top 5 Ways to Fix Windows 11 23H2 Copilot Not Showing
Conclusion
Code 43 errors are still common in Windows 11 as of 2026, but they’re usually fixable if you can pinpoint the cause, whether it’s a faulty driver, power setting, or system corruption. Most issues can be resolved with the right combination of troubleshooting steps, and rarely require hardware replacement unless the device itself is failing. If the error keeps recurring, consider cleaning your system, checking the hardware physically, or doing a clean Windows install. Let us know in the comments which solution worked for you.
")

")


