- Many PCs may not meet the requirements to install Windows 11, preventing users from updating their systems.
- One way to bypass Windows 11 requirements is by making changes in the Registry Editor.
- Another method involves converting WIM to ESD using PowerISO to create a bootable USB drive for installing Windows 11.
So now that Windows 11 have been released for the public, many users will want to install it on their PC. However, the only thing that may prevent users from installing Windows 11 is the requirements set by Microsoft. These requirements may not be fulfilled by many PCs, and therefore, they may not be compatible with Windows 11. If you also tried installing Windows 11 on your PC but were not able to do so because your PC doesn’t meet the system requirements, then this article will help you with it.
Fix “This PC Doesn’t Currently Meet Windows 11 System Requirements” Error
In this article, we will be discussing how you can Bypass Windows 11 requirements, and install Windows 11 on your PC without any issue.
Bypass Windows 11 Requirements Using Registry Editor
You can make some changes to the Registry on your PC, and you will get bypassed Windows 11 requirements. Follow the steps given below to bypass Windows 11 requirements using Registry Editor-
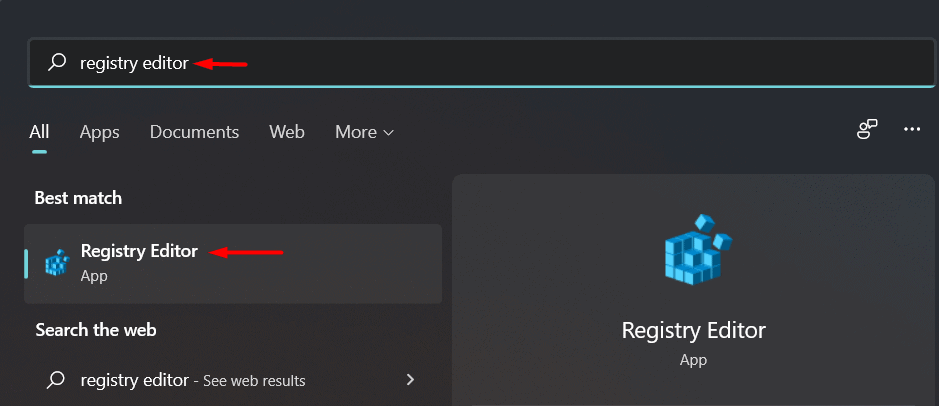
- Firstly, open the Run Dialog box by pressing the Windows + R key combo. In the Run dialog box, type Regedit and press Ctrl + Shift + Enter to open the Registry Editor on your PC. This will open the Registry Editor with administrative privileges.
- Now, head to the following location in the Registry Editor-
- Computer\HKEY_LOCAL_MACHINE\SYSTEM\Setup
- On the left sidebar, select Setup. Right-click on Setup and then click on New and then select Key.
- You will have to name the new key you created as LabConfig.
- After doing so, right-click on LabConfig on the left sidebar. Next, click on New and then Dword (32-bit).

- Name the new DWORD as BypassTPMCheck.
- On the right side, double-click on the BypassTPMCheck to edit it.
- Change the Base of the Dword to Hexadecimal and change the value data to 1. After you are done, click on OK.
- Next, right-click on LabConfig and then click on New and then select Dword (32-bit) value.
- Rename the newly created Dword to BypassSecureBootCheck.
- Double-click on the new Dword, and change the Base to Hexadecimal and change the Value Data to 1.
- Again create a Dword inside the LabConfig. Rename the new Dword as BypassRAMCheck. Edit the Dword and set the base to Hexadecimal and also change its value to 1.
- Next, you will have to disable the CPU check. To do so, head to the following location-
- Computer\HKEY_LOCAL_MACHINE\SYSTEM\Setup\MoSetup
- On the right-side, double-click on the AllowUpgradesWithUnsupportedTPMOrCPU.
- Now set the Value Data to 1.
- After you are done with it, you can try installing Windows 11 without any issues.
Convert WIM To ESD Via PowerISO
Another way to bypass Windows 11 requirements is by converting WIM to ESD when converting bootable media using PowerISO. Follow the steps given below to be able to convert WIM to ESD via PowerISO and then bypass Windows 11 requirements-
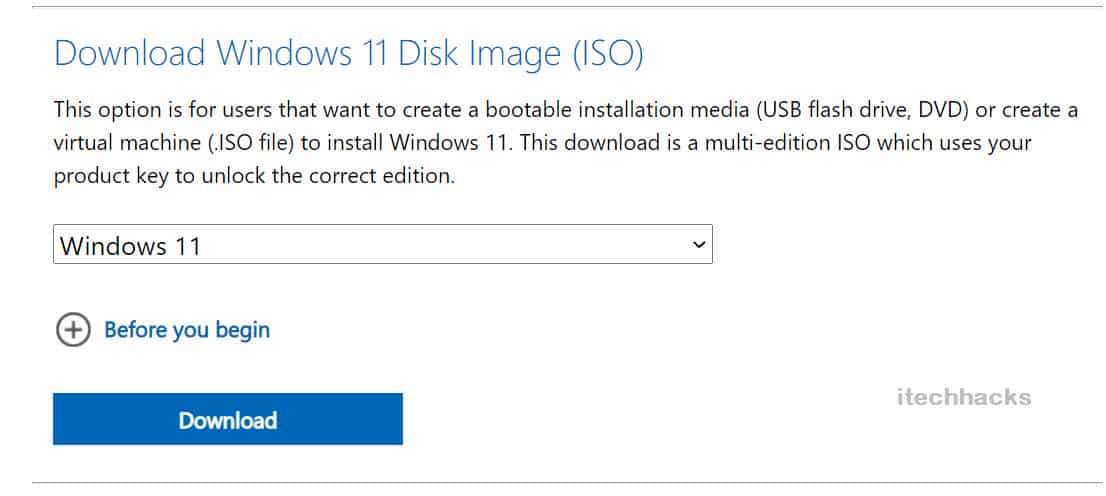
- Ensure you have the ISO to Windows 11 downloaded on your PC. If you do not have the ISO then you can download it from their official website.
- Next, download the PowerISO setup on your PC. You can head to their website through this link, and then download the PowerISO from there. You will see two options- 64-bit and 32-bit. Download either of the two depending on the architecture of your system. After you have downloaded the PowerISO application on your PC, install it on your system.
- Now run the PowerISO on your PC. If you are using the free version, then you will have to click on Continue Trial Version to use the free version without having to pay for the software.
- After you are done with this, insert the USB drive into your PC. Ensure the USB drive you are using has at least 8GB storage or more than that.
- Click on the Tools button from the ribbon at the top, and then click on Create Bootable USB Drive from the menu that opens up.
- Now, select the location of the Windows 11 image in the Image File section under the Select source. After this, select your USB drive under the Destination USB drive section.
- Once you are done with that, click on Start to start the process. Wait for the process to complete.
- After the process has been completed, close the current window.
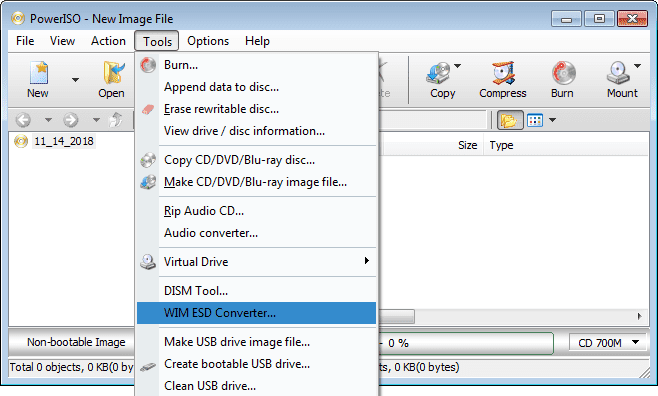
- Click on Tools from the ribbon bar in the PowerISO.
- In the menu that appears after you click on the Tools option, select WIM ESD Converter.
- Now, click on the folder icon that you see next to the Select source image file section. Head to the Windows 11(bootable USB) and in it select install.wim. Click on Open once you are done with it.
- Click on Convert to start the process. Confirm converting WIM to ESD and also wait for the process to complete.
After the process has been completed, you will be able to boot to Windows 11 using the bootable USB drive and install it on your PC.
RELATED GUIDES:
- Windows 11 Media Creation Tool: How To Install/Upgrade
- “This PC Can’t Run Windows 11” – How to Fix?
- Windows 11 Themes and Skins to Download
Conclusion
These were some ways to bypass Windows 11 requirements set by Microsoft. Following the above article, you will be able to get through all the requirements for the Windows 11 set by Microsoft, and you will be able to install Windows 11 on your PC without any PC.

")


")

