- Checking your hard drive and SSD health in Windows 11 is easy and helps prevent data loss from drive failures. You can use the Windows 11 Storage Settings to quickly view the health of NVMe SSDs with visual indicators of temperature and life expectancy.
- PowerShell provides a quick overview of all connected drives' health, letting you know if any drive is at risk. The CHKDSK utility in Command Prompt scans and repairs file system errors, helping keep your drives functioning properly.
- For detailed health insights, third-party tools like CrystalDiskInfo can show in-depth data, including S.M.A.R.T. metrics, which are useful for understanding the wear and evaluating the condition of your drives, ensuring your important files remain safe and accessible.
Your computer holds your most important files, but the physical drives storing them will not last forever. Sudden system crashes, agonizingly slow load times, or randomly corrupted files are terrifying signs that your storage drive might be on the verge of hardware failure. If you are experiencing these frustrating performance drops and need to check HDD and SSD health in Windows 11 before a total drive collapse leaves you stranded, you are in the right place.
Fortunately, Microsoft has deeply integrated storage monitoring tools right into the operating system, meaning you no longer have to guess when a drive is reaching the end of its lifespan. From quick visual menus to deeper command-line diagnostics, you can pull exact temperature readings, spare capacity, and life expectancy percentages in seconds. If you are ready to audit your system and secure your data before a catastrophic hardware failure occurs, keep reading.
How to Check HDD and SSD Health in Windows 11 (4 Easy Methods)
This guide will walk you through the most effective methods to test your drives and ensure your digital workspace remains safe.
1. Use the Windows 11 Storage Settings
When you want to check HDD and SSD health in Windows 11 quickly, the native Storage feature visually displays the status of modern NVMe SSDs directly in the settings menu. This is the fastest way to verify your drive’s remaining lifespan without typing any commands.
- Open the Settings app by pressing the Windows Key + I.
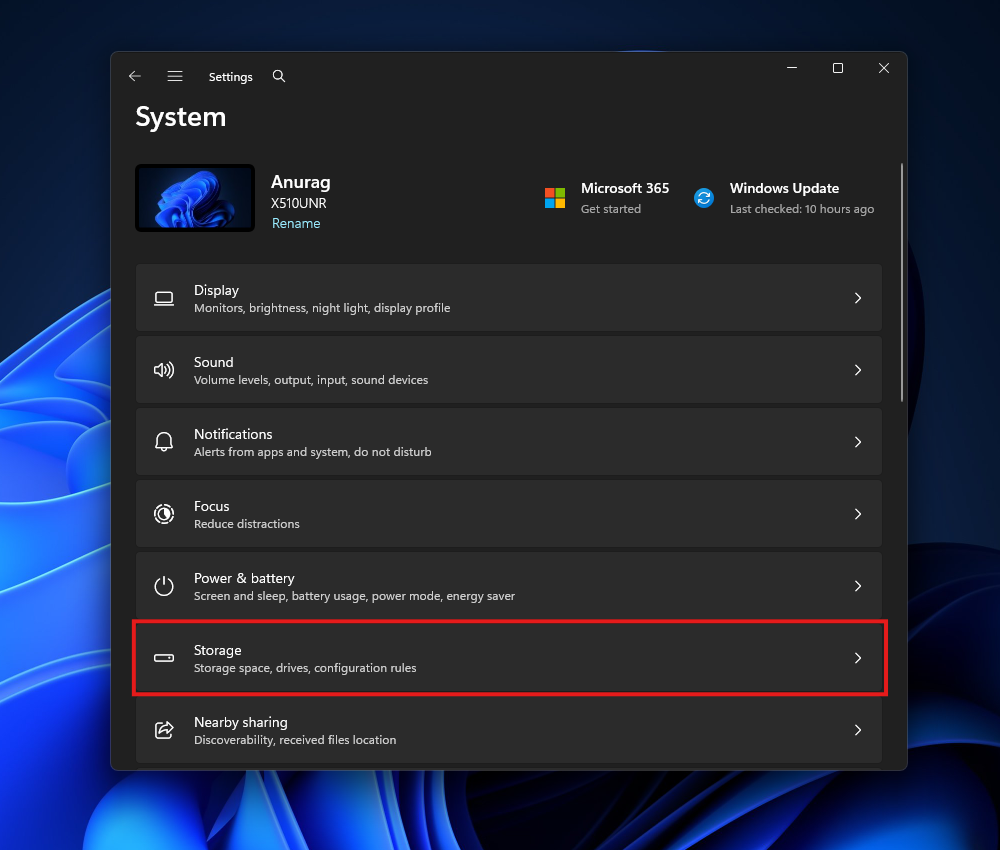
- Click on System in the left sidebar, then select Storage on the right.

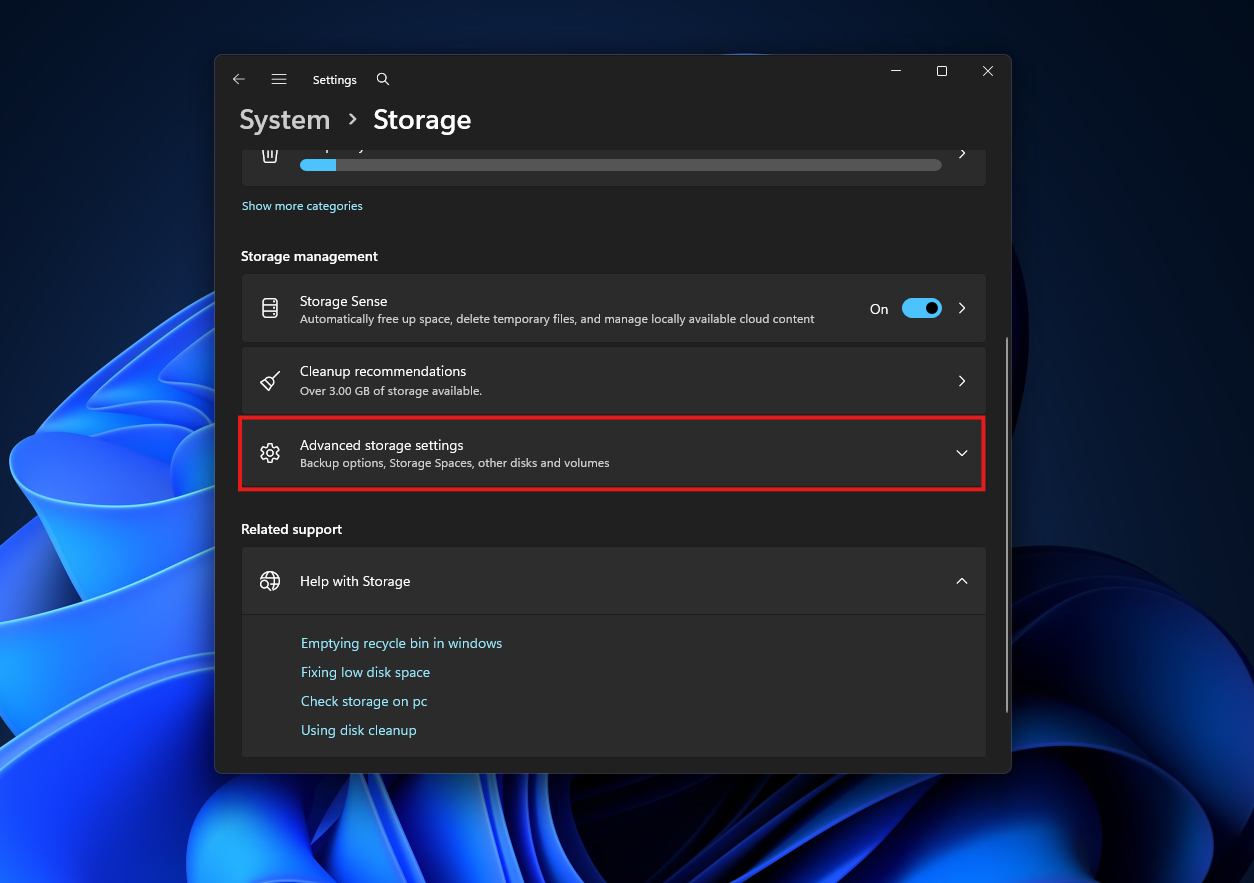
- Scroll down and click on Advanced storage settings to expand the menu.

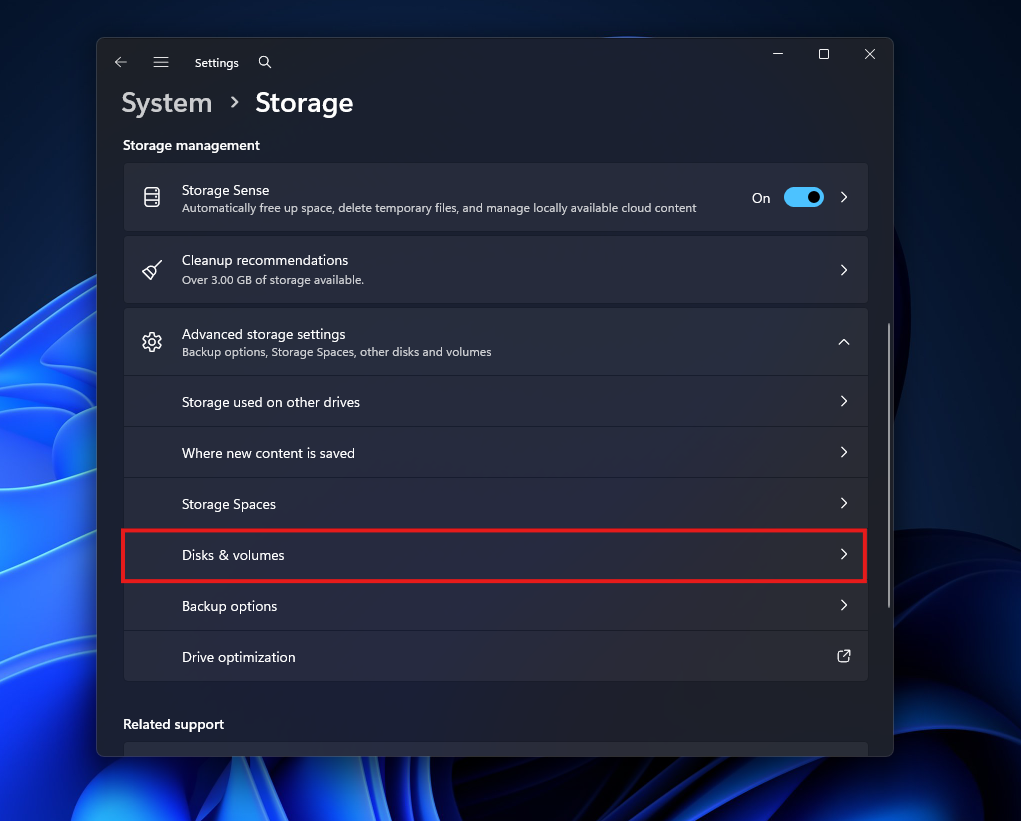
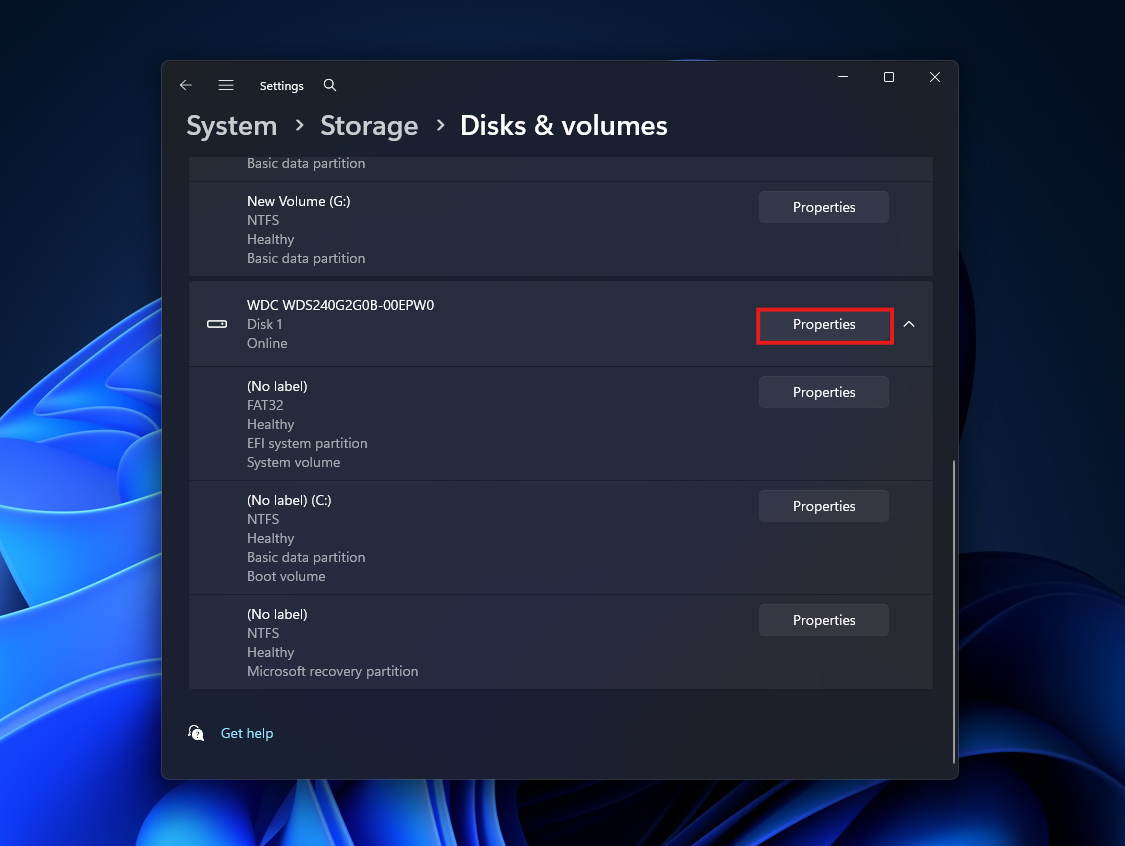
- Click on Disks & volumes.

- You will see a list of your connected drives. Click the Properties button next to the drive you want to audit.

- Scroll down to the Drive Health section. Here, you will see the drive’s current temperature, available spare capacity, and an Estimated Remaining Life percentage. If the text says “Healthy” and the life iters high, your drive is perfectly fine.
- Note: This detailed graphical view primarily supports NVMe SSDs. If you are checking an older mechanical HDD or a SATA SSD, this specific section might not appear, and you should use the methods below.
2. Use PowerShell for a System-Wide Overview
If you want an immediate, high-level overview of every single drive connected to your machine, PowerShell can query the native Windows Management Instrumentation to report the physical health status of your storage.
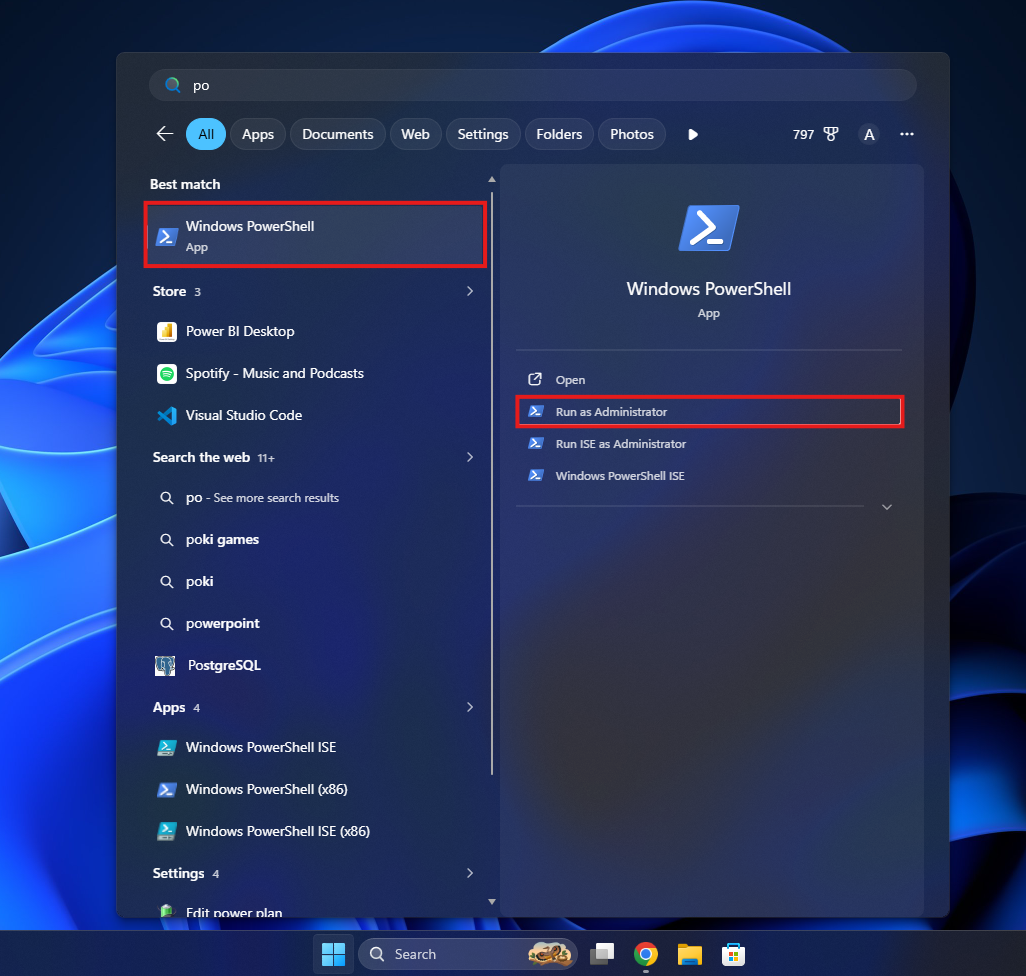
- Right-click the Start icon, search for Windows PowerShell.
- Select Windows PowerShell and click on Run as Administrator.

- Click Yes on the User Account Control prompt.
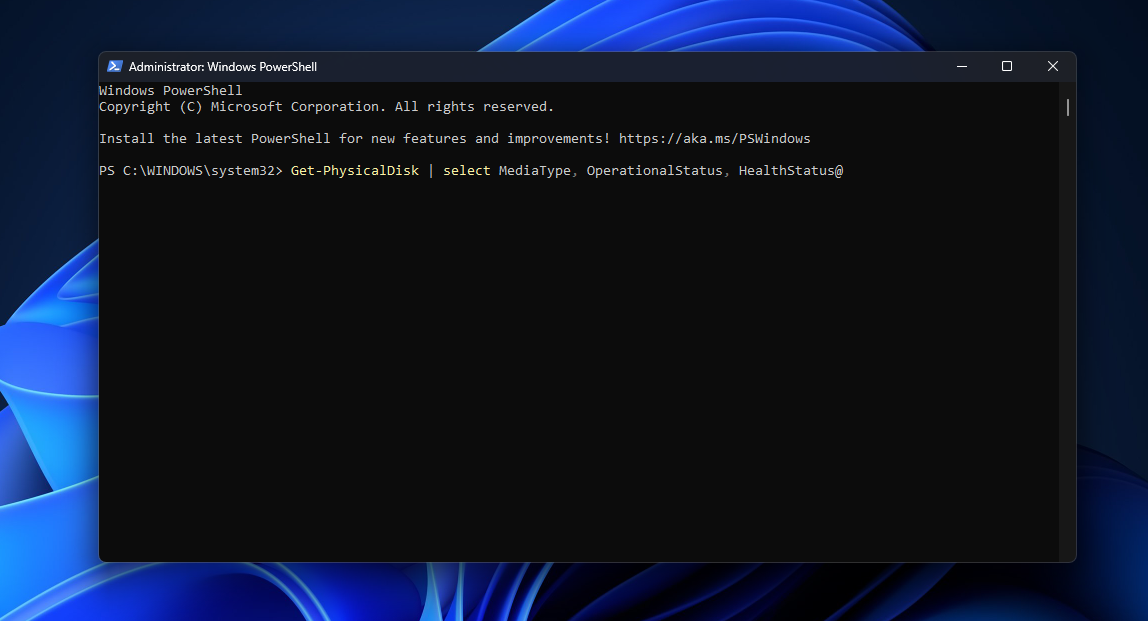
- In the command window, type the following command exactly and press Enter: Get-PhysicalDisk | select MediaType, OperationalStatus, HealthStatus

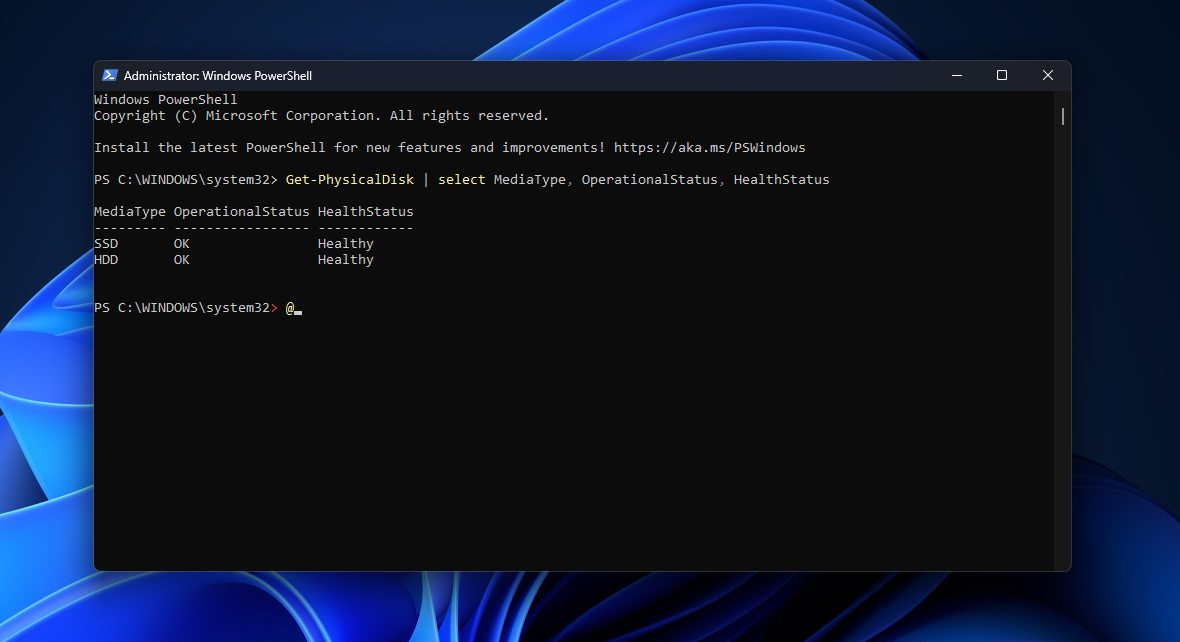
- The terminal will instantly output a list of your drives.
- Look at the HealthStatus column. If it says Healthy, your drives are functioning normally. If it says Warning or Unhealthy, the drive’s internal sensors have detected an imminent hardware failure, and you should back up your files immediately.

3. Run the CHKDSK Utility to Fix Logical Errors
Sometimes a drive is physically healthy, but the file system written on it has become corrupted, causing slow read/write speeds during heavy workloads. The Check Disk (CHKDSK) utility scans the drive for logical errors and maps out bad physical sectors so Windows stops trying to save data to dead parts of the disk.
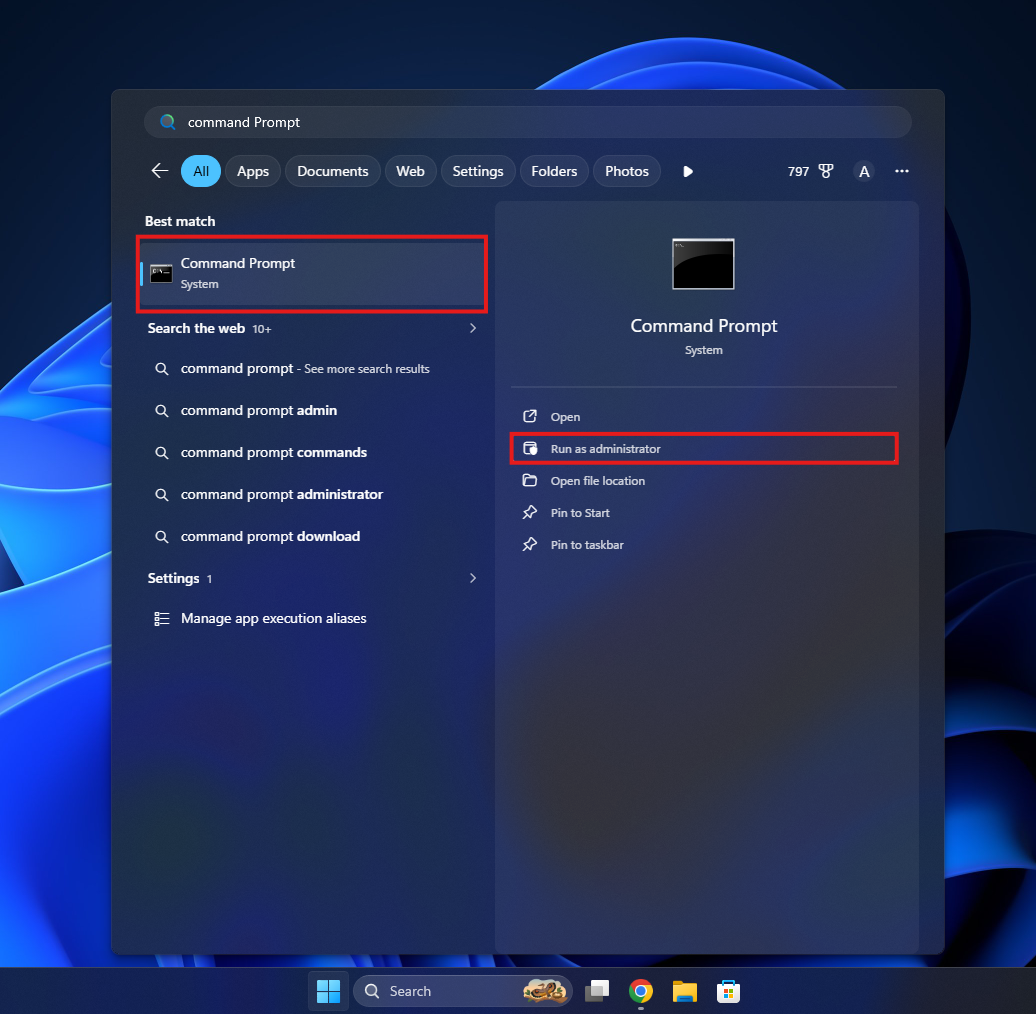
- Right-click the Start icon, search for Command Prompt.
- Select Command Prompt and click on Run as Administrator.

- Click Yes on the User Account Control prompt.
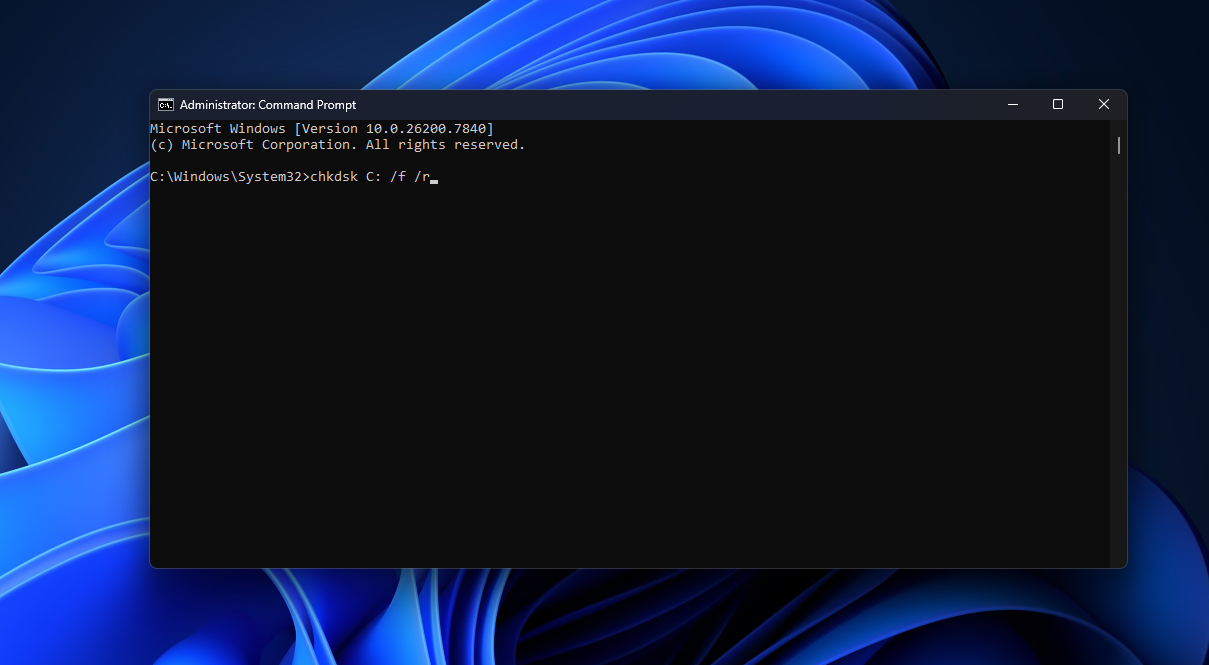
- To check your primary drive and automatically fix any errors it finds, type the following command and press Enter: chkdsk C: /f /r

- Because Windows is currently using the C: drive to run the operating system, the terminal will ask if you want to schedule the scan for the next restart.
- Type Y and press Enter.
- Restart your computer. During the boot process, Windows will perform a deep scan of the drive. This can take anywhere from 10 minutes to over an hour depending on the size and speed of your storage.
4. Use Third-Party S.M.A.R.T. Monitoring Tools
If you want granular analytics on your hardware, the built-in Windows tools might feel a bit too simplified. To see the raw data generated by the drive’s internal Self-Monitoring, Analysis, and Reporting Technology (S.M.A.R.T.) sensors, you will need a dedicated application.
- Download a reputable, free diagnostic tool like CrystalDiskInfo.
- Install and open the application.
- It will immediately display a comprehensive dashboard of your drive’s attributes.
- Look at the large, color-coded Health Status box at the top (Blue for Good, Yellow for Caution, Red for Bad).
- You can also view exact metrics like Total Host Reads, Total Host Writes, and Power-On Hours. This is incredibly useful for verifying if a “new” drive you purchased is actually brand new, or for tracking exactly how much wear and tear your system has put on the SSD.
Final Words
Hardware failure is an inevitable part of owning a computer, but losing your hard work doesn’t have to be. Waiting until your machine starts freezing or throwing blue screens is a dangerous game when you manage high-value digital assets. By methodically using the native Settings app, running a quick PowerShell query, or utilizing detailed third-party dashboards, you can easily pull the curtain back on your hardware’s physical state.
Remember, your operating system and your entire workflow rely entirely on the stability of the metal and silicon underneath it. The steps outlined above are designed to give you a clear, undeniable picture of your storage integrity. Once you successfully test your drives, you can go back to creating and working soundly, knowing your hardware is stable and your digital environment is fully secure.
ALSO READ:
")


")