- Google Docs allows users to easily share documents with various customization features including adding text boxes, images, tables, and charts.
- Text Boxes in Google Docs are elements that allow users to customize text with options like background color, text size, and different fonts.
- To insert a text box in Google Docs, users can follow simple steps like opening a new document, going to the "Insert" option, selecting "Drawing," and creating a text box with desired text.
Google Docs is one of the famous online word processors available for free. Most professionals and users use Google Docs because it is more convenient. Anyone can share Google Docs with numerous users with different restrictions and capabilities. Most users like this feature as they can easily share it with their friends, co-workers, seniors, and others.
Not only sharing, but Google Docs comes with other great features that you can use to customize your document to look better. You can add extra elements to Google Docs by using the different customizing features. You can insert images, tables, charts, and drawing in the Docs.
The Text Box is one of the elements that most users are searching to insert in the Docs. However, they are finding it hard to do so. We are here with the guide where we will help you with “How to Insert Text Box in Google Docs.”
What is a Text Box in Google Docs?
The Text Box is an element that you add in Google Docs to customize your text according to your need. The Text Box is not a simple text you can add directly to the docs. You must first create a box to add the text with your customization. Some customization you can do with the text box is adding background color, text color, text size, different font, etc.
Also, you can customize the Box color and add a border. The Text Box will not look like the simple text on the docs because it will be added as a Drawing in the Document. So when you see the document in the preview or after printing, you cannot guess whether it is a text or text box. You can also use the Text Box for various purposes, which will help make the document look more classy.
Can I add Shapes and Text Box in Google Docs?
There are a lot of users who are confused about whether they will be able to add shapes in Google Docs or not. We have explained about the uses of Text Box and how you can use the Text Box to make the document look more classy. However, some users are thinking of making some designs or pictorial representations where they want to use the shape and text box combination in such a way as to make it an informative document. We often got a lot of projects where we have to add shapes and text in it. So, the answer is Yes. You can add shapes and text boxes in Google Docs to make the document look more informative. Now, let’s check our next heading for How to Insert Text Box in Google Docs.
How to Insert Text Box in Google Docs
We know that many of you are waiting for the steps to learn about How to Insert Text Box in Google Docs. The steps are going to be very simple for the users. However, they will only need to be creative in making the shapes to create a good design for their document. Inserting a Text Box and Shapes will not be a hard procedure for the users. We will be listing the steps for adding the text box and shapes in Google Docs below. Do check them.
For Text Box
- First of all, open Google Docs.
- Create a New Document.
- Now, go to the Insert option.
- Take your cursor over the Drawing option.
- Now, select the New option.
A new window will open on your screen.
Now, click on the T icon with the box.
- You have to drag on the screen with your desired height and width to which you want to add the text box.
- Now, the text box will appear on the screen.
- You have to type the text that you want in it.
- After it, click on Save and Close to add the text to the document.
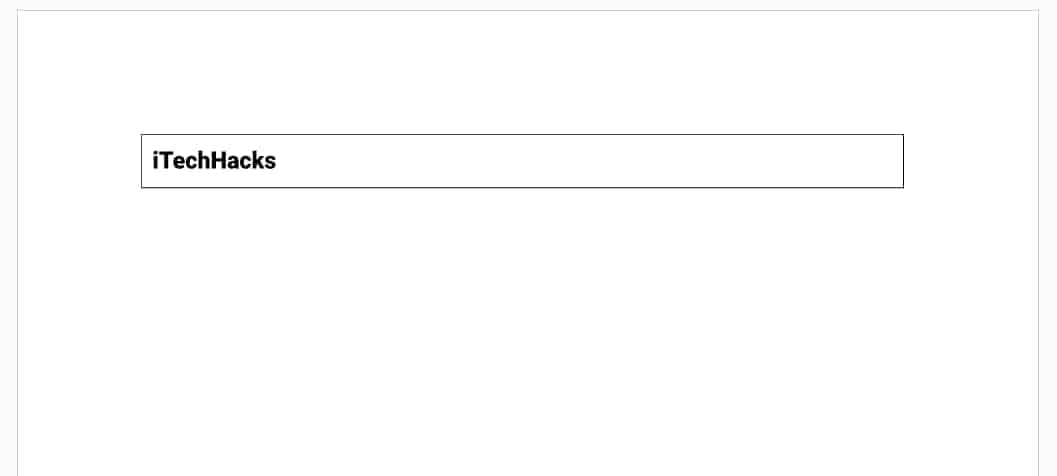
- See the document; the text box will be added there.
For Shapes
- First of all, open Google Docs.
- Create a New Document.
- Now, go to the Insert option.
- Take your cursor over the Drawing option.
A new window will open on your screen.
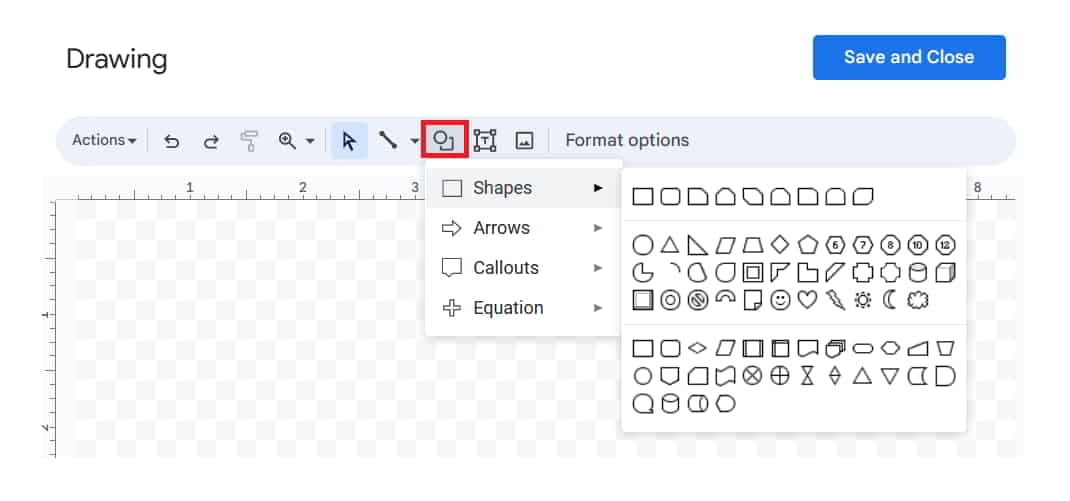
- Now, you have to click on the icon with a circle and rectangle. Check the below image.
- Select the shape according to your need.
- Drag to make the shape of your height and width.
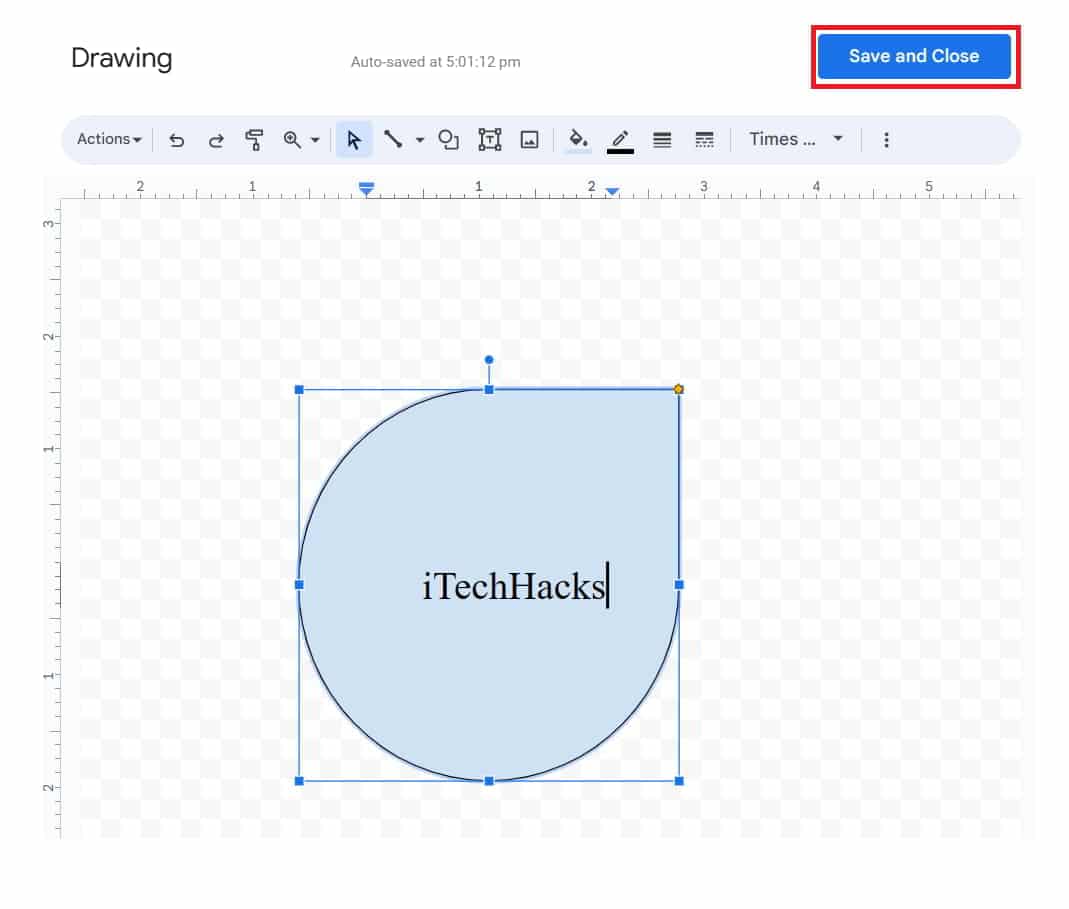
- After it, double-click on the shape to add the text.
- Once you have added the text, then click on Save and Close.
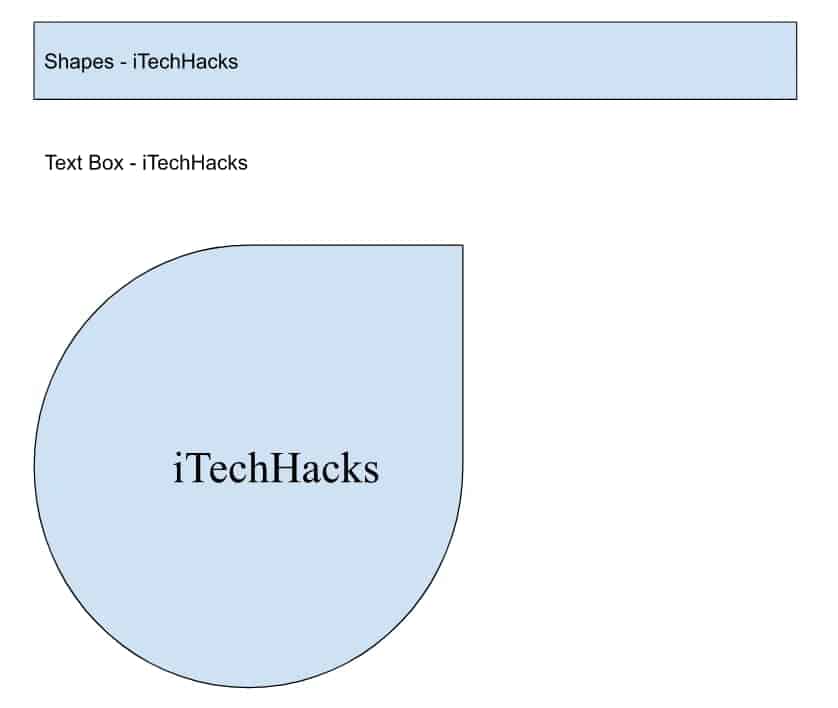
- Now, check the document for the shape preview and the text box.
Looks great? Now, check how to customize the shapes and text box if you have added it to the document.
How To Customize Text Box in Google Docs
We are always confused with the elements we added to the documents. To make it look aesthetic, some changes must be made according to the requirement. Do you know that you can customize the text box and shapes with very easy steps? If not, then check out the steps listed below.
- First of all, you have to open the document.
- Select the Text Box or the Shape you added to the docs.
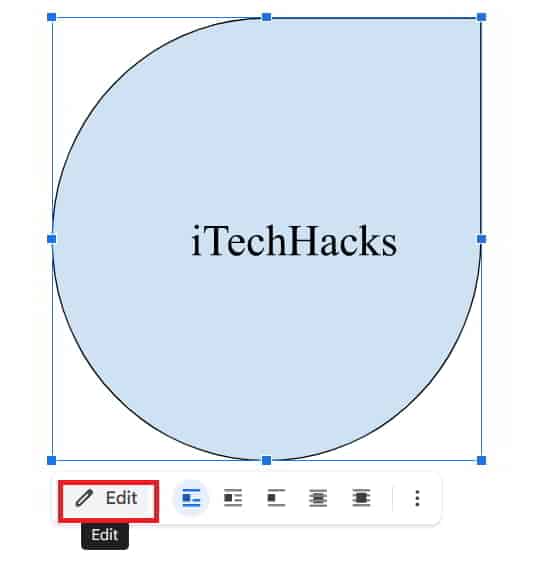
- Click on the Edit option.
- The same Drawing window will be opened on the screen.
- You can make the changes according to your need. That’s it.
How To Remove Text Box in Google Docs
You might need to remove the Text Box and Shapes from the doc you have added to the docs. Many users think that the steps will be complex for doing it. But don’t worry. We have listed the steps to remove the Text Box in Google Docs.
- First of all, you have to open the document.
- Select the Text Box or the Shape you added to the document.
- Press the Delete or Backspace Button to remove it from the document.
Wrap Up
There are a lot of users who are confused about adding text boxes and shapes to Google Docs. In this guide, we have explained the procedure for adding and customizing them to the document. You can also remove them with the steps listed above if you don’t need them anymore.
ALSO READ:



 A new window will open on your screen.
 Now, click on the T icon with the box.


