- "Steam Deck Couldn’t Open Connection to Steam Servers" is a frustrating error impacting gamers' ability to connect to Steam's server network.
- Solutions to fix the issue include checking the server status, restarting the PC or mobile device, troubleshooting the internet connection, modifying the target address of the Steam app, updating the client, switching between Ethernet and wireless connections, and temporarily disabling antivirus software.
- These steps aim to resolve the connection problem and ensure seamless gameplay access on Steam.
There is no doubt that Steam is the most popular gaming app on the planet. When you have a couple of hours to kill, nothing hits you harder than the “Steam Deck Couldn’t Open Connection to Steam Servers” error. It is a nasty policy of Steam that all users must have an internet connection in order to play games. To play your favorite titles, you will need to connect to Steam’s server network unless you have some single-player offline games on your PC. Here are some fixes you can try if you encounter this problem.
What Is The Steam Deck Can’t Reach the Steam Server?
Steam Deck’s “Steam Deck Couldn’t Open Connection to Steam Servers” issue appears suddenly and without warning. Playing all those games sitting in your Steam library is a real hassle when you can’t even log into Steam’s servers. Especially since you find out about it the next time you launch the well-known launcher on your end, it’s a terribly frustrating experience.
If you click on the “Retry” button incessantly, things aren’t going to improve on their own unless you do something real about them. No matter how hard you keep hitting the “Retry” button, things will not improve on their own.

Fix Steam Deck Can’t Reach the Steam Server Issue
So, here are some fixes to resolve the Steam Deck Couldn’t Open Connection to Steam Servers issue on Steam Deck:
Fix 1: Check the Server Status

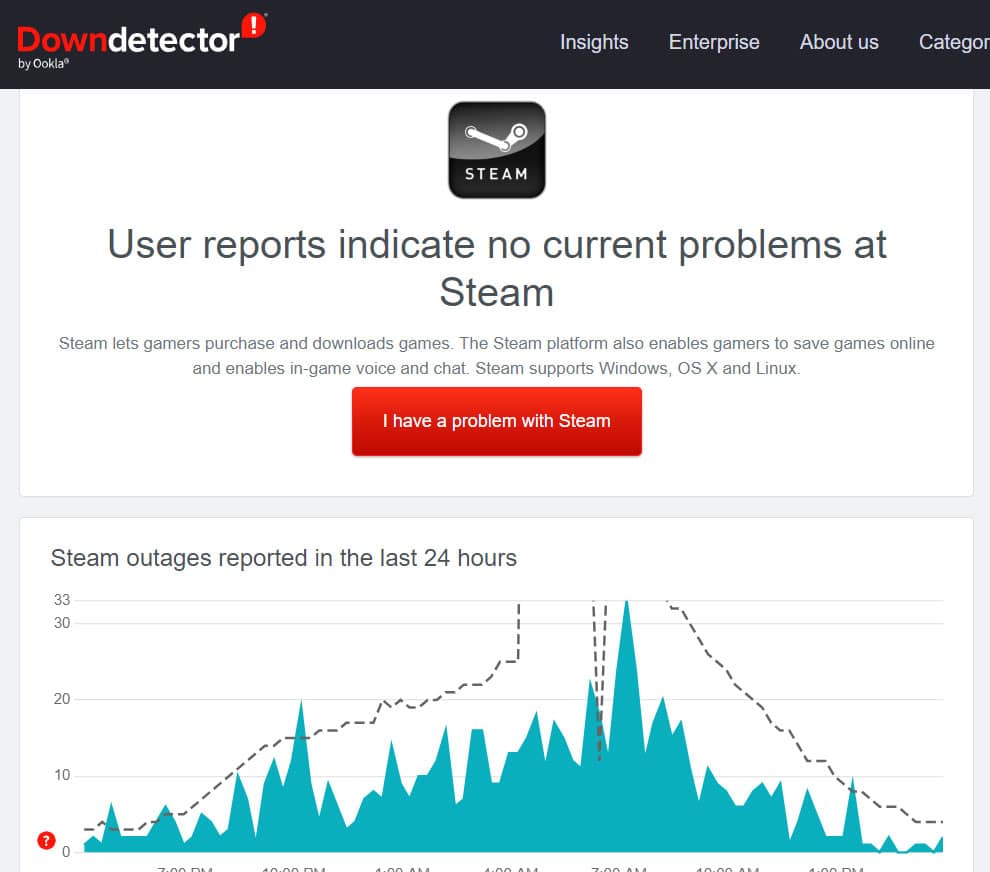
An error message such as “Steam Deck Couldn’t Open Connection to Steam Servers” can be caused by a problem with the servers. Check to see if the problem lies with them before going through a list of potential fixes.
Ensure that Steam Status is functioning correctly by checking it out. There may be nothing wrong with your connection if you see server outages. In any case, you can begin implementing some fixes if the Steam server is in good shape.
Fix 2: Restart the PC or Mobile Device
While restarting a PC or mobile device may seem like an old-fashioned move from the days of Windows 98/XP blue screen errors, it can effectively solve many problems, including problems with connections. Steam is no different from any other app when it comes to launching.
Log back into your Steam account after rebooting your device and letting your background apps and services load. However, the Steam Deck Could not connect to Steam server because of frozen application or driver causing a “Steam Deck Couldn’t Open Connection to Steam Servers” message.
Fix 3: Troubleshoot your internet connection

Your internet connection is one of the first things you should check. When you are disconnected from the network, Windows gives you a quick visual indication. When your network cable is unplugged, you should see a disconnected network symbol in the taskbar or a message.
There are a variety of symbols that can show up depending on your version of Windows, but the basic idea is the same: an alert, an exclamation point, or a red circle with a line drawn through it. These are all signs that the internet isn’t connected to your computer.
Fix 4: Modify The Target Address Of The Steam App
For those who can’t get the Steam launcher to work, there’s one more trick that has been working well. In this case, the “Target” address of the Steam application needs to be modified. With another protocol thrown into the mix, we can easily get around this annoying error code.
Adding another entry to the “Target” section of the Steam application simply requires you to open the “Properties” menu in the Steam application, locate the “Target” section, and click on it. If you’re not familiar with such processes, the following steps will help you.
- Right-click the Steam shortcut icon on your desktop and select “Properties.”
- Following that, a small window will appear on your screen. From here, select the “Shortcut” tab.
- To add “-tcp” to the target, click on the box next to “Target,” move your cursor to the end of the text, and hit the space bar once.
- Click on “Apply” and press “OK“. You should be done in a few minutes.

There’s nothing more to it than modifying the Steam application’s “Target” address. Start the launcher now and see if it starts. Hopefully, you can now get started with the program, but if things don’t go smoothly, try what we’ve curated ahead.
Fix 5: Update the Client
It is common for Steam to automatically download and install updates. Upon installing a new update, the app should also inform users that they need to restart the client. Sometimes, however, you may miss an update, or something may go wrong during it, causing a problem with the connection. If that’s the case, you can update manually.
- Start Steam.
- On the toolbar, click “Steam.”
- Choose “Check for Steam Client Updates.”

- If an update is found, install it.
- Try restarting Steam to see if the Steam Deck Couldn’t Open Connection to Steam Servers problem persists.
Fix 6: Switch Between Ethernet and Wireless

It is possible that you will not be able to connect to the Steam server network with a wireless connection if your internet connection is slow. You may still experience this problem even if you are able to browse the internet, access websites, or launch online applications.
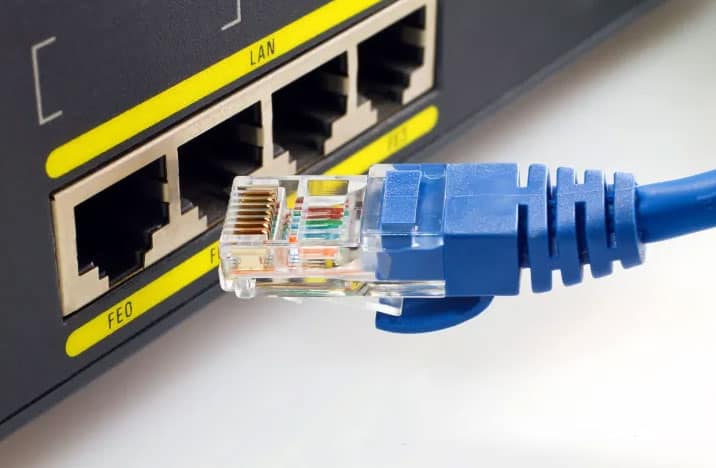
Instead of using your wireless connection, try using your Ethernet one. Your cable or motherboard could be having problems if you are having difficulty using an Ethernet connection. Use your Wi-Fi to log into Steam.
Fix 7: Disable Your Antivirus Temporarily
Steam’s compatibility seems to be affected by the antivirus software on some Windows PCs, according to some users on community forums.
It’s not set in stone, so we’ll have to test it out for ourselves and confirm its validity. You may be able to resolve the “could not connect to Steam network” error if you turn off the Windows Defender Firewall software.
In the steps below, we’ll explain exactly how you can temporarily disable Windows Defender. In this way, you can see if Steam works normally now.
- Using the Windows Search bar, search for “Windows Security“. To proceed, click on the application when it appears.
- To proceed, select the “Virus and threat protection” section. Last but not least, you must tap on the Manage Settings.

- The last step is to disable the following features under “Virus and threat protection settings.” To disable each setting, click its toggle.

ALSO READ:

