- A CMOS checksum error usually means the CMOS battery is weak, BIOS settings are corrupted, or the BIOS update failed.
- The most reliable fix is to replace the CMOS battery (CR2032) and then reset or reconfigure BIOS settings.
- If the error persists, a BIOS update or motherboard inspection may be required to permanently resolve the issue.
A CMOS checksum error is one of the most common BIOS-related errors you may encounter when starting up a PC. It usually appears with warnings such as “CMOS checksum invalid” or “The CMOS checksum is invalid.” While the message looks intimidating, it’s essentially your system telling you that the stored BIOS configuration doesn’t match the expected checksum value.
In practical terms, this means something is wrong with your system’s BIOS settings or with the CMOS battery that stores those settings. Over the years, while repairing desktops and laptops across brands like HP, Dell, Lenovo, and Asus, I’ve seen this issue repeatedly. The good news is—most of the time, it’s an easy fix.
This detailed guide explains why the error occurs, how to fix it step by step, and how to prevent it from happening again.
What Is a CMOS Checksum Error?
To understand the error, you need to know how the CMOS works:
-
CMOS (Complementary Metal-Oxide-Semiconductor) is a small memory chip on your motherboard that stores BIOS/UEFI settings such as boot order, system date/time, and hardware configurations.
-
A small coin-cell CMOS battery (usually CR2032) powers this chip, even when the computer is off.
-
Every time your PC boots, the BIOS verifies the CMOS data against a calculated checksum value.
-
If the values don’t match, the system displays a “CMOS checksum error” or “CMOS checksum invalid” warning.
Common Causes of a CMOS Checksum Invalid Error
Based on real-world repairs, these are the main culprits:
-
Weak or Dead CMOS Battery– The most frequent cause. A weak CMOS battery can’t retain BIOS settings, leading to checksum mismatches.
-
BIOS Settings Reset or Corruption– Sudden power loss, incorrect shutdowns, or overclocking settings can corrupt CMOS data.
-
BIOS Update Failure– If a BIOS update is interrupted or applied incorrectly, checksum errors can appear.
-
Hardware Changes– Adding/removing RAM, replacing the GPU, or resetting jumpers can sometimes trigger the error.
-
Motherboard Issues– In rare cases, a faulty BIOS chip or motherboard damage can prevent CMOS data from saving properly.
Symptoms of the CMOS Checksum Is Invalid Error
You’ll typically notice one or more of these:
-
System clock/date resets to factory default every restart.
-
Boot sequence resets (e.g., trying to boot from the wrong drive).
-
Warning messages such as:
-
“CMOS checksum invalid”
-
“The CMOS checksum is invalid”
-
“CMOS checksum error – Defaults loaded”
-
-
System occasionally fails to boot until BIOS settings are reconfigured.
Step-by-Step Fixes for CMOS Checksum Errors
When you see a warning like “CMOS checksum error” or “The CMOS checksum is invalid”, you should approach the repair process methodically. The goal is to isolate whether the problem is due to a dead CMOS battery, corrupted BIOS settings, or something deeper like a failed BIOS update. Below are the most effective fixes that I’ve used in real-world PC and laptop repairs.
1. Confirm the Error Message and Access BIOS
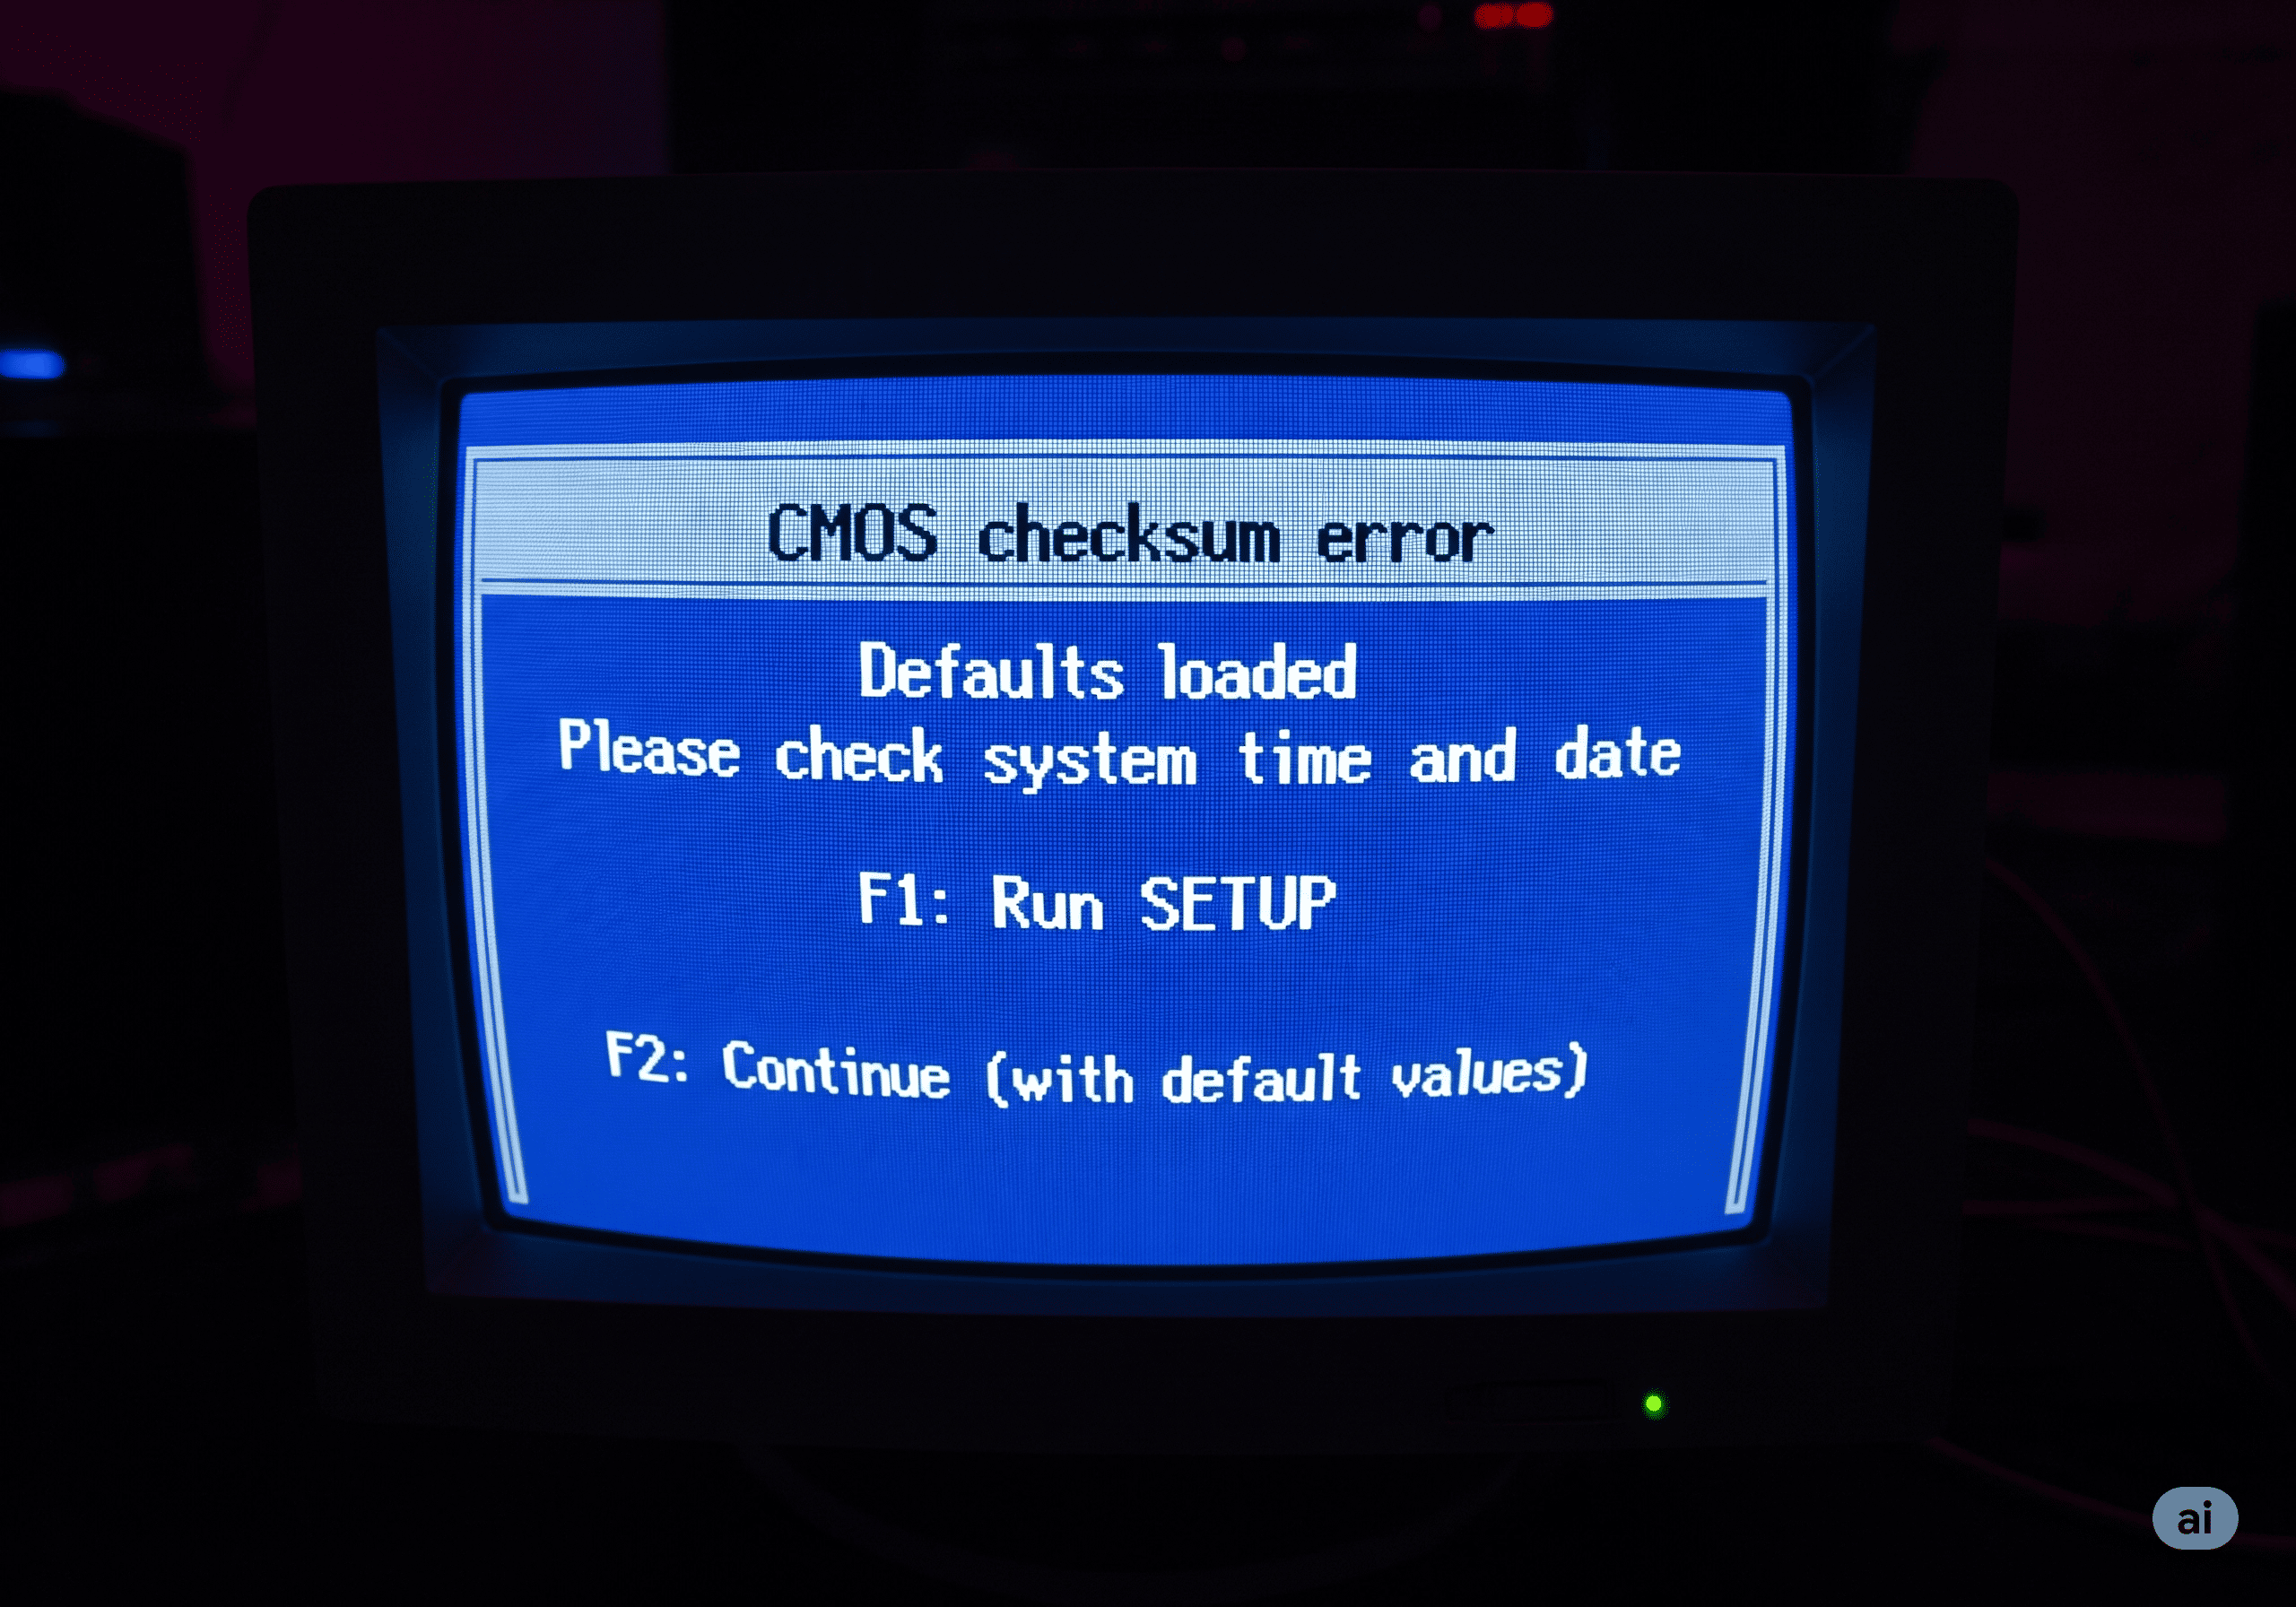
Before attempting any hardware changes, verify the exact error message on boot. Some systems display:
- CMOS checksum error – Defaults loaded
- CMOS checksum invalid
- The CMOS checksum is invalid
Once you confirm it’s indeed a CMOS checksum problem:
-
Reboot your computer.
-
Enter the BIOS/UEFI setup by pressing the correct key during startup. Common keys:
Brand Key to Enter BIOS Dell F2 or F12 HP F10 or Esc Lenovo F1 or F2 Asus Del or F2 Acer F2 -
Inside BIOS, check if the system time and date are incorrect. If they are wrong every reboot, the CMOS battery is the most likely culprit.
2. Replace the CMOS Battery (Most Common Fix)
A failing CMOS battery is the leading cause of cmos checksum invalid errors. On most desktops, the battery is a standard CR2032 coin cell.
Steps to Replace on a Desktop:
- Shut down the PC and disconnect the power cable.
- Open the side panel and locate the silver coin-cell battery on the motherboard.
- Carefully push the metal clip and remove the old battery.
- Insert a new CR2032 battery with the + side facing up.
- Boot the PC, re-enter BIOS, and reconfigure date/time, boot order, and any custom settings.
For Laptops:
Some laptops (HP EliteBook, Dell Latitude, ThinkPad) use a CMOS battery with a small connector instead of a coin cell. These may be tucked under the keyboard or back cover. Check your service manual before disassembly.
Pro Tip: Always ground yourself to prevent static discharge when handling motherboard components.
3. Reset BIOS/UEFI Settings to Default
Sometimes the cmos checksum error is not due to the battery but to corrupted BIOS values.
- Enter BIOS using the manufacturer’s key.
- Navigate to Exit or Save & Exit menu.
- Select Load Setup Defaults or Restore Defaults.
- Save changes and restart.
If the system boots without showing “CMOS checksum is invalid”, the corruption was software-based.
4. Clear CMOS Using the Jumper or Button
On desktop motherboards, there is usually a CLR_CMOS jumper or a dedicated reset button.
To Clear CMOS with Jumper:
- Power off the PC and unplug the PSU.
- Locate the 3-pin CLR_CMOS jumper (usually near the battery).
- Move the jumper cap from pins 1–2 to pins 2–3 for 10–15 seconds.
- Return it to pins 1–2.
- Boot the system and re-enter BIOS to set configurations.
This is especially useful if the CMOS checksum is invalid after failed overclocking or misconfigured BIOS settings.
5. Update or Reflash the BIOS
If you recently flashed BIOS or if the error persists after battery replacement, a BIOS update may be required.
Steps:
-
Identify your exact motherboard model.
-
On Windows: Press Win + R, type
msinfo32, and check BaseBoard Product.
-
-
Download the latest BIOS from the official manufacturer’s support page (Asus, MSI, Dell, HP, Lenovo, etc.).
-
Use the recommended method:
-
Asus EZ Flash (via BIOS menu with USB stick)
-
MSI M-Flash
-
Dell/HP BIOS Update Utility (Windows EXE installer)
-
-
Do not interrupt the update. Use a UPS on desktops or keep the laptop fully charged and connected to power.
If successful, the cmos checksum invalid message should disappear.
6. Check Hardware Changes or Connections
If the CMOS checksum error appeared right after hardware changes:
- Reseat RAM sticks properly.
- Ensure GPU and storage drives are securely connected.
- Remove any newly installed hardware and test booting.
In my experience, improperly seated RAM modules can trigger checksum mismatches on some Lenovo and HP systems.
7. Verify RTC (Real-Time Clock) Power
If a brand-new battery doesn’t hold BIOS settings, the motherboard’s RTC circuit may be faulty.
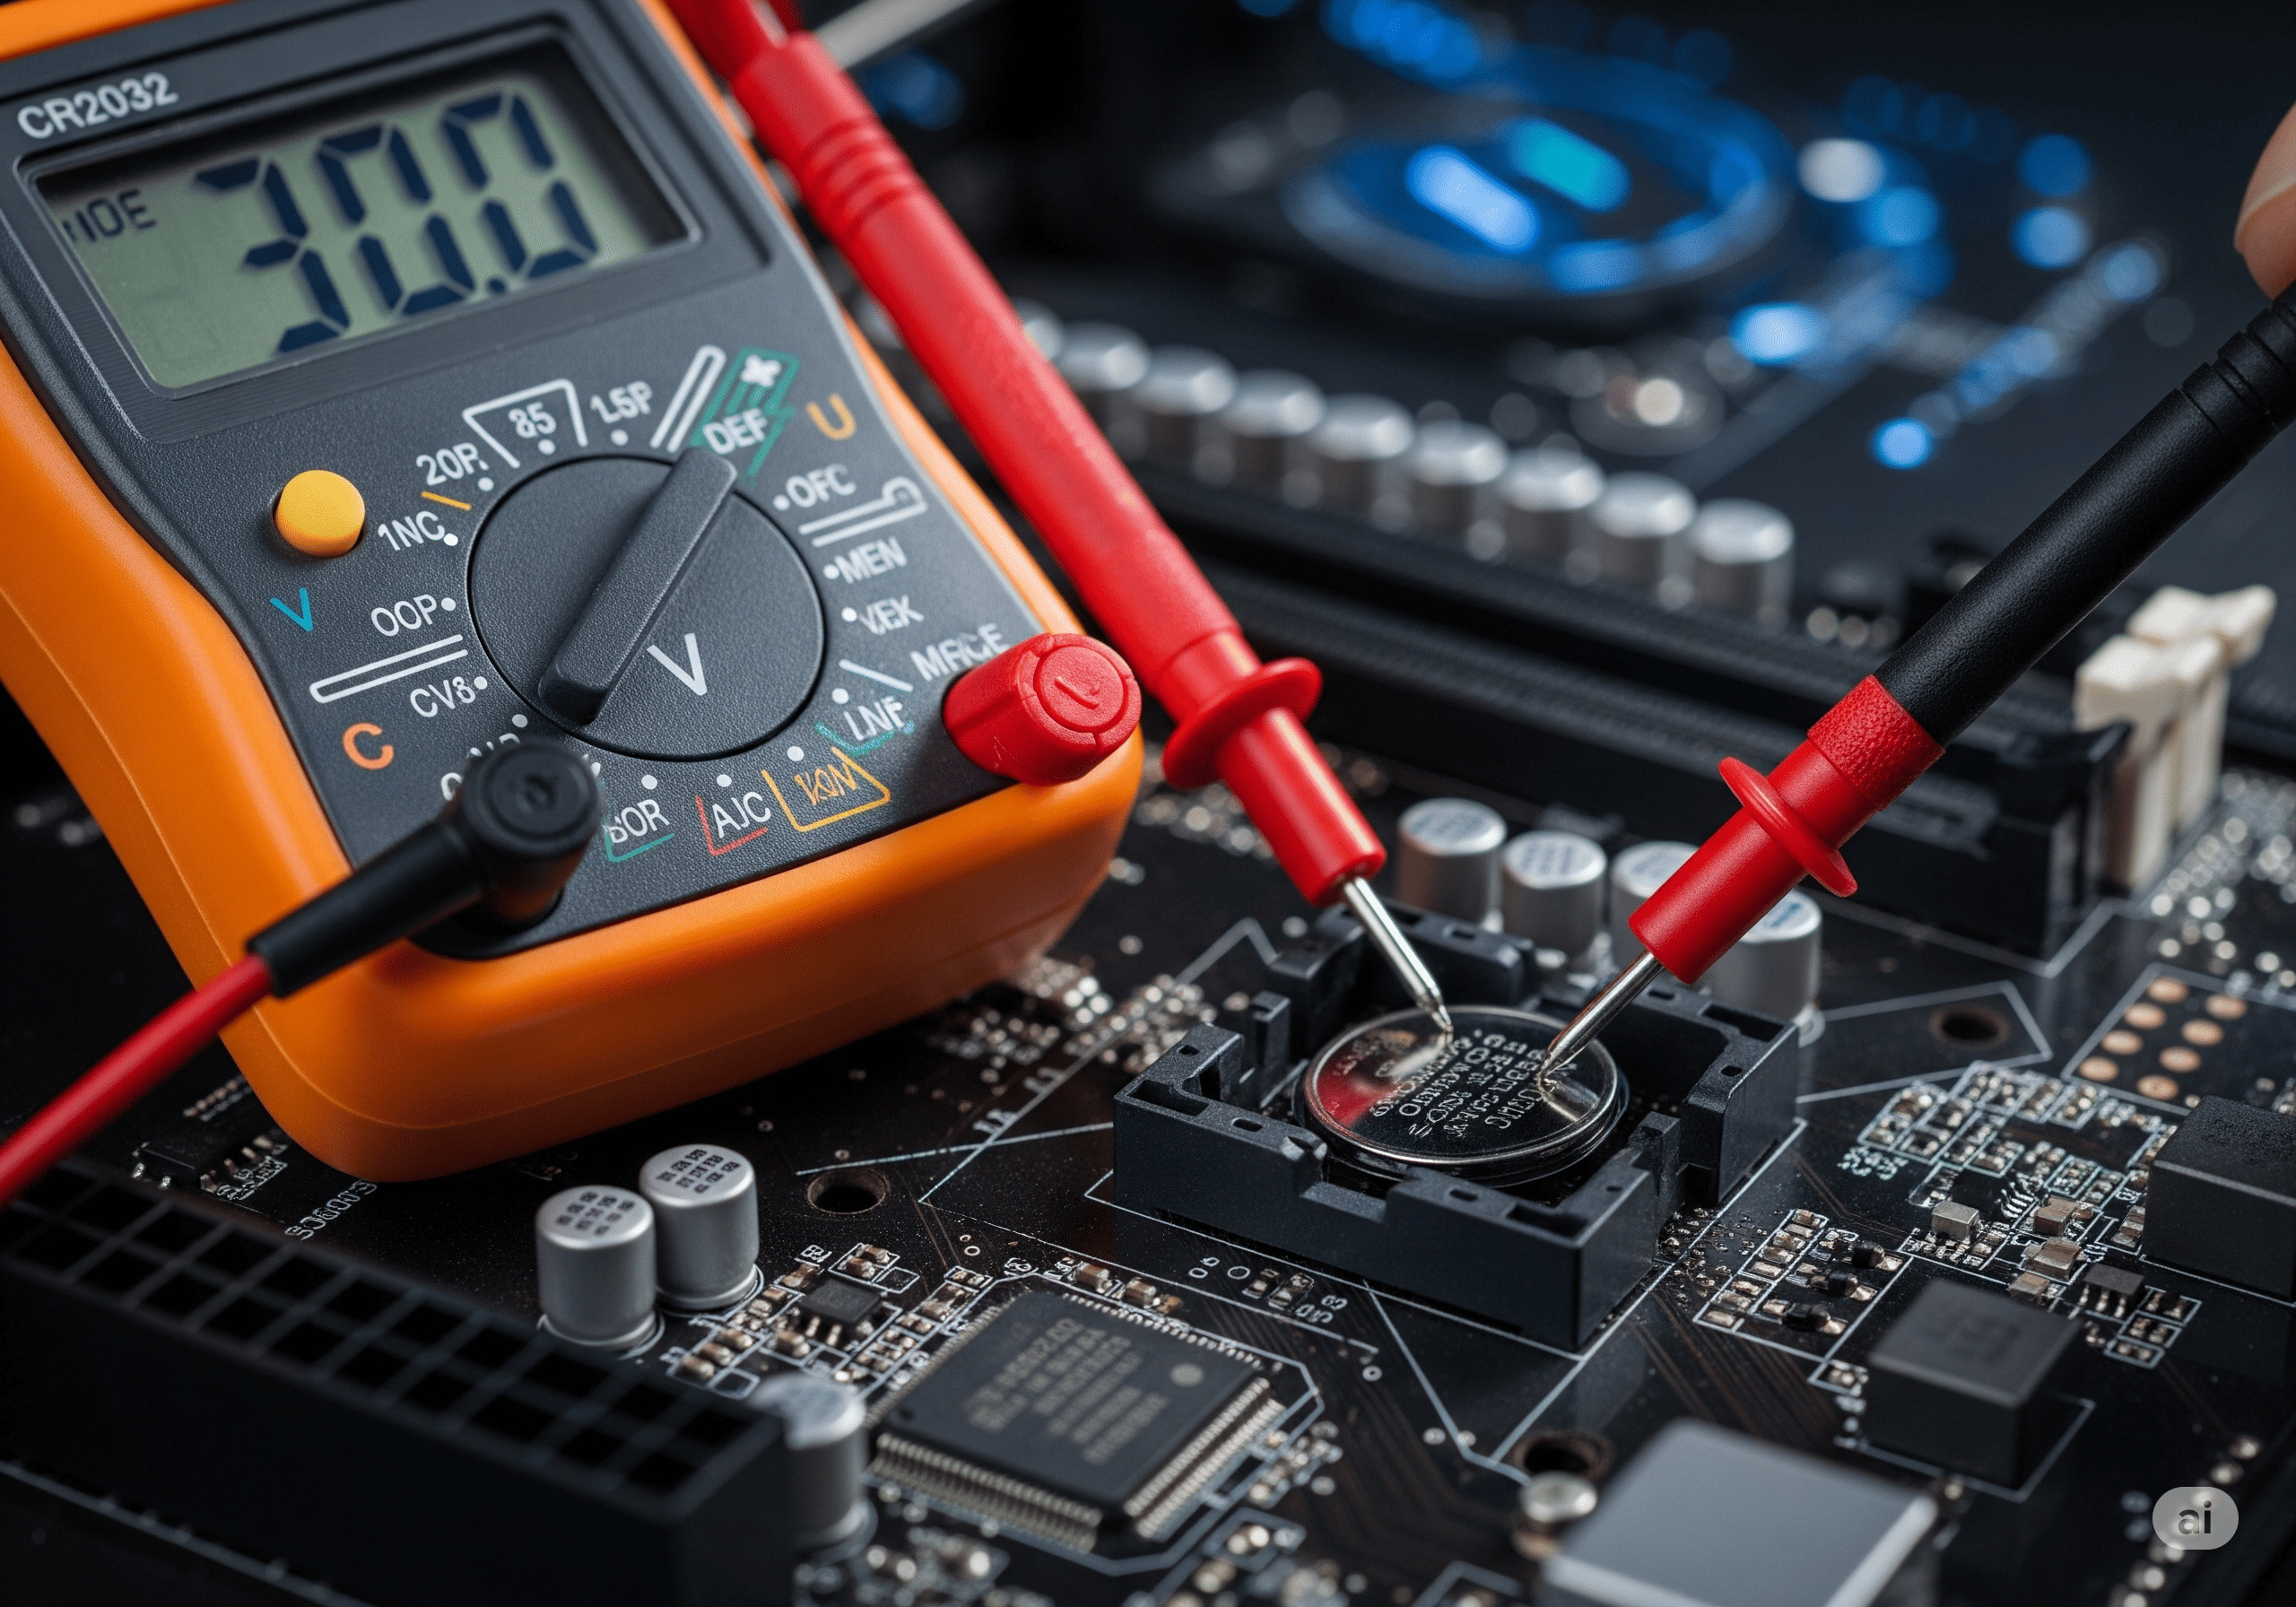
How to Test:
- Use a multimeter to confirm the CMOS battery outputs ~3V.
- If the system still resets BIOS data, the RTC chip on the board may be damaged.
- At this point, motherboard replacement may be required.
This is rare but I’ve encountered it on older Asus AM3+ motherboards.
8. Correct Date, Time, and Boot Order After Fix
Even after fixing the CMOS checksum invalid problem, the system may boot incorrectly if settings are not reconfigured. Always check:
- System Date & Time → set correctly, or Windows may throw certificate errors.
- Boot Order → ensure your primary SSD/HDD is listed first.
- SATA Mode → AHCI is default for most modern drives.
- Secure Boot / Legacy Boot → set according to your OS.
- Virtualization / TPM → enable if required for Windows 11.
Frequently Asked Questions (FAQs)
1. What does CMOS checksum error mean?
It means the stored BIOS configuration doesn’t match the checksum value expected by the system, usually caused by a dead CMOS battery, corrupted BIOS settings, or failed updates.
2. How do I fix CMOS checksum invalid without replacing the battery?
You can reset BIOS to defaults, reflash the BIOS, or clear CMOS via jumper. However, if the battery is weak, these fixes will only be temporary.
3. Is it safe to continue using a PC with CMOS checksum error?
The system might still boot, but incorrect date/time, boot failures, and unstable performance can occur. It’s best to fix it immediately.
4. How much does it cost to fix a CMOS checksum error?
If it’s only the battery, a CR2032 cell costs less than $2. A BIOS update is free. In rare cases of motherboard replacement, costs vary between $100–$300 depending on model.
Conclusion
A CMOS checksum error or messages like “CMOS checksum invalid” and “The CMOS checksum is invalid” usually point to a weak battery or corrupted BIOS settings. In most cases, replacing the CMOS battery and resetting BIOS fixes the issue within minutes. If the problem persists, a BIOS update or hardware inspection may be required.
By following the step-by-step methods above, you can resolve the issue and ensure your system boots reliably. Keep your CMOS battery fresh, BIOS updated, and power supply stable to prevent this error from returning.


