Kali Linux is one of the best operating systems to work on and Especially for Hackers and Programmers. Installing Linux on an Android device unlocks a variety of features which include running web-based applications on your Android device, install and use Linux applications, rather you can run a graphical desktop environment on it.

Linux has the capability to turn an Android device into a portable network troubleshooting or pen-testing device. While installing Kali Linux on your Android device using the methods listed below, you need to root your device. Linux cannot be installed on your Android device if it is not rooted.
If you do not wish to root your device, do not follow the methods listed below. Another precaution is to have enough free space in your memory. If you don’t have enough free memory, the installation if Linux will fail.
Also Read: Top 10 Best eBooks To Learn Kali Linux From Beginning (Free PDF)
Method #1: Install Kali Linux Using Linux deploy and VNC Viewer.
#1 Go to Google Play Store and Install Linux Deploy and VNC Viewer on your Android device.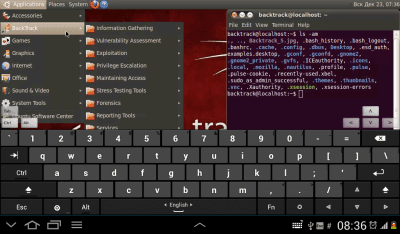
#2 Once downloaded, launch the Linux deploy an app. You will find an option looking like a download symbol at the bottom of the screen. Hit that option, and you will find a list of other options. Here, in ‘Distribution’ select Kali Linux.
#3 In the same list, go to GUI settings and enter the width and the height of your device’s screen.
#4 Then, go to the option ‘Install’ and hit it. You will notice that the process of installation has been initiated. This installation process might take approximately 10 to 15 minutes. So please maintain your patience till the process gets completed.
#5 When this process is completed, tap on the option ‘Configure‘.
#6 Post configuration, hit the ‘Start‘ option.
#7 Then, open the VNC viewer and enter the details required such as an address, name, and password, etc.
#8 Once the data entry is completed, you will have successfully installed Kali Linux on your Android device which is ready to be used now.
Also Read: 10 Best Laptops for Watching Netflix & Prime (2022)
Steps To Install Kali Linux on Mobile
Once you installed the Linux Deploy from Google Play Store, you almost completed your 50% task.
Now Select the “Kali” from the distribution and you can set your architecture if you want, In case you need to verify your mirror location.
Once you set all the basic settings. Click on “Install Kali” and your installation process will start.

Method #2: Using Kali Linux i386 and Limbo PC Emulator.
#1 Download Kali Linux i386 ISO file and limbo PC emulator apk from their websites (links provided by us to ease your task). They can download either by directly downloading them on your Android device or a PC and then copy them to your Android device.
#2 First of all, install the Limbo PC Emulator on your Android device.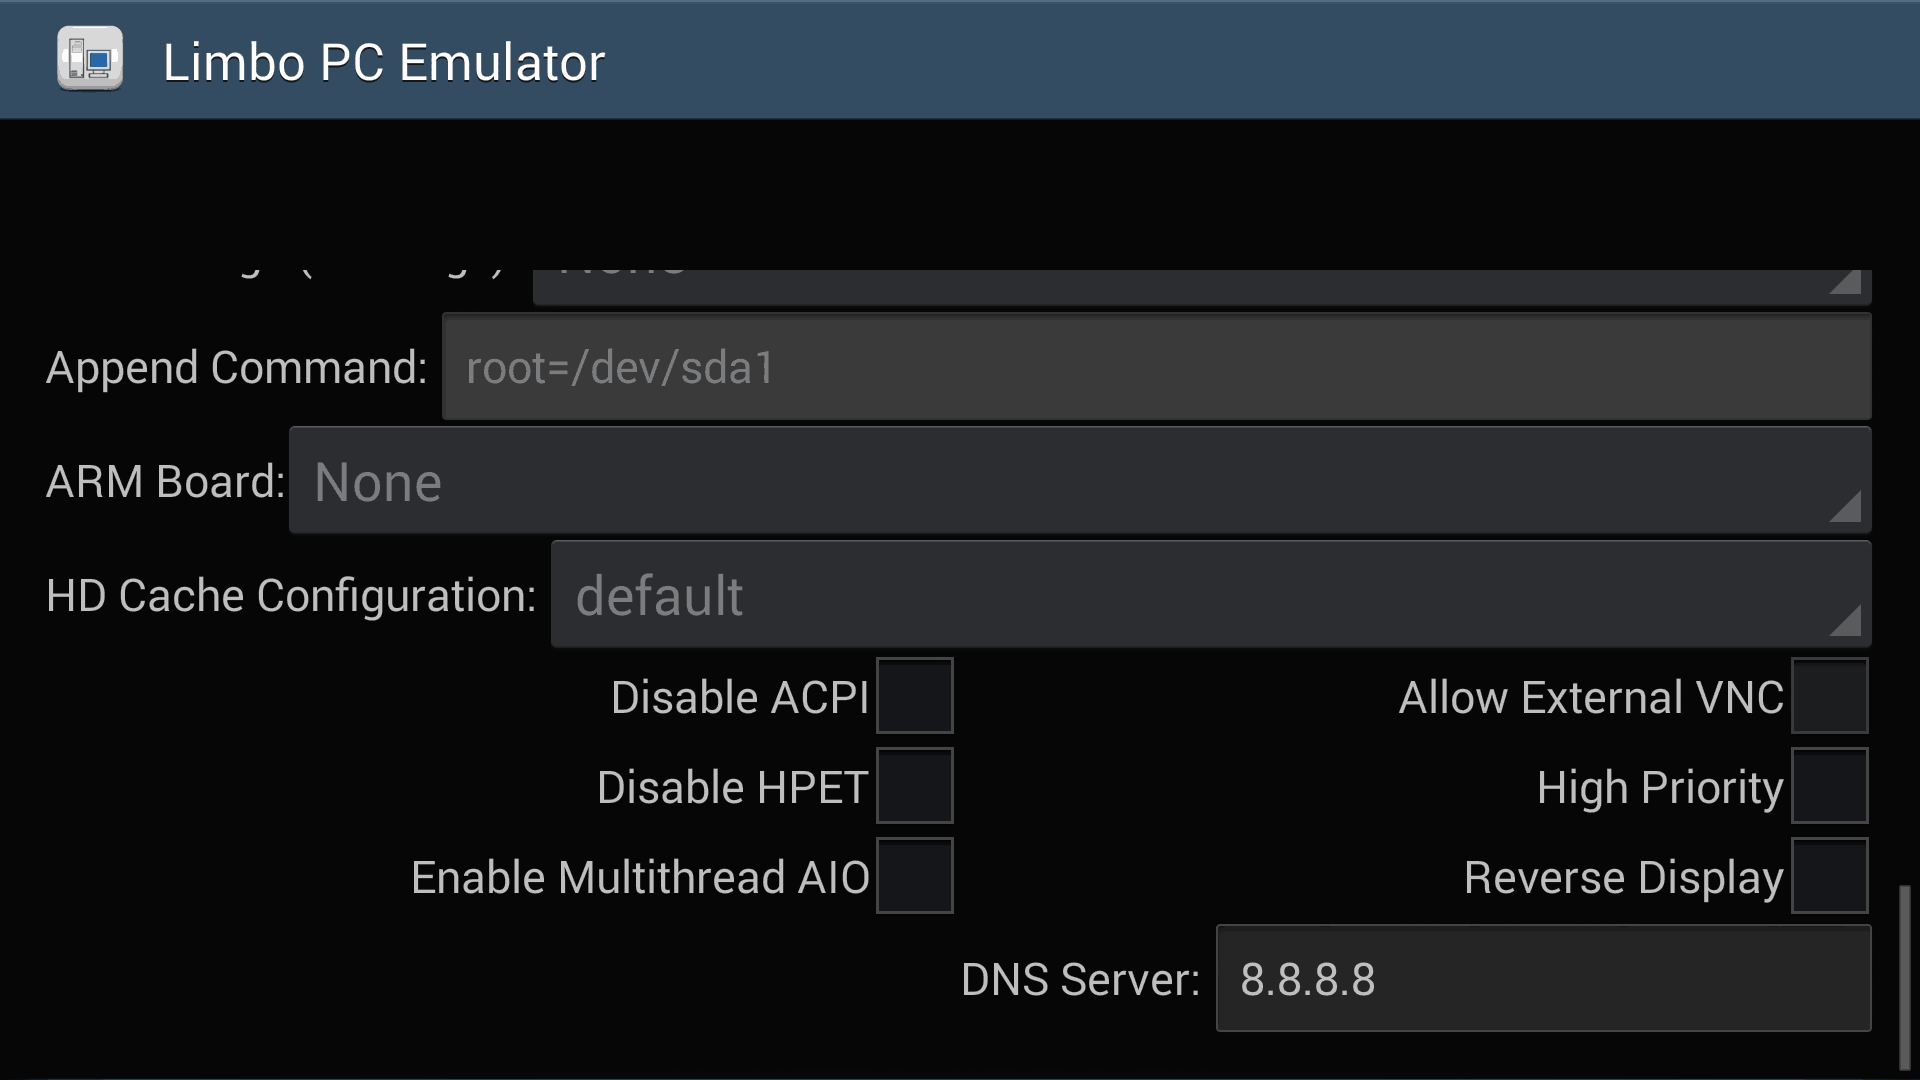
#3 Then, launch the app. Here, in the ‘Load VM‘ option select “New” and enter your name. And in the ‘User Interface’ option select “SDL.”
#4 Then, select your CPU model, CPU cores, RAM memory from the drop-down choices.
#5 In the option ‘CDROM (*iso)’ select the “Kali Linux i386 iso file” which you had downloaded or copied from your PC. You will have to search for it which will be easy if you remember where you had copied it or the location of download.
#6 After the above steps, hit the ‘Start’ option which will open the page of Kali Linux.
#7 Select the ‘Install‘ option to initiate the installation of Kali Linux on your Android device.
Once the installation is over, you will have successfully installed Kali Linux on your Android device.
Recommended:
- How To Control One Android Phone with Another
- How To Make Android Phone As PC Microphones
- How To Access Coursera Plus for Free with Certifications
- How To Hack Android Games Without Root
Wrap Up:
Now you can easily install Kali Linux on any Android with these methods. With Kali, you can easily gain some Geek Hacking Knowledge and make your mind extraordinary. So try out this today. Hope you like our work, do share it with others too. Leave a comment below if you facing any problem at any step discussed above.