- MacBook is praised for its speed and processing, featuring seventh-generation Intel Core processors.
- Useful tips include looking up words in the dictionary with a three-finger click, recording screen movements with QuickTime, adding signatures to documents, running Windows on a MacBook via Boot Camp, and accessing special characters through the Character viewer.
- These tricks enhance MacBook usability and productivity, helping users make the most out of their laptops.
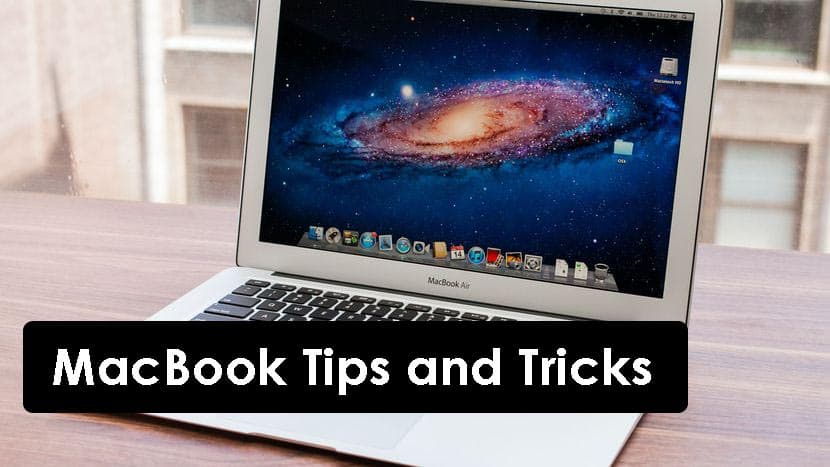
In Short Hacks: Are you looking for Best MacBook Tips and Tricks. MacBook is one of the best laptops that you can buy for best speed and processing. In this article, we have discussed all MacBook Tricks and tips.
A MacBook is the product of the Apple Inc. Apple Inc is globally known for its latest technologies which it brings to the world through various devices. A MacBook is the best laptop which one can have! It has features which not any other laptop can provide. The latest MacBook as of now has the all new seventh‑generation Intel Core m3, i5, and i7 processors. They are extremely lightweight and deliver much better performance as compared to the other laptops.
However, there are some features which are not known to most of the MacBook users. These features will make it convenient to use the MacBook and bring the most out of it. People can make use of some of the most useful tricks about MacBook which we have found out and listed below. We have also explained each trick such that it can be understood easily. So let’s start understanding each trick.
Best MacBook Tips and Tricks
#1 Check the meaning of any particular word in the dictionary
You can use the reference tool provided along with the OS to look up any word from anywhere. All you need to do is click on the word using three fingers. The relevant results will be displayed shortly on your screen.
#2 Record your screen
There might be instances where you have to record your screen movements. For this, you can use the built-in feature which is QuickTime. You will find it in Applications folder if you do not have it in the shortcut bar. Once you open it, go to File >> New screen recording. You can now record your screen movements and save it.
#3 Add your signature to documents
You might sometimes come across documents where you need to add your signature to it. You can do it on your MacBook by following the simple steps.
Step 1- Open the document which you need to sign using the Preview application.
Step 2- Then, click on the icon which resembles a pen, located on the top right corner of the screen.
Step 3- Now, select ‘Create Signature from Built-in iSight’ option.
Step 4- Now, sign on a plain white paper and hold it in front of your camera.
Step 5- Once it is aligned properly, the sign will be detected. Click on ‘Accept’ to save it.
Step 6- Now, execute steps 1 and 2 of this guide again and now, instead of selecting ‘Create Signature from Built-in iSight’ option, you will notice your signature already present.
#4 Run Windows Operating System on your MacBook
It is assumed that Windows cannot run on a Mac. But, it is an entirely false belief. To run Windows on Mac, execute the following steps:
Step 1- Head over to Applications >> Utilities >> Boot Camp.
Step 2- Here, you can partition your hard drive into two parts. One for Mac and the other for Windows. Click on ‘Partition’ to initiate the process.
Step 3- Your MacBook will now restart and will ask you to install Windows on it. Once you have successfully installed Windows on your MacBook, you can choose which OS to use when you switch on your MacBook. All you need to do is hold the ‘Option’ key.
#5 View all special characters
Most of the people might not be knowing about each and every special character available with the Mac OS. Also, it is very difficult to remember each one of it! But, you can see all the special characters in one place and use them wherever you need. To find them, click on the option which looks like a magnifying glass. You will find it on the top right corner of your screen. Here, search for ‘Character viewer.’ Open it, and you will find all the special characters which are available. You can directly insert them in text fields from here by double-clicking on them.
Also Read: How To Enable Screen Recorder Feature in Apple iOS 11?
Wrap up: So these were some of the best MacBook Air and MacBook Pro tipsIf you have something which could have been added up here, then please let us know about it in the comments section below.


