
- If your Nintendo Switch 2 dock doesn't show anything on the TV after an update, try restarting both the console and dock. Ensure they have the latest firmware updates for both the console and the dock for smooth TV connection and avoid using splitters or soundbars.
- Verify you are using the correct power adapter (NGN-01) for your Nintendo Switch 2 and a suitable Ultra High Speed HDMI cable directly connected to the TV. Ensure the TV is on the right HDMI input, and check for any damaged cables or hardware.
Is your Nintendo Switch 2 dock not showing anything on the TV after a system update? The console may continue working normally in handheld mode, but the television displays a black screen, “No Signal,” or remains on the wrong HDMI input when you place the console in the dock.
This problem can be caused by a temporary HDMI handshake failure, outdated dock firmware, an incorrect power adapter, a damaged cable, blocked ventilation, or a compatibility issue between the dock and television. Follow the solutions below in order. Most TV output problems can be fixed without deleting games or saved data.
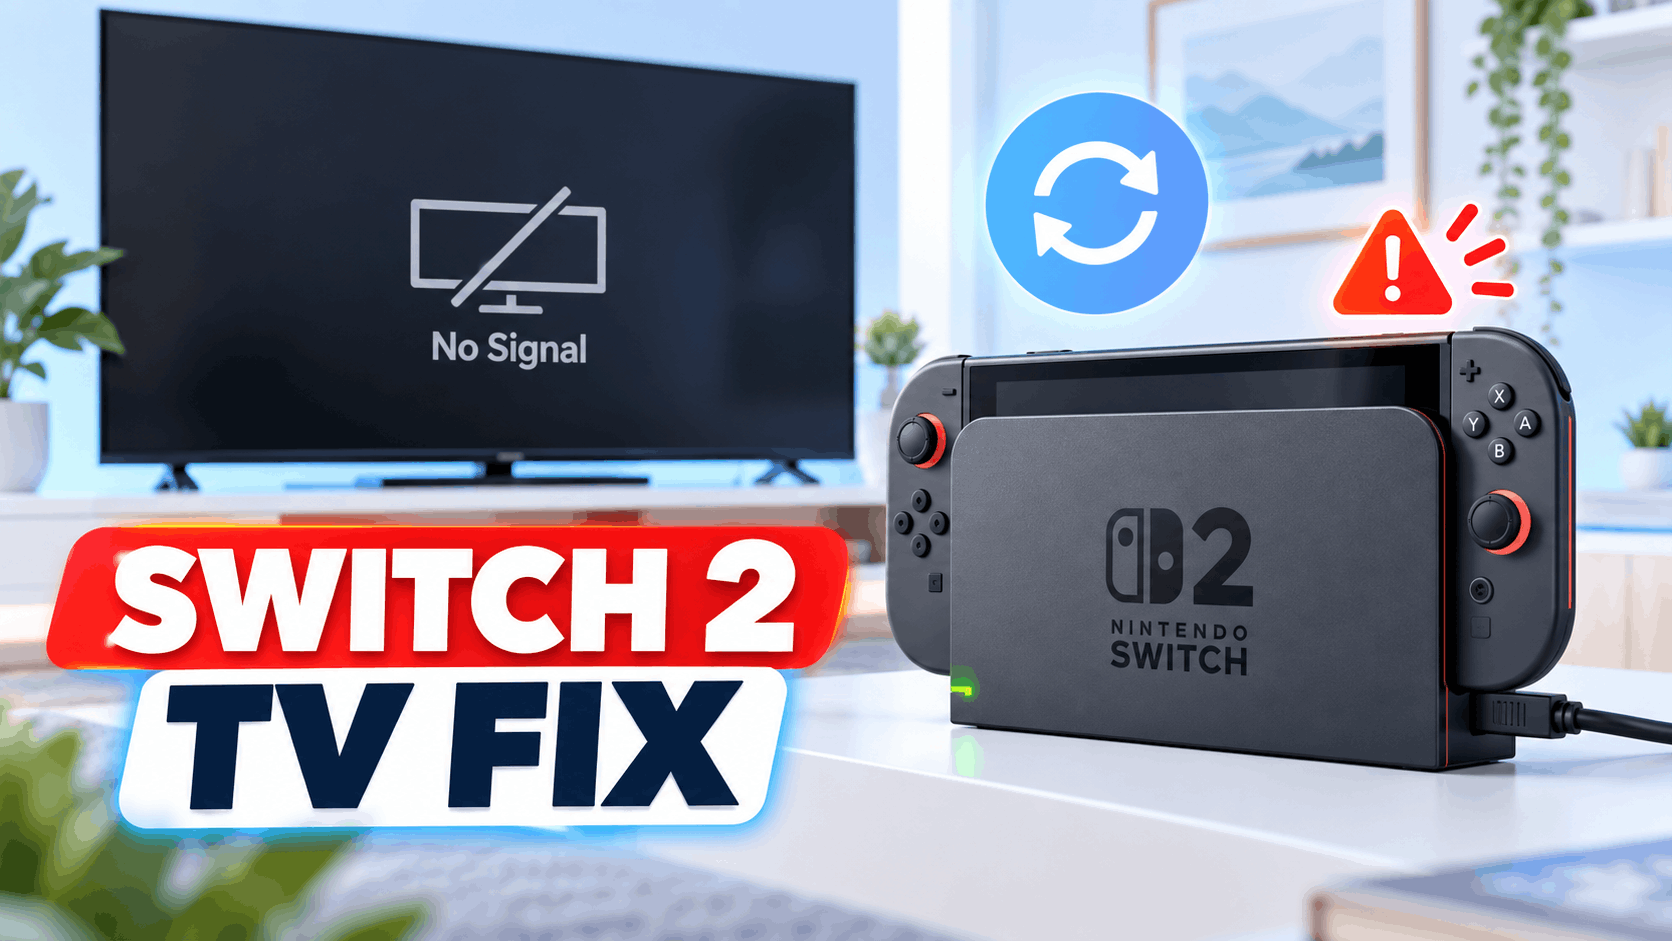
Why Is the Nintendo Switch 2 Dock Not Showing on the TV?
A Nintendo Switch 2 uses the dock to convert the console’s video signal for TV mode. After a system update, the console and dock may need to restart and re-establish communication with the television. If the dock firmware is outdated or the HDMI connection does not complete correctly, the console may charge without displaying an image.
Other common causes include using the original Nintendo Switch power adapter, connecting through an HDMI splitter or soundbar, selecting the wrong TV input, using a damaged HDMI cable, or docking the console in the wrong direction.
Quick Checks Before Trying Advanced Fixes
Before changing settings, check these basic points:
- Confirm that the television is powered on.
- Select the HDMI input connected to the Nintendo Switch 2 dock.
- Make sure the console is powered on and works in handheld mode.
- Remove any protective case that may prevent the console from sitting correctly in the dock.
- Check whether the dock’s TV output indicator becomes solid green.
- Make sure the console screen turns off when it is placed in the dock.
If the Switch 2 screen remains on while the console is docked and the dock is connected to power and HDMI, the dock may not be detecting the console correctly.
1. Restart the Nintendo Switch 2 Completely
A normal restart can clear temporary software and video-output errors that appear after installing an update. Do not immediately place the console back into the dock. Restart it while it is undocked.
Restart the console normally
- Remove the Nintendo Switch 2 from the dock.
- Press and hold the POWER button for at least three seconds.
- Select Power Options.
- Select Restart.
- Wait for the HOME Menu to load completely.
- Place the console back into the dock and check the TV.
If the console does not respond, hold the POWER button for approximately 20 seconds to force it to shut down. Then press the POWER button once to turn it on again.
2. Update the Nintendo Switch 2 System Again
Sometimes an update appears to complete but leaves a related component or system process in an unfinished state. Checking for updates again ensures that the console is running the latest available software before you update the dock.
- Remove the console from the dock.
- Open System Settings from the HOME Menu.
- Scroll down and select System.
- Select System Update.
- Allow the console to check for and install any available update.
- Restart the console after the process finishes.
Keep the console connected to a stable Wi-Fi network and ensure it has enough battery power. If possible, connect the official AC adapter directly to the console while updating.
3. Update the Nintendo Switch 2 Dock Firmware
The Nintendo Switch 2 dock has its own firmware. Updating only the console is not always enough, particularly after a major system update. The dock must be connected to the console and the internet during this process.
- Connect the Nintendo Switch 2 dock to its AC adapter.
- Connect the AC adapter directly to a wall outlet.
- Place the console in the dock.
- Open System Settings on the console.
- Select System.
- Select Dock Update.
- Select Begin Update if an update is available.
If the screen says that the dock is already up to date, select OK. If the update stops before completion, repeat the process after restarting the console and reconnecting the dock.
4. Use the Correct Nintendo Switch 2 Power Adapter
The original Nintendo Switch AC adapter may charge a Nintendo Switch 2 when connected directly to the console, but it may not provide enough power for TV mode through the Nintendo Switch 2 dock.
For reliable TV output, use the Nintendo Switch 2 AC adapter, model NGN-01. If you are using a third-party adapter, it should provide at least 54 watts and meet the console’s power requirements. Non-licensed or underpowered adapters can cause charging, docking, and video-output problems.
Reconnect the power correctly
- Remove the console from the dock.
- Disconnect the USB-C cable from the dock.
- Disconnect the AC adapter from the wall outlet.
- Wait at least 20 to 30 seconds.
- Connect the AC adapter directly to a wall outlet.
- Connect the USB-C cable to the dock’s AC adapter port.
- Reconnect the HDMI cable.
- Place the console into the dock.
Avoid using a power strip, USB hub, travel adapter, or extension accessory while troubleshooting. These devices can introduce power or connection problems.
5. Check the HDMI Cable and TV Input
The Nintendo Switch 2 requires an Ultra High Speed HDMI cable for TV mode. The HDMI cable included with the original Nintendo Switch is not the same cable and may not support Nintendo Switch 2 TV output correctly.
- Disconnect the HDMI cable from both the dock and TV.
- Inspect the cable for bent connectors, cuts, kinks, or loose ends.
- Reconnect it firmly to the dock’s HDMI port.
- Connect the other end directly to the TV.
- Use the TV remote to select the exact HDMI input being used.
- Try another HDMI port on the TV.
- Test with another Ultra High Speed HDMI cable if available.
Do not connect the dock through an HDMI splitter, AV receiver, capture card, soundbar, video adapter, or home theater system during testing. Connect the dock directly to the television first. If the direct connection works, reconnect the external device later to identify which component is causing the problem.
6. Disable Variable Refresh Rate Temporarily
Some televisions may fail to display the Nintendo Switch 2 signal correctly when Variable Refresh Rate, or VRR, is enabled. This can happen after a system, TV, or HDMI firmware update changes how the devices negotiate video settings.
Open your television’s picture, gaming, or external-device settings and temporarily turn off:
- Variable Refresh Rate
- FreeSync
- G-Sync compatibility
- Enhanced HDMI mode
- Auto low-latency mode, if the TV manufacturer recommends disabling it for testing
The names vary by television brand. After changing the setting, power off the TV, restart the Switch 2, and test the dock again.
7. Check the Dock and Console for Overheating
Excessive heat can cause the dock to stop outputting video or charging connected accessories. Place the dock in an open area where air can circulate around it. Do not keep it inside a closed cabinet or directly beside a heat-producing device.
- Check that the console’s air vents are not covered.
- Check that the dock’s rear air vent is not blocked.
- Remove stickers, dust, or objects covering the vents.
- Move the dock away from direct sunlight and heaters.
- Allow the console and dock to cool before testing again.
Do not use water or liquid cleaners on the dock. If the dock becomes unusually hot, smells like burning plastic, or repeatedly stops working, disconnect it and contact Nintendo support.
8. Dock the Console in the Correct Direction
Place the Nintendo Switch 2 into the dock with the console screen facing the same direction as the front panel of the dock. Remove the protective case if it prevents the console from sitting fully inside the dock.
When the connection is working correctly, the console screen should turn off and the image should appear on the TV. If the console continues showing its HOME Menu while docked, remove it and check the power, HDMI, and USB-C connections again.
9. Test Another TV, Cable, or Dock
If the Nintendo Switch 2 dock still shows no signal, test the components separately. Connect the dock to another television or monitor using a different Ultra High Speed HDMI cable. This helps determine whether the problem is caused by the console, dock, cable, or original TV.
- If another TV works, review the original TV’s HDMI and gaming settings.
- If another HDMI cable works, replace the original cable.
- If another dock works, the original dock may need service.
- If the console fails with multiple docks and TVs, the console may require inspection.
Only test with a genuine Nintendo Switch 2 dock when possible. The Nintendo Switch 2 dock is not interchangeable with the original Nintendo Switch, Nintendo Switch OLED Model, or Nintendo Switch Lite docks.
What to Do If the Nintendo Switch 2 Dock Light Is Flashing
The TV output indicator may briefly flash when the AC adapter is first connected. That is normal. However, if it continues flashing while the console is docked, the dock may be unable to complete the video connection.
Remove the console, update both the system and dock firmware, restart the console, disconnect the HDMI and AC adapter for 30 seconds, and reconnect everything directly. If the light continues flashing, test the console with another compatible dock.
When Should You Contact Nintendo Support?
Contact Nintendo support if the dock does not display an image after trying a different HDMI cable, TV, and compatible AC adapter. You should also request service if the console never turns off its screen while docked, the dock becomes unusually hot, the TV output light continues flashing, or the issue remains with another television.
When requesting service, keep the console, dock, and AC adapter together. Avoid opening the dock or attempting an internal repair, as this can cause additional damage and may affect warranty coverage.
Frequently Asked Questions
Can a Nintendo Switch system update break the dock?
An update may expose a temporary communication or firmware problem, but the update does not automatically mean the dock is permanently damaged. Restarting the console and installing the latest dock firmware often restores TV output.
Why does the Switch 2 charge but not display on the TV?
Charging and video output use different parts of the dock connection. The console may receive power even when the HDMI cable, dock firmware, TV input, or video handshake is not working correctly.
Can I use my old Nintendo Switch HDMI cable?
Use the Ultra High Speed HDMI cable supplied with the Nintendo Switch 2 or another cable clearly rated as Ultra High Speed. The original Nintendo Switch HDMI cable may not support Nintendo Switch 2 TV mode reliably.
Will resetting the console fix the dock problem?
A factory reset should not be your first solution. It deletes or changes important system data and usually does not repair a faulty HDMI cable, underpowered adapter, damaged dock, or television setting. Try the connection and firmware solutions first.
Final Thoughts
If your Nintendo Switch 2 dock stopped showing on the TV after a system update, begin with a complete restart and check for both console and dock firmware updates. Then verify that you are using the correct NGN-01 power adapter, an Ultra High Speed HDMI cable, the correct TV input, and a direct connection without splitters or soundbars.
Most software and connection problems can be resolved with these steps. If the Switch 2 works in handheld mode but fails with multiple cables and televisions, the dock or console may need professional service.