In the 21st century, photography is more than the act of snapping an image. In many respects, that’s the easy part, as companies such as Apple, Samsung, and LG have made it surprisingly simple to take a photo or video using a smart device.
It’s after you snap a picture that the fun begins. Today, anyone with a computer or smart device can create professional-looking images using a photo-editing application. Many of these applications require no previous software experience. Best of all, they came at various price points.
You should follow some simple rules to make your photos look more professional, regardless of the application. Start with the following initial suggestions.
#Things you should adjust on your photos to make them great
One of the most important aspects of taking a great photo is understanding lighting. With landscape photography, in particular, getting this right is essential and often overlooked. My experience has taught me that landscapes are best taken during the early morning hours or just before sunset. By contrast, taking shots in the middle of the day isn’t recommended.
Rather than guessing, use a mobile app to find the best times to shoot outdoor photos in your location. Lumy comes highly recommended since it allows you to see times for upcoming days. It also works on Apple Watch, which is a nice touch.
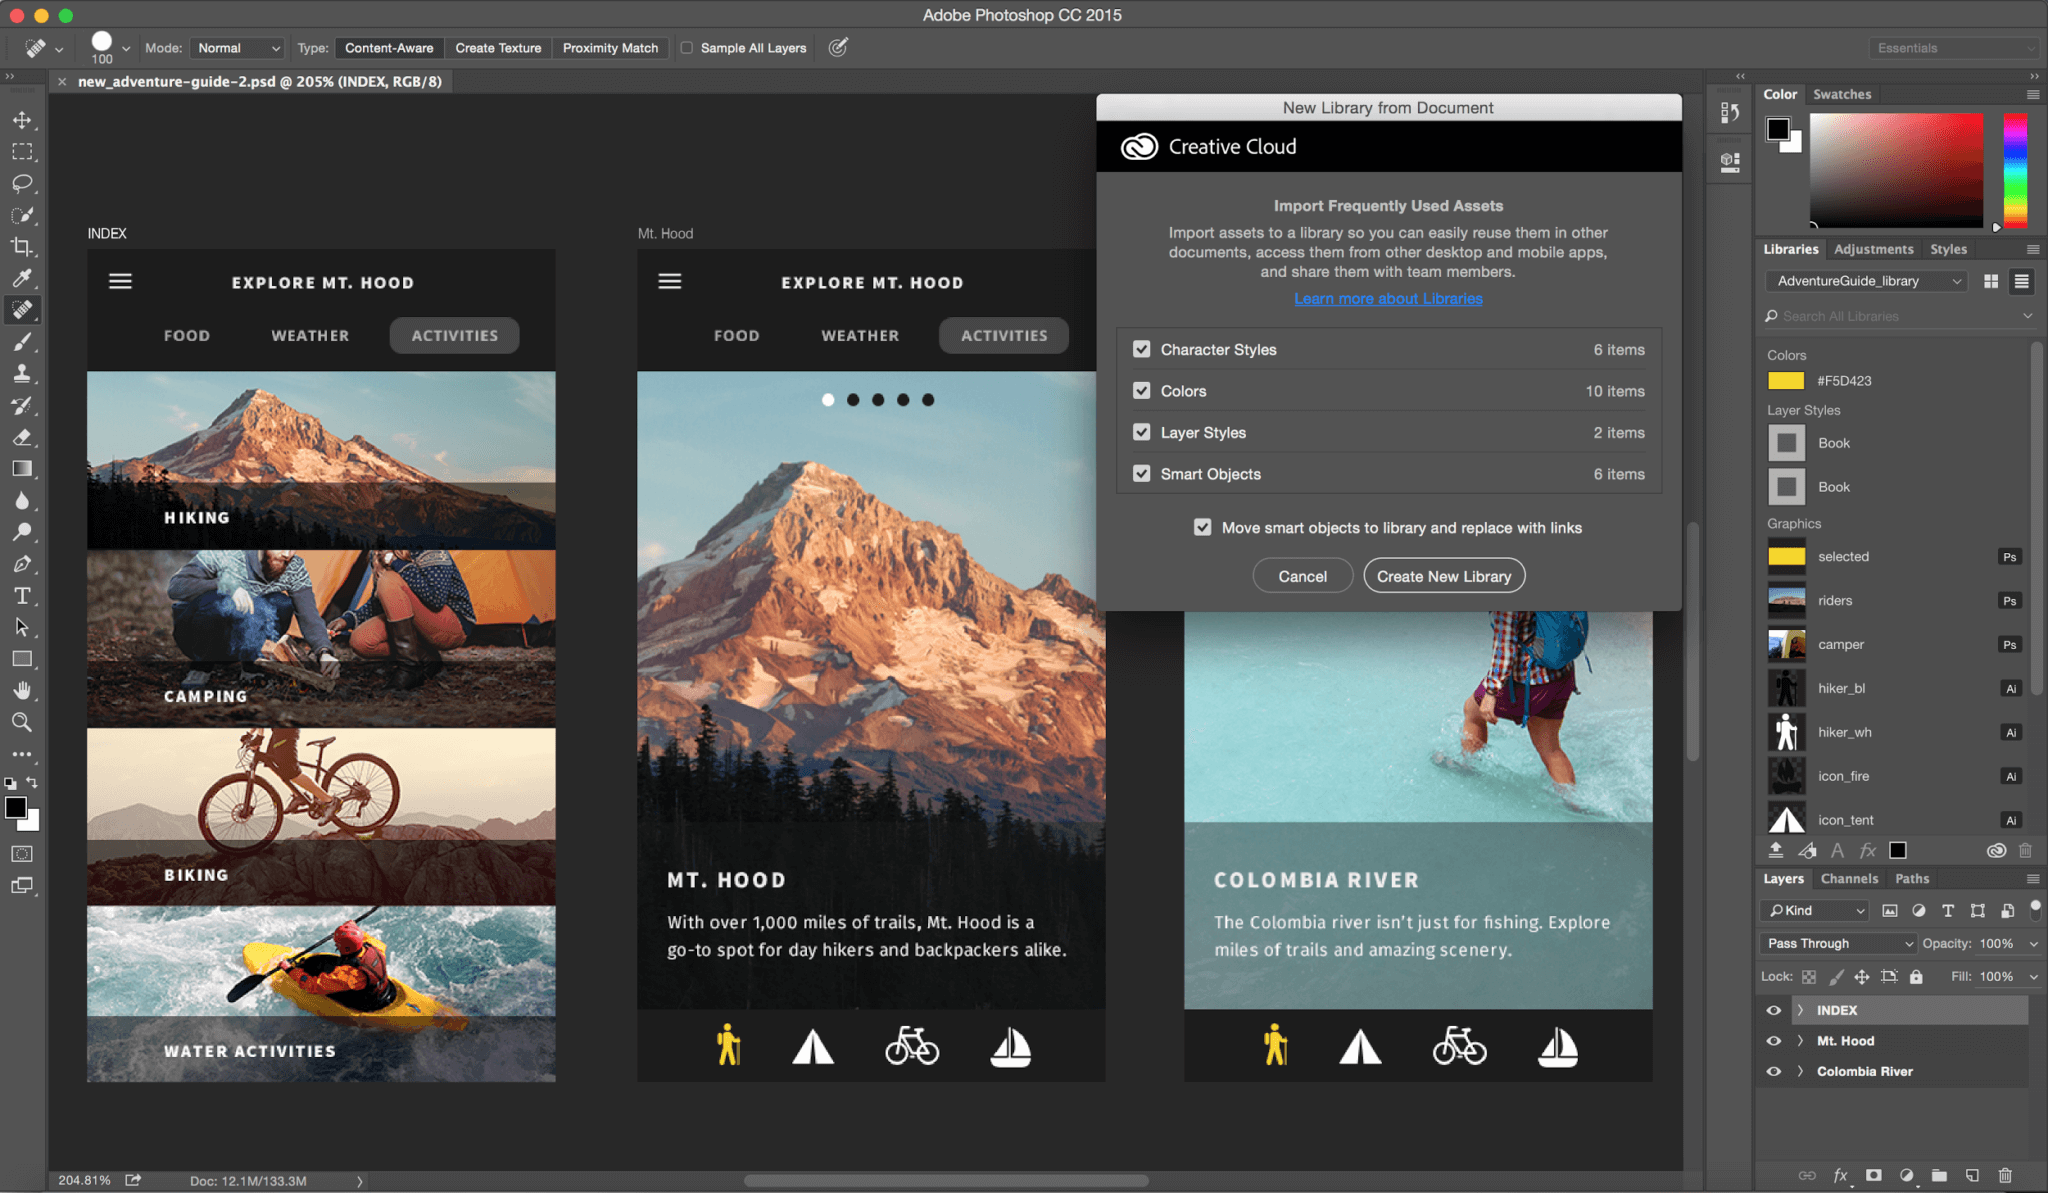
Regardless of the type of photo you’ve taken, removing imperfections is also important. These can take many forms. Photos snapped in low light, for example, often include pesky color and light “speckles.” When the subject of your photo is a person, you’ll probably discover skin blemishes, red eyes, discolored teeth, and more. Products like Noiseless do an excellent job of removing speckles, while Photoshop allows you to touch up blemishes, correct red-eye, and whiten teeth.
An aberration is an entirely different type of imperfection. It’s an object left in an image that doesn’t belong. In doing so, your photo could look cluttered, keeping the viewer from enjoying the subject.
Aberrations are often found on the edges of the photograph and therefore, sometimes overlooked. Chromatic aberrations are also problematic and show up when bright light meets dark or detailed lines. To remove these, take a look at Adobe Lightroom, which has an excellent tool appropriately called, “Remove Chromatic Aberration.”
Depending on your picture, it’s often a good idea to play around with color enhancement. At the minimum, you should aim for photos that have colors that look good together and don’t clash. You can make these decisions even before taking a picture or use a color enhancement tool post-process.
There is a lot of discussion on color and digital photography online. If you’re serious about taking your pictures to the next level, be sure to see what others are saying about it. It’s also important to keep in mind that sometimes the best colors for a photograph are black and white. The application Tonality is one of the best at turning colored photos into black and white with ease.
Depth of field is a subject taking on added significance in photography thanks to the arrival of the iPhone 7 Plus. Before this, taking portrait shots with that familiar blurry background required either a high-end camera or photo-editing software. Thanks to the iPhone 7 Plus, you can take professional photos — even as an amateur.
# Things Amateur Photographers Should Avoid
There are two things you should avoid when you want to take or make more professional photos.
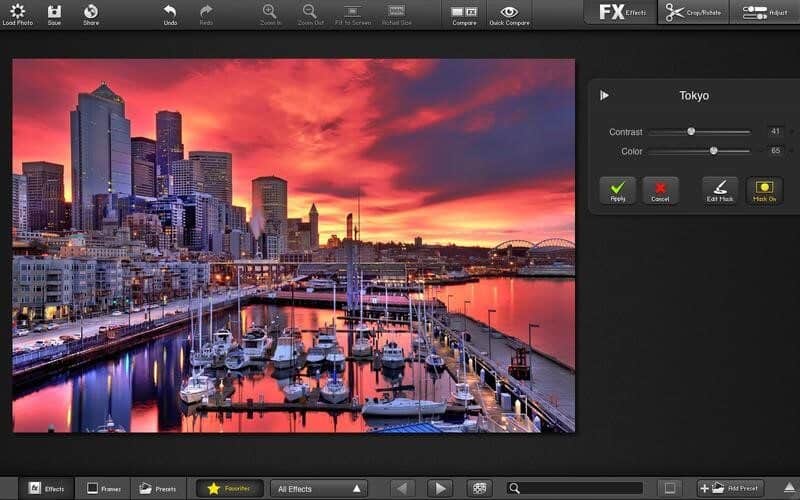
First, recognize that you don’t necessarily need to use Photoshop to get the job done. Yes, Adobe’s application is the most popular photo-editing software on the planet. It’s also one of the most expensive apps on the market. Instead of buying a costly Photoshop subscription, I’d suggest something like FX Photo Studio or Snapheal, both which offer impressive editing tools, but at a much lower price.
Second, understand that we no longer live in a world where buying an expensive camera is necessary to get an incredible shot. Your smartphone in your pocket will do the trick, especially when combined with one of the money post-processing applications.
# And Soon There Will Be Photolemur
The folks at Photolemur are hard at work on a brand new application that hopes to bridge the gap between what your eyes see and what your camera captures. Photolemur calls itself the world’s first fully automated photo enhancement solution and with good reason.

Photolemur features advanced artificial intelligence (AI) image processing technology. In doing so, it can analyze millions of pixels per second, and identify faces, objects, colors, and more. The result is photo-editing that once required manual control, human involvement, and time.
Until then, use the tools mentioned here to edit your photos like a professional. You’ll appreciate the end results.
How Photolemur actually works
Photolemur analyzes millions of pixels per second, identifies individual features (such as faces or trees), and automatically makes the necessary corrections and adjustments.
It learned its editing technique by analyzing over 90,000 edited photos of various styles, and its self-educating algorithm evolves over time as it successfully enhances more photos.